Here is a post on how I use and setup my regular sized Traveler’s Notebook. My passport sized TN is used as a daily planner/general notebook whereas my regular sized TN is used as a creative outlet for watercoloring, sketching, scrapbooking, and stuff like that. I really like the TN system because of how modular it is; I use my notebooks for a variety of things so being able to swap inserts in and out is crucial. For daily use, I usually have 2 or 3 notebooks inserted at a time (detailed below). For travel, I will have one notebook (an insert dedicated to travel journaling) to keep the thickness of the TN down to a manageable size, since my travel journal insert is filled with about a dozen pamphlets and stuff like that.
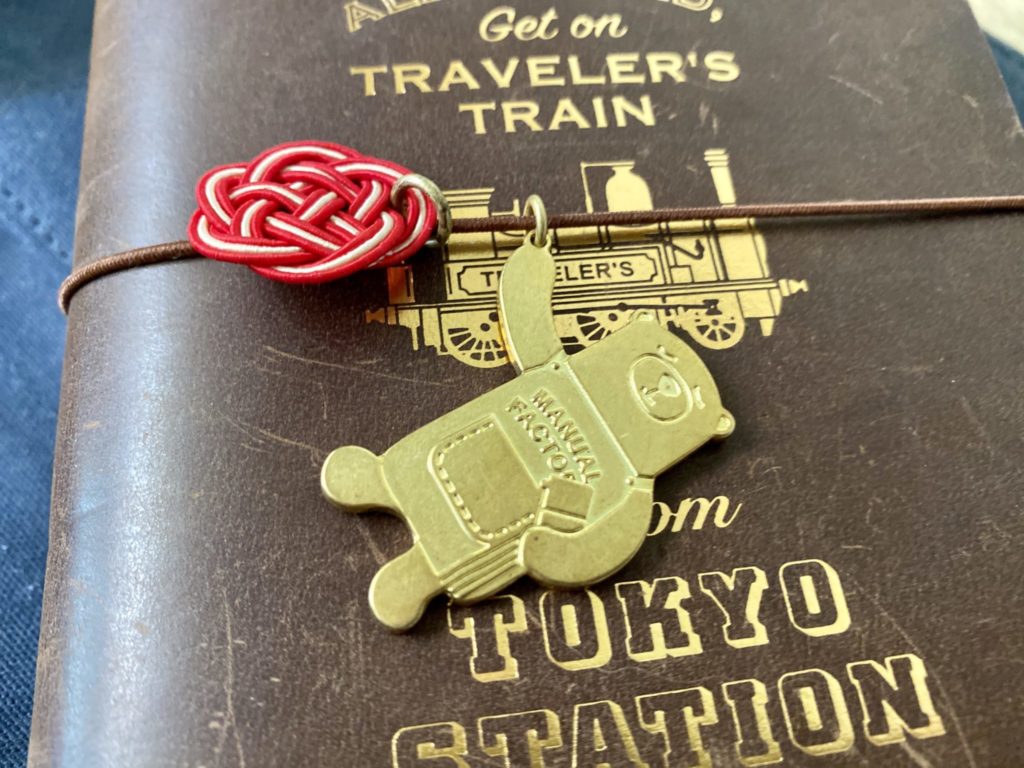
This is the Traveler’s Factory Tokyo Station edition notebook that I picked up during our first trip to Japan in 2018. The red mizuhiki charm (the knot thingy) was purchased during the same trip. The brass charm was purchased from the Nakameguro store when we visited in 2019.
Diary Pouch
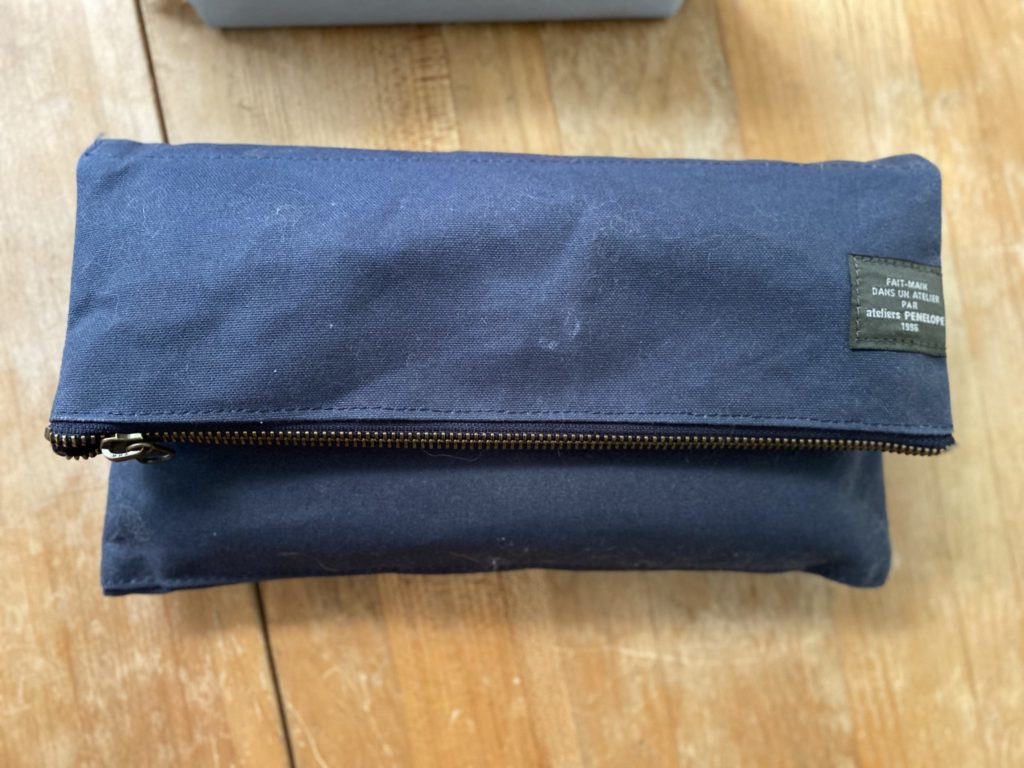
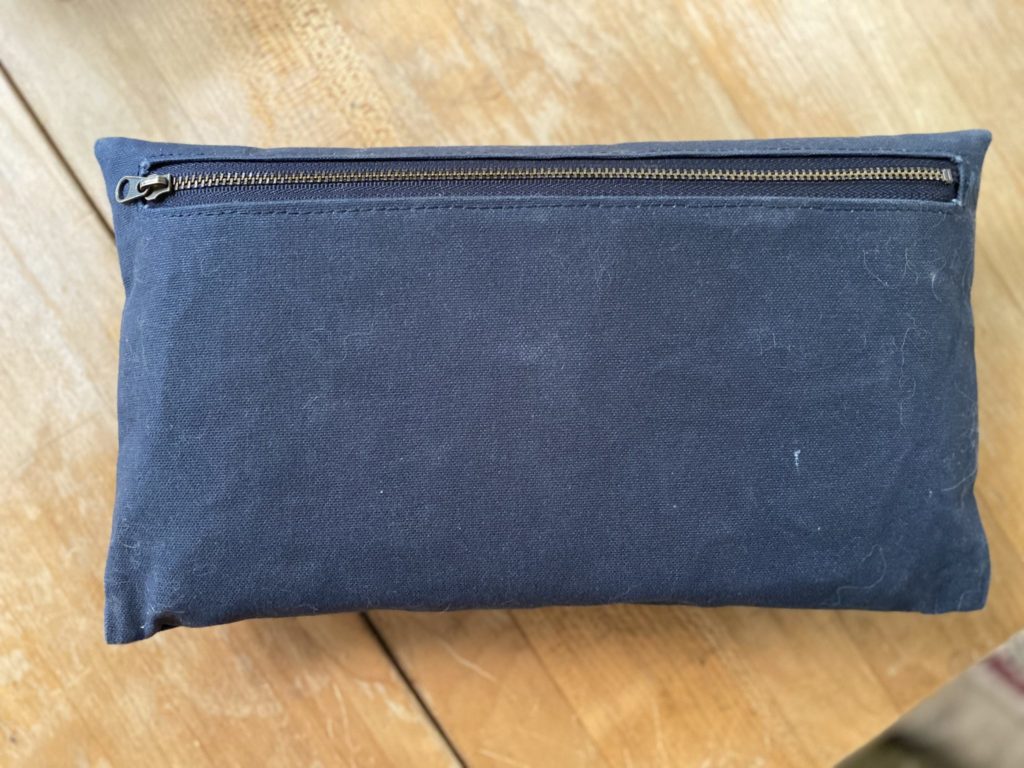
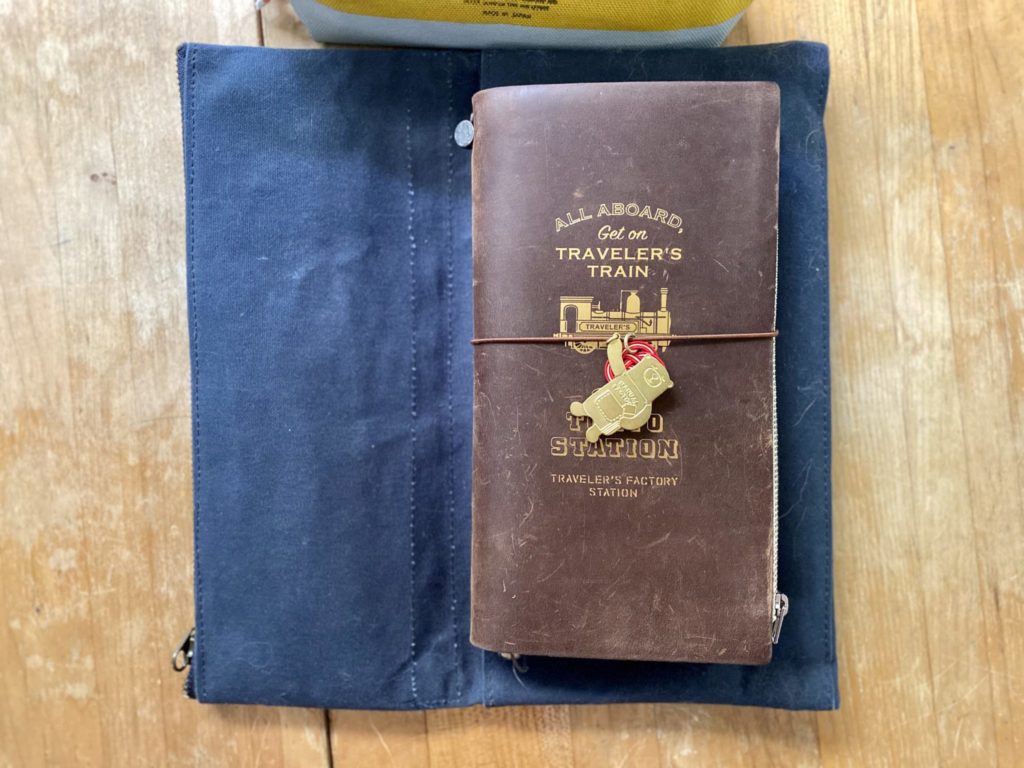
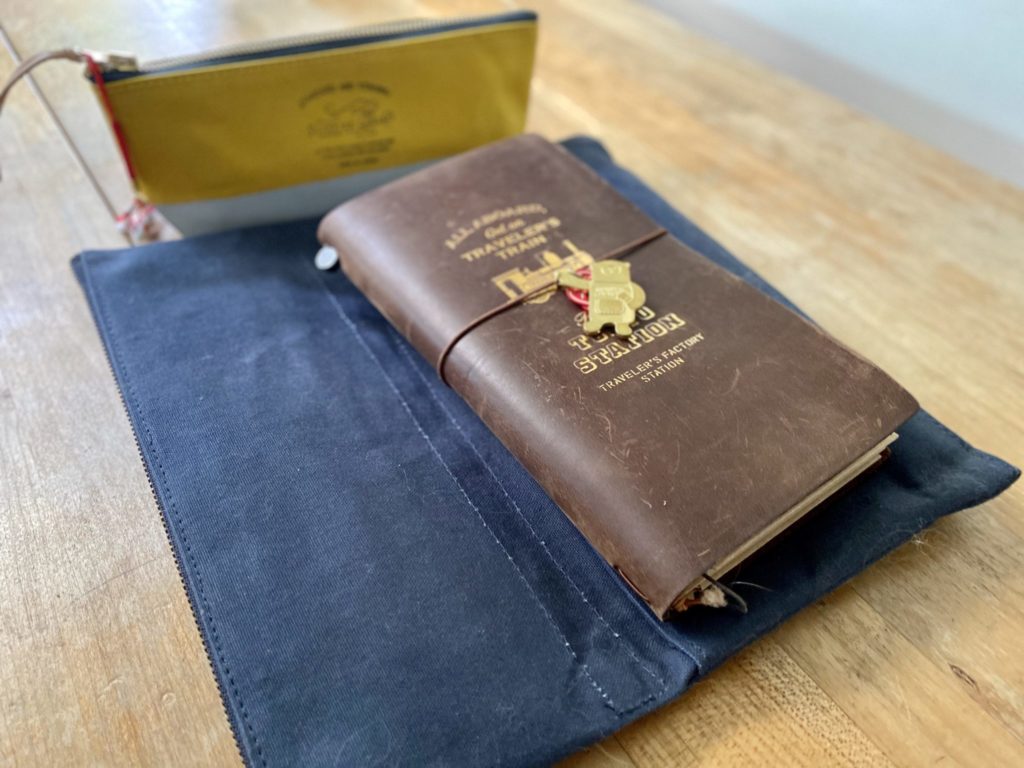
I keep my notebook as well as my most commonly used journaling supplies in a large atelier’s PENELOPE Diary Pouch from Baum-Kuchen. It’s great for preventing my journal from getting scuffed and makes a decent lap writing platform. I try to only keep a bare minimum of what I need in the pouch to avoid it getting bogged down with stuff as this item is a part of my travel setup.
Canvas Organizer
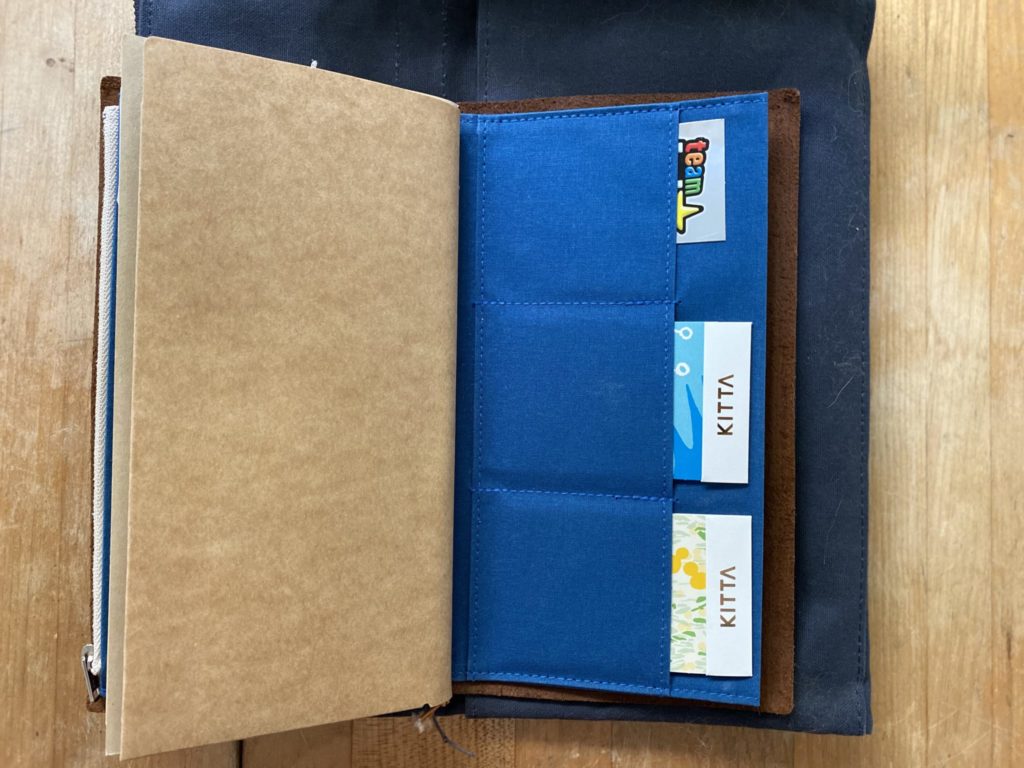
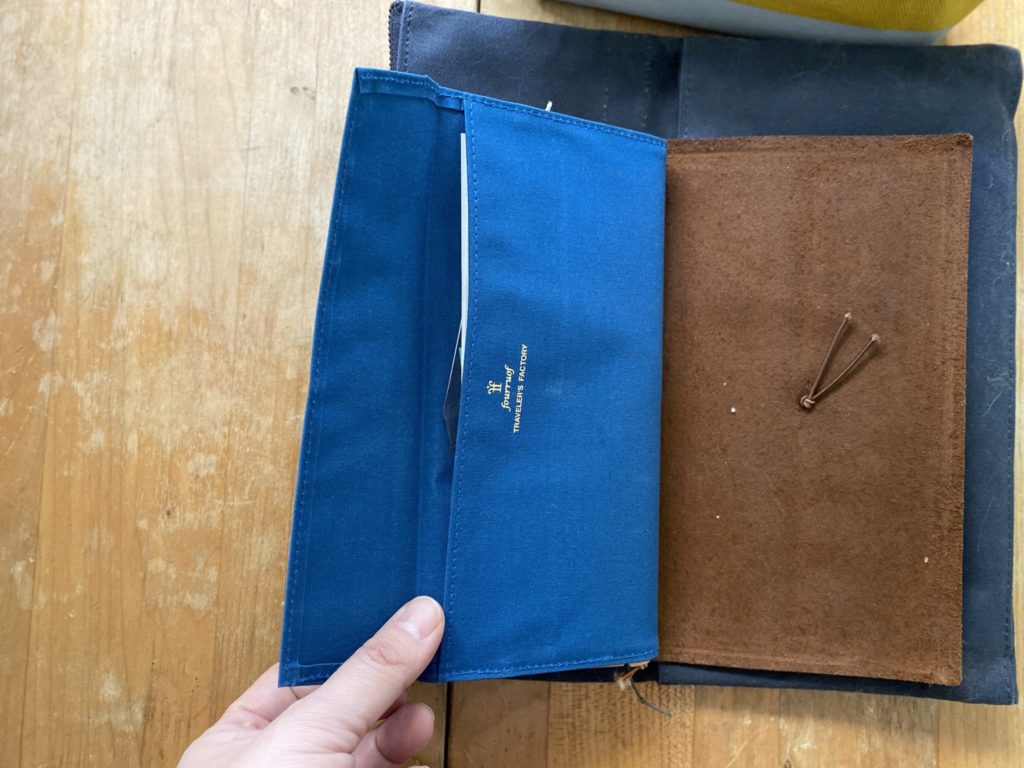
The blue canvas organizer insert is a Fourrof x Traveler’s Factory Collaboration purchased at the Tokyo Station Traveler’s Factory store when we had visited Japan last year. It has a zipper pouch on one side and card inserts on the other. The card inserts are great for storing washi tape samplers, stickers, and well… card shaped items. The zipper pocket and back pouch has a small ruler, paper clips, paper scraps, stickers, etc.
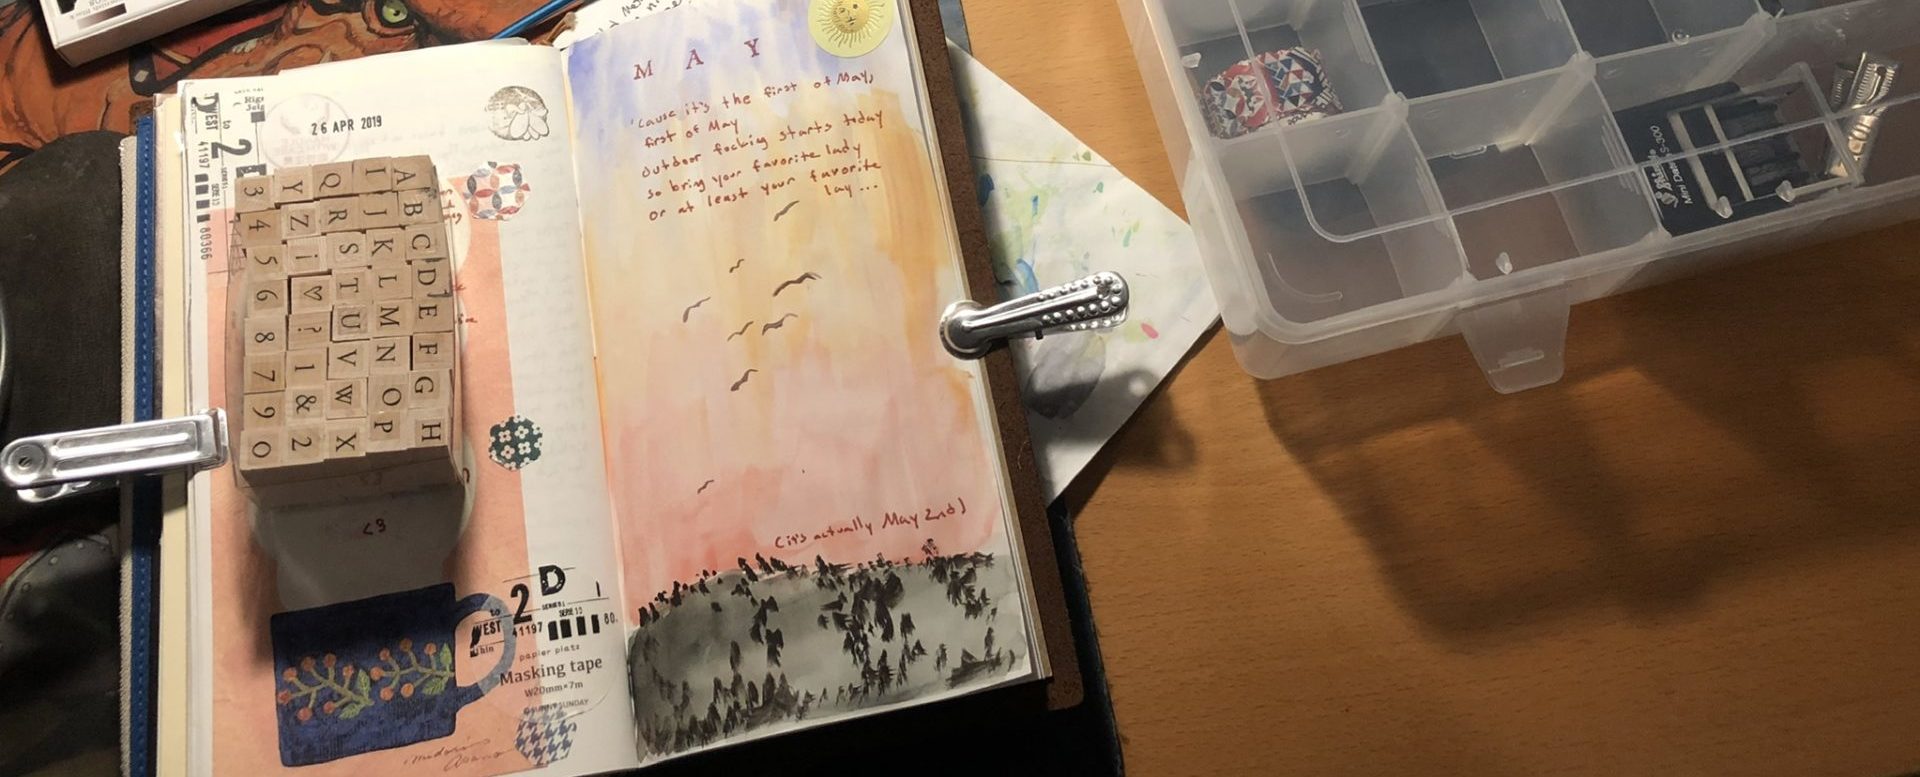
First Notebook: Baum-Kuchen SKETCH Notebook
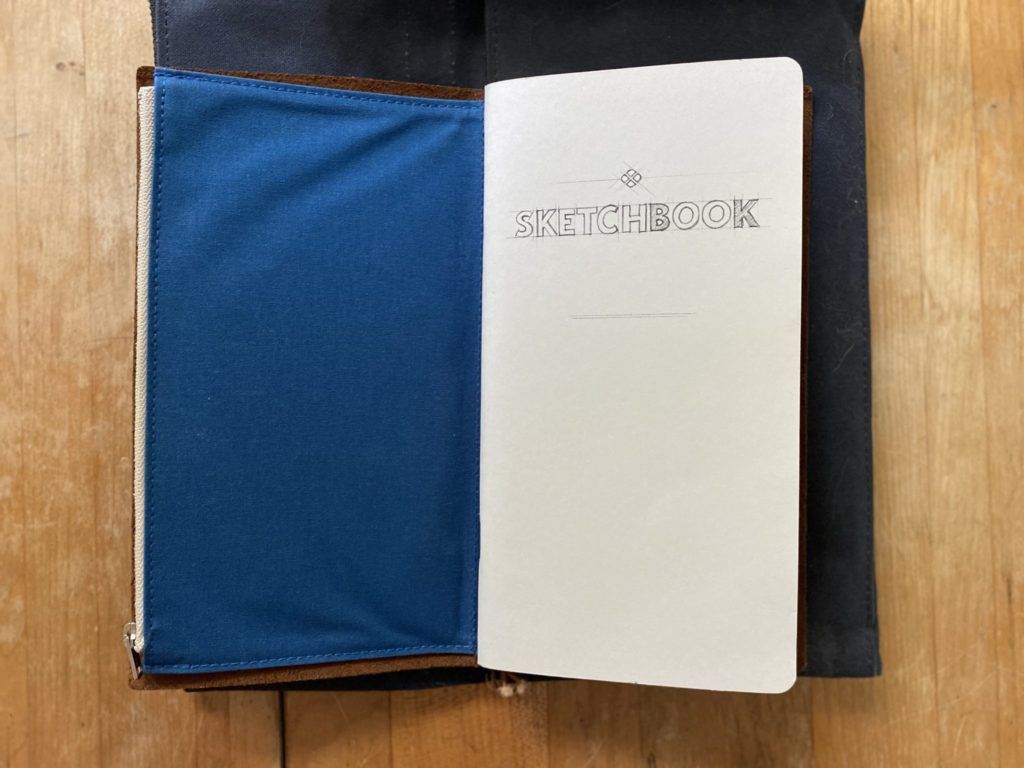
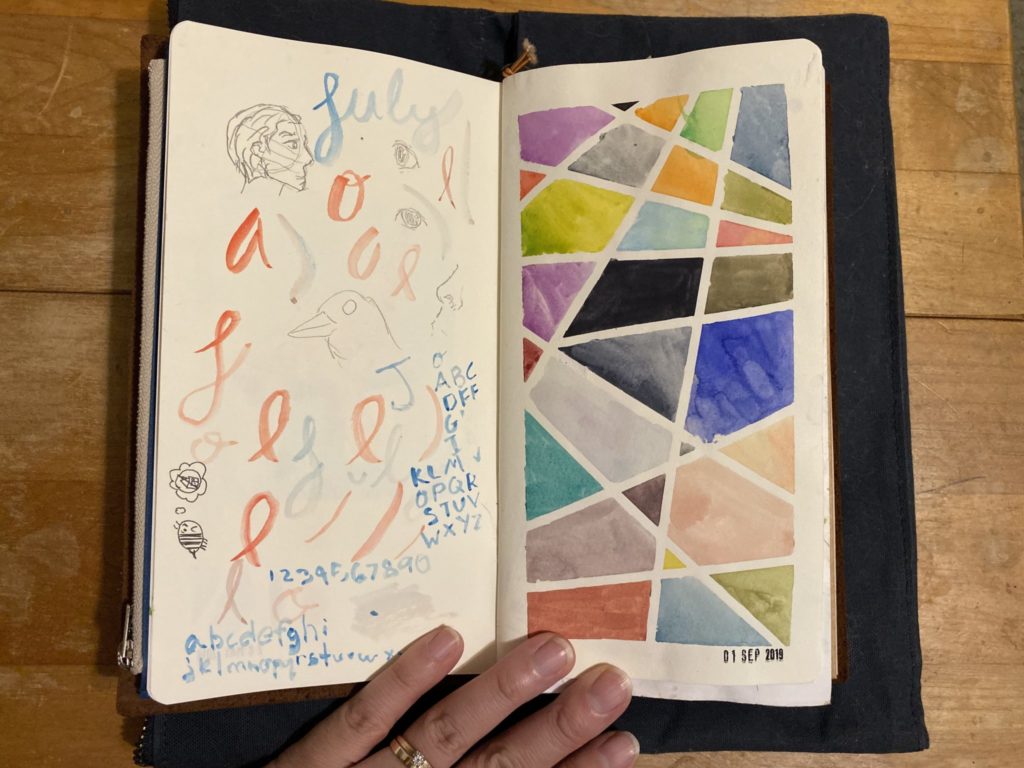
I absolutely love this insert. The texture and page thickness of the paper is perfect for watercoloring and sketching projects.
Second Notebook: TN Kraft Insert for Journaling
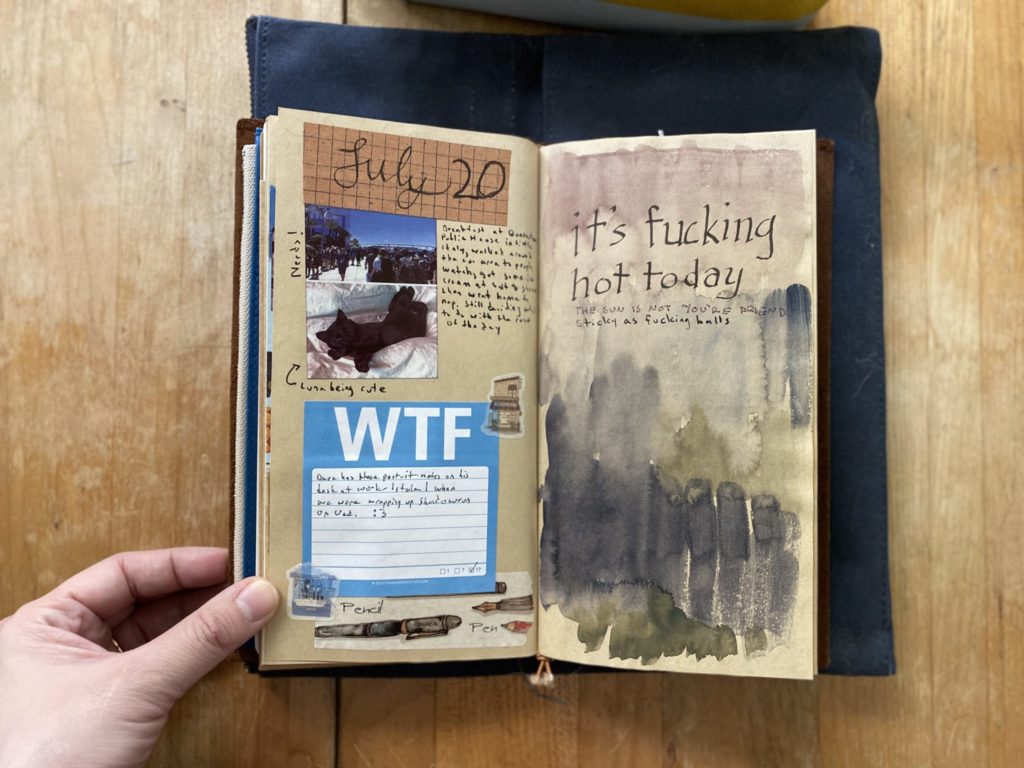
I had mixed feelings about the kraft paper insert because the color made some of my pens and watercolors look weird. It has though, forced me to start writing and drawing on some of the paper pads that I have hoarded (before cutting/gluing/whatever it to the insert), so that is nice.
I originally had planned on printing vacation photos at home and then adding them to my journal later, but that’s a huge pain in the ass of a workflow. I purchased a portable Polaroid Zip printer for photo journaling a while back and I am glad that I did. Great quality, easy to use, great to travel with. The downside is that the refills aren’t super cheap so I have to be somewhat conservative about what I choose to print.
Third Notebook: Random Dot Grid Insert from Amazon
I started migrating my RPG notes over to the regular sized TN. It was easier to use the smaller TN for D&D 5E session notes because most, if not all combat and character based things are tracked on D&D Beyond. I needed a larger notebook for Shadowrun and 4E because there isn’t a good web-based character tracking site or app. As such, everything is done old school style using *gasp* pen and paper.
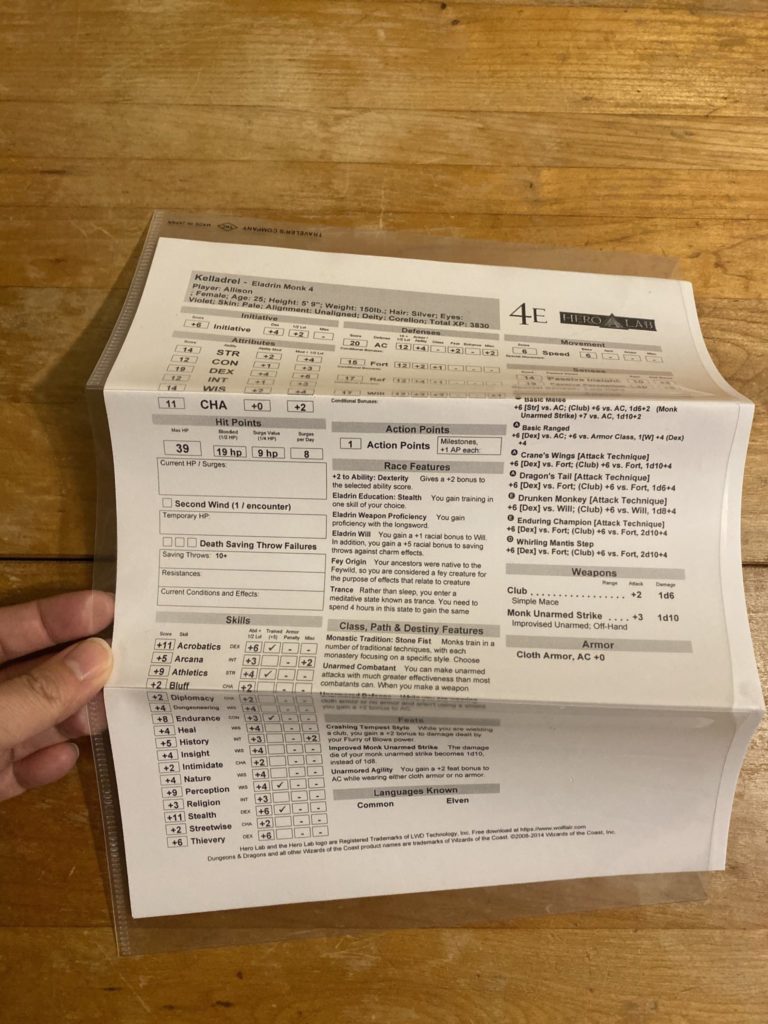
I also purchased a plastic three-fold file insert as pictured above. It’s great for holding papers as well as character sheets.
Leave a Reply