Here is how to add an unregistered Suica card to your iPhone. Keep in mind that only iPhones 8 and newer have the chip that allow you to use your phone. I think Japanese iPhone 7’s have it as well. Mind you that this post is an imperfect guide. I don’t read Japanese fluently.
We found that using the NFC chip on our phones to be way more convenient than carrying around a physical metro card. It’s one less thing to have to worry about losing and it’s way easier to recharge it using Apple Pay (vs feeding yen into a machine).
There’s an English app that allows you to add a card without the need to change your phone’s region to Japan, but it doesn’t allow you to view the full virtual card number on your phone. It’s not really that big of a deal for normal metro use but if you need to register your card for any reason, the full number will be required to my understanding.Set your phone’s region to Japan.
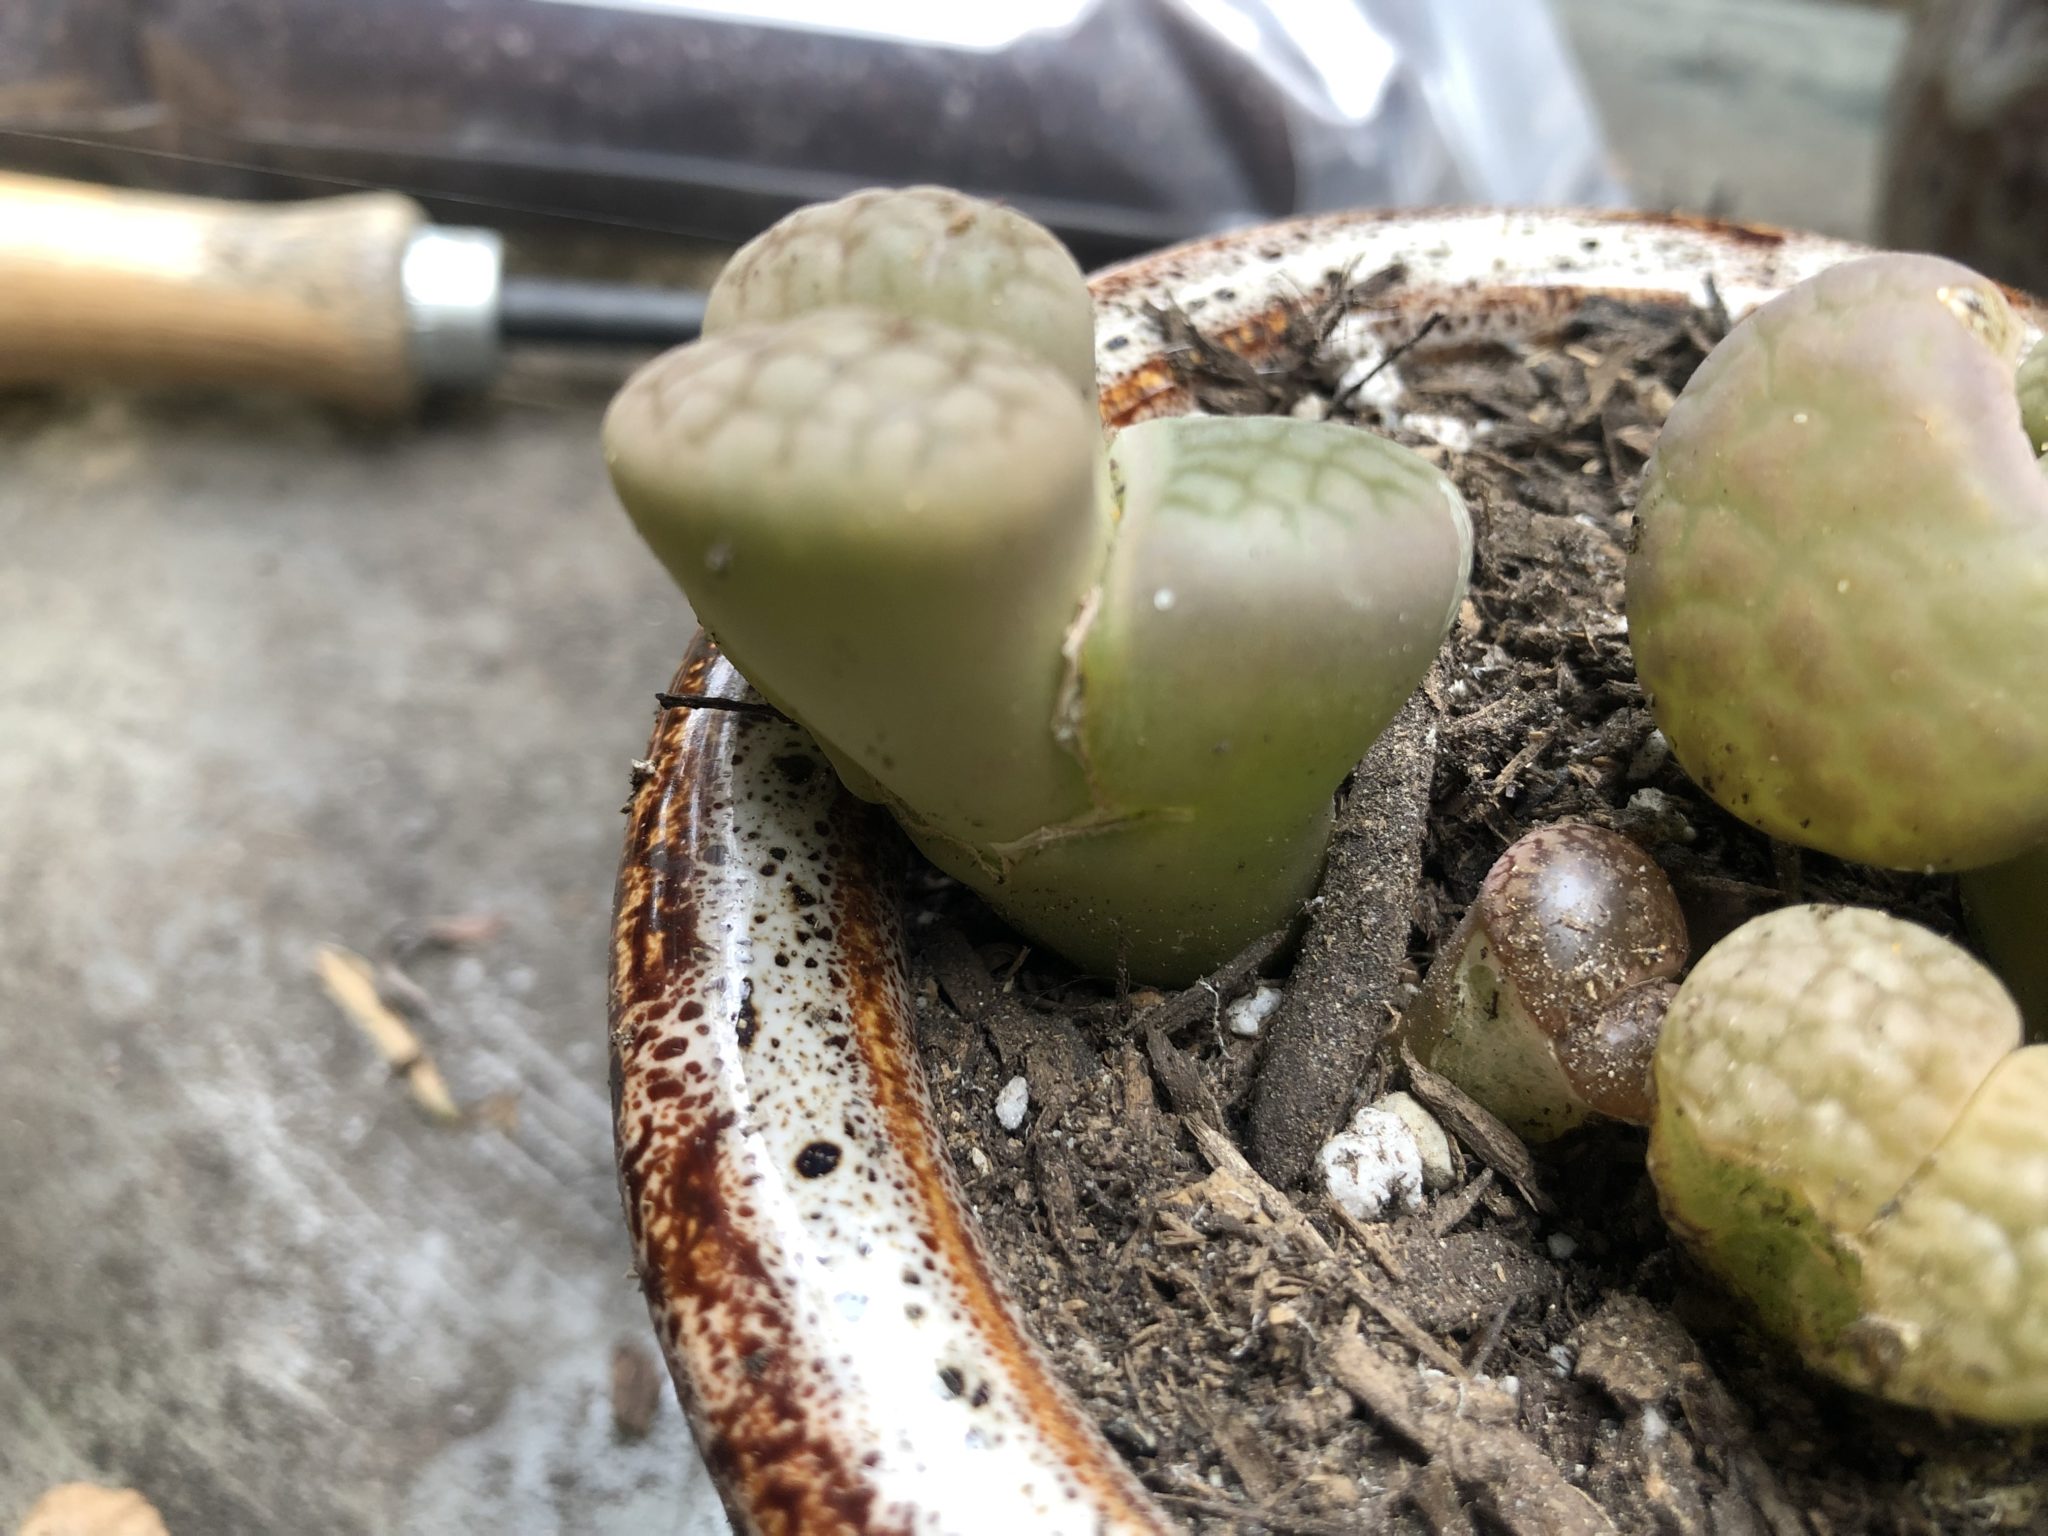
My shipment of pumice and potting supplies finally came in. I am in the process of re-potting the Mesembs into a grittier mixture. The soil mixture that they are currently in is too dense and was mixed with perlite, which had all but floated to the top of the pot and blown away.
I had re-potted the lithops mentioned in my previous entry to survey any damage that resulted from the unseasonal amount of rain and rabbit munching. To my fortune, they do not appear to be as bad off as I had originally thought. Both the roots and plant body on the larger leaves look to be okay (no rot, fuzzy root growths, no mushy spots). One of the leaf sets looks dubious. But then again, they have looked dubious for over a year (pretty sure they are slow dying).
I am very very surprised that my lithops survived the rabbit apocalypse as the damage was quite severe. On a plus side, the new growths look healthy and are undamaged. Since I had left my plants out in the rain, their growth cycle is a little fucked up. Consequently, I cannot pot them with the new lithops that I had purchased last weekend. So for now (and probably ever), they will live in their own little pot.
I really need to find a relatively sunny rain sheltered place for all of my plants. We have a patio, but it’s a little too shady. I like working in the garden after work when it is light and not shitty outside, but in about 5 months, that’s probably going to change. Maybe build a plant thing? I would love to put some of my plants in a window but all sunny windows in the house are cat windows…
Happy June everyone! Although literally no one visits this site, I am trying to get into the habit of updating this site more than once every year. I have made a few recent acquisitions + It’s been literally over two years since I last posted a plant update so hey, that’s a good place to begin. A combination of severe neglect and an unseasonal amount of rainfall here in Southern California has left a number of my more finicky succulents in a poor state. Most of them are fine, but some of my favorite plants (lithops and fenestraria are a little worse for wear).
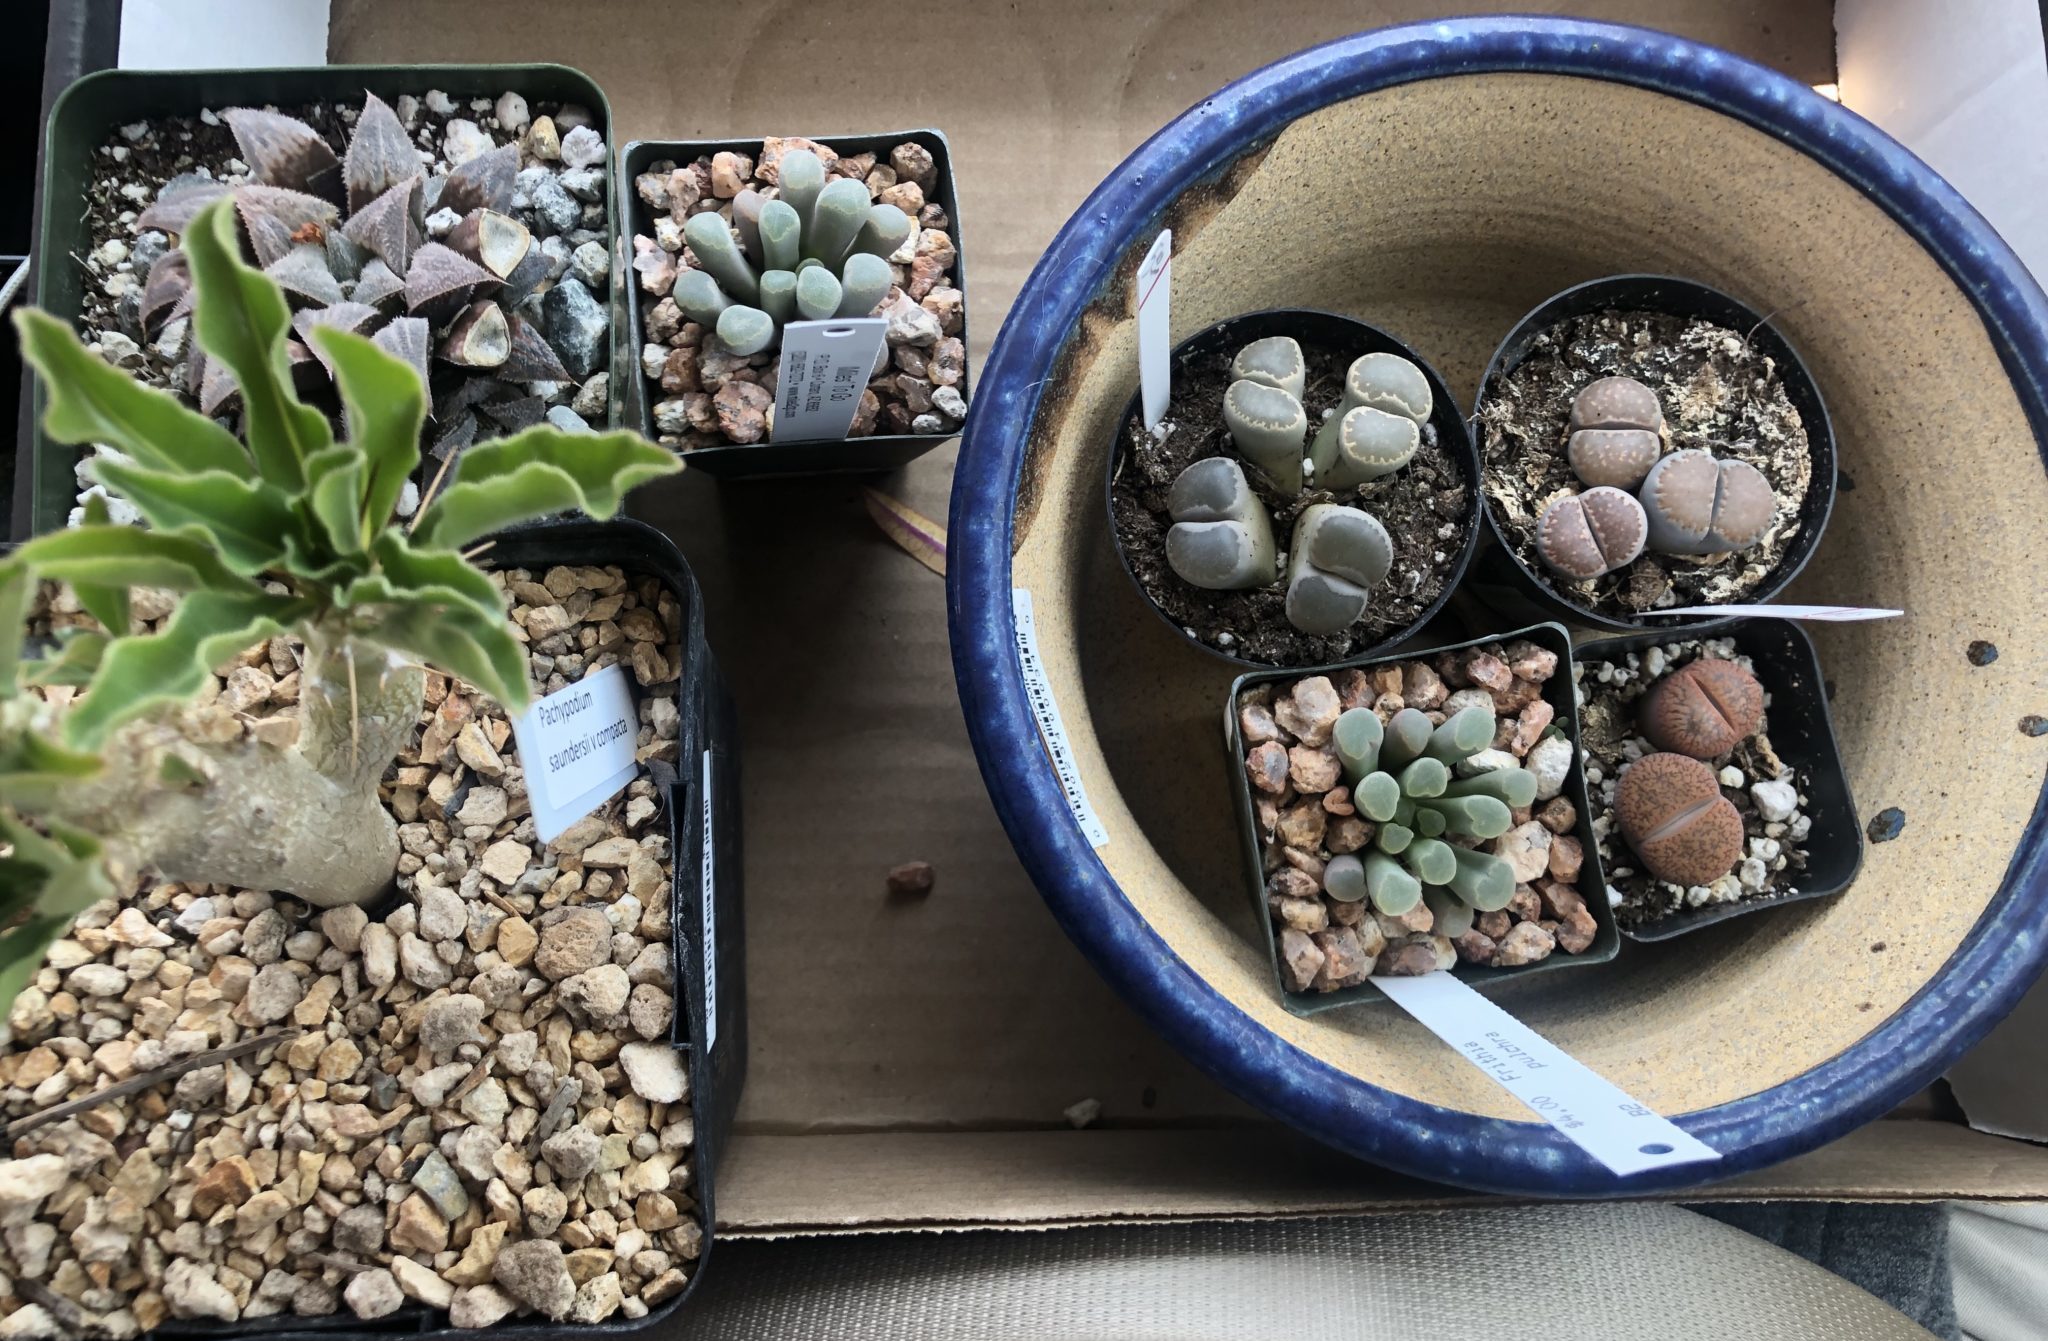
Luckily, my husband had pointed out that our local succulent society had a show and sale this weekend, so I did manage to pick up a few new plants (as pictured in the featured image). My next project, now that the rain has (hopefully?) stopped is to clean up and work on my succulent gardening area in the backyard.
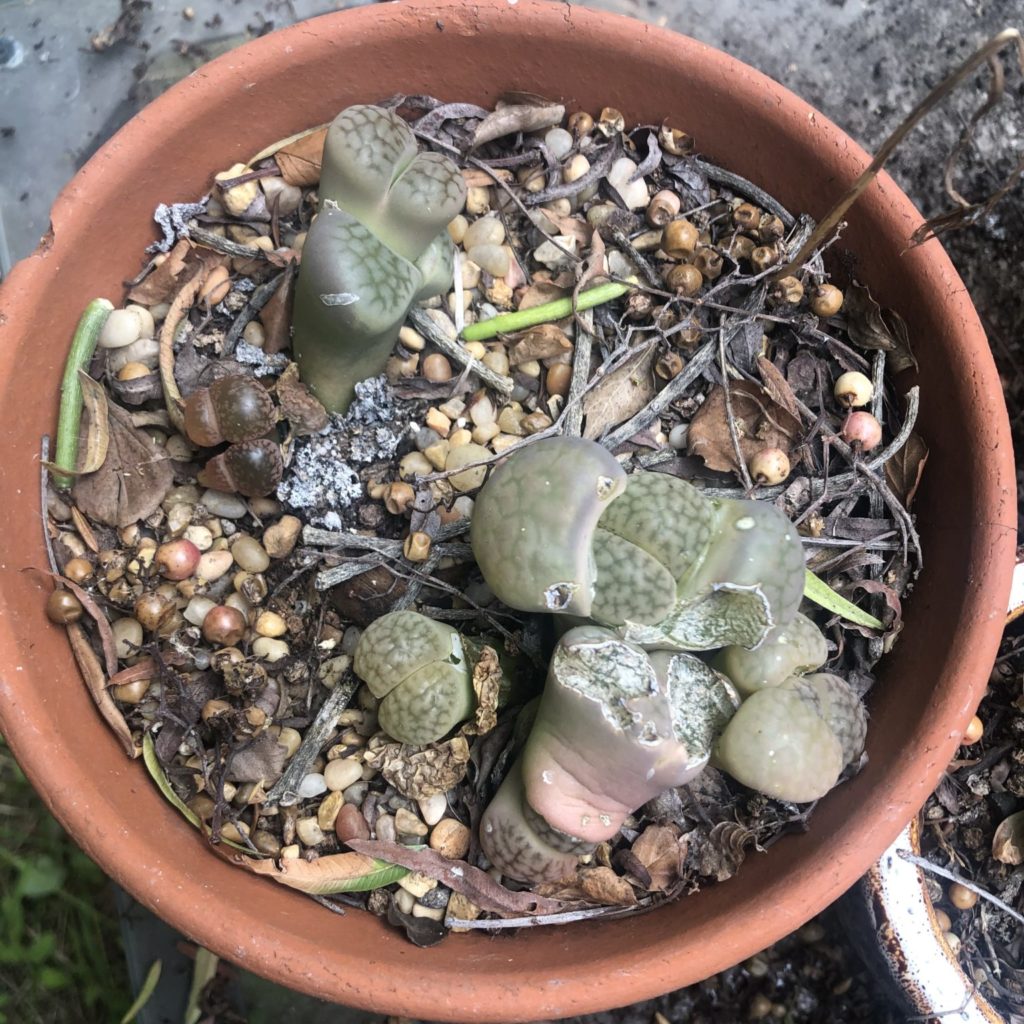
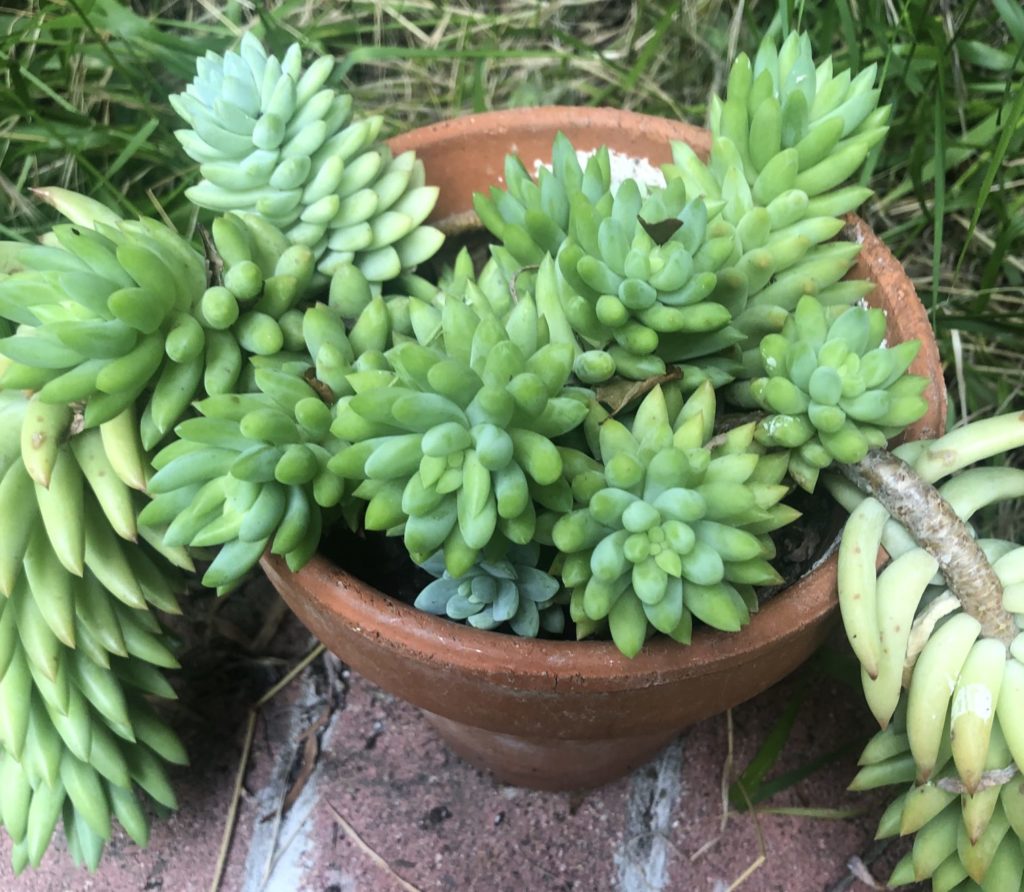
Here is my lithop pot. I had neglected to move them under the overhang during the like, 5 storms that we have had this year. Some of the leaves are in the process of growing new leaves that look like they may be okay, but I haven’t had a chance to check on the status of their roots (going to repot them into faster draining soil).
Additionally, the backyard rabbits seem to love munching on the lithops for whatever reason. As such, I have learned that they need to live on one of the succulent tables that isn’t rabbit prone and isn’t undearneath the stupid california pepper tree that rains shit all over my plants.
The burro’s tail seems to be happy enough to fill the pot with new growths. Once it grows a little more, I think I will repot it into a larger pot. They are so tricky to work with though, every time I touch it leaves seem to fall off.
Here are the new plants. The baby toes are frithia pulchra, a different type of mesemb than the baby toes pictured in previous posts. They have different watering requirements than the fenestraria so they cannot share a pot. I want to repot the newbies and some of my existing plants, but I am waiting on a shipment of pumice + faster draining potting soil. The blend that I am using now does not drain fast enough (the internet was right, perlite just….floats to the top of the pot. Annoying).
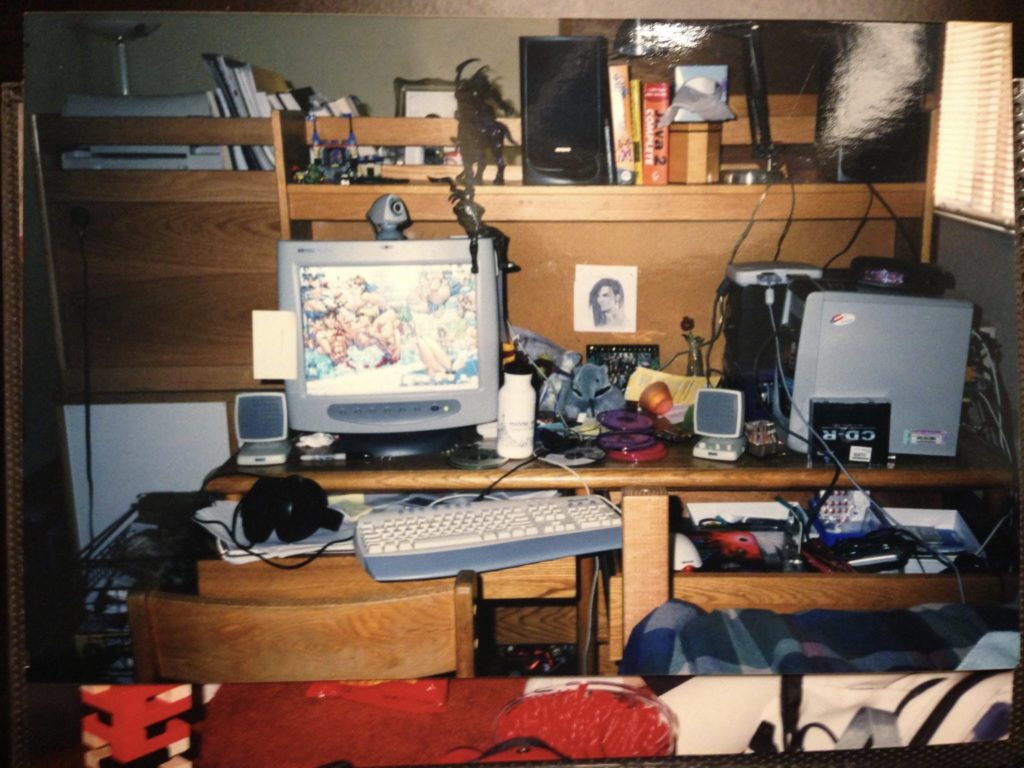
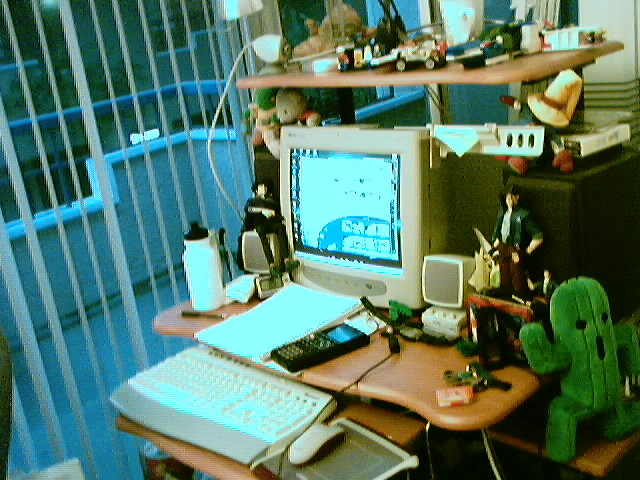
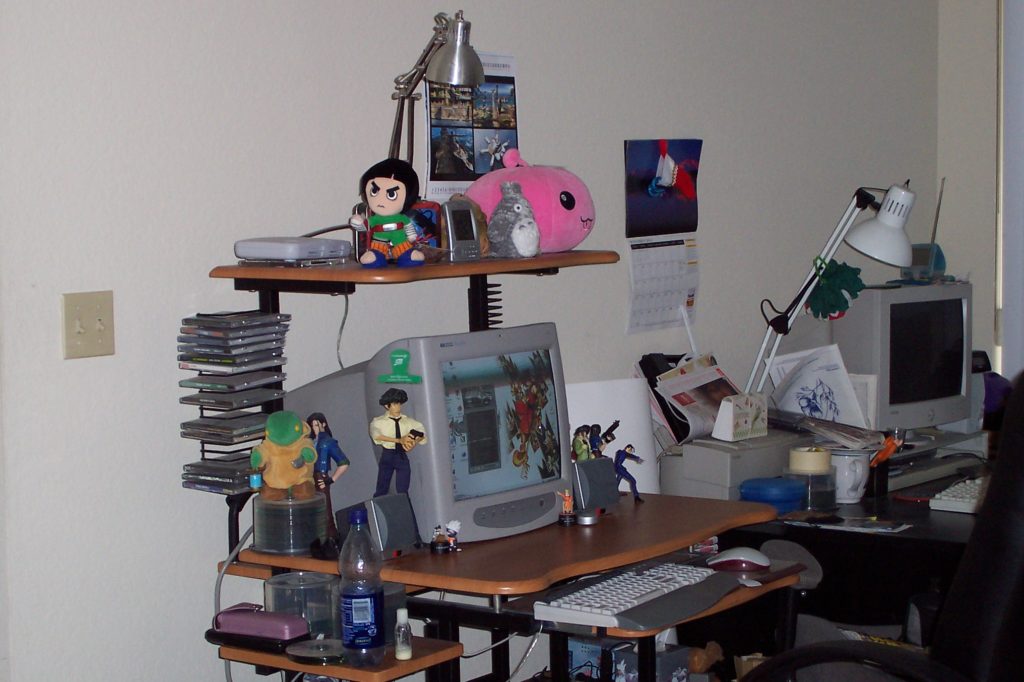
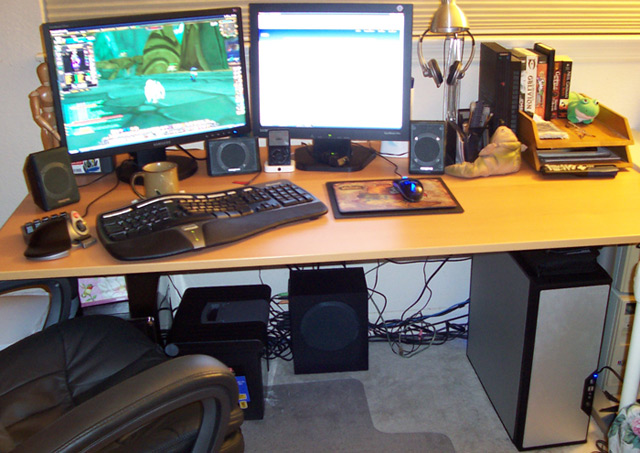
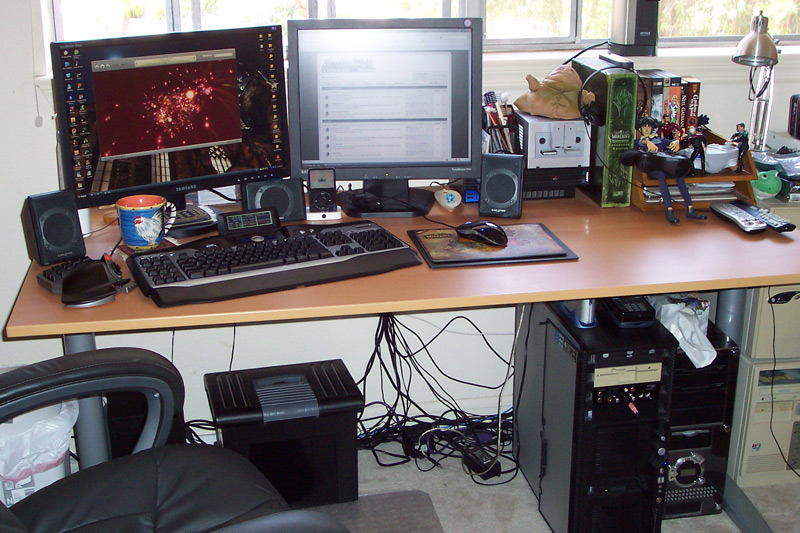
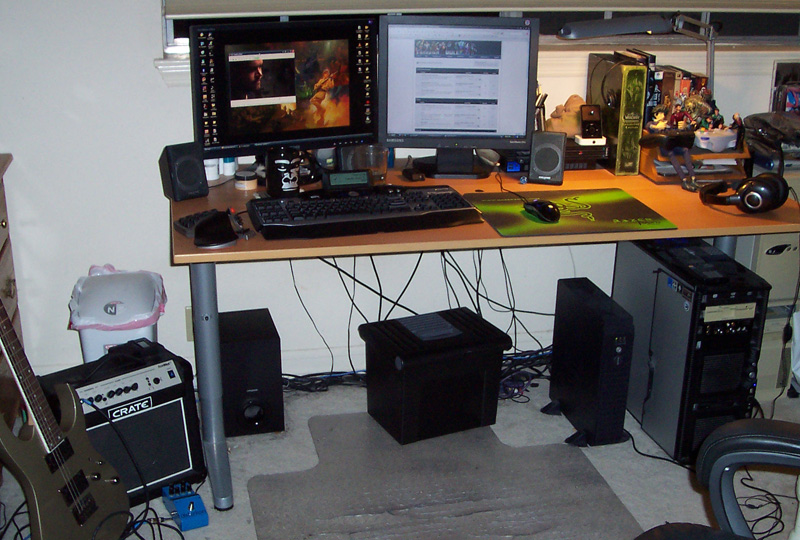
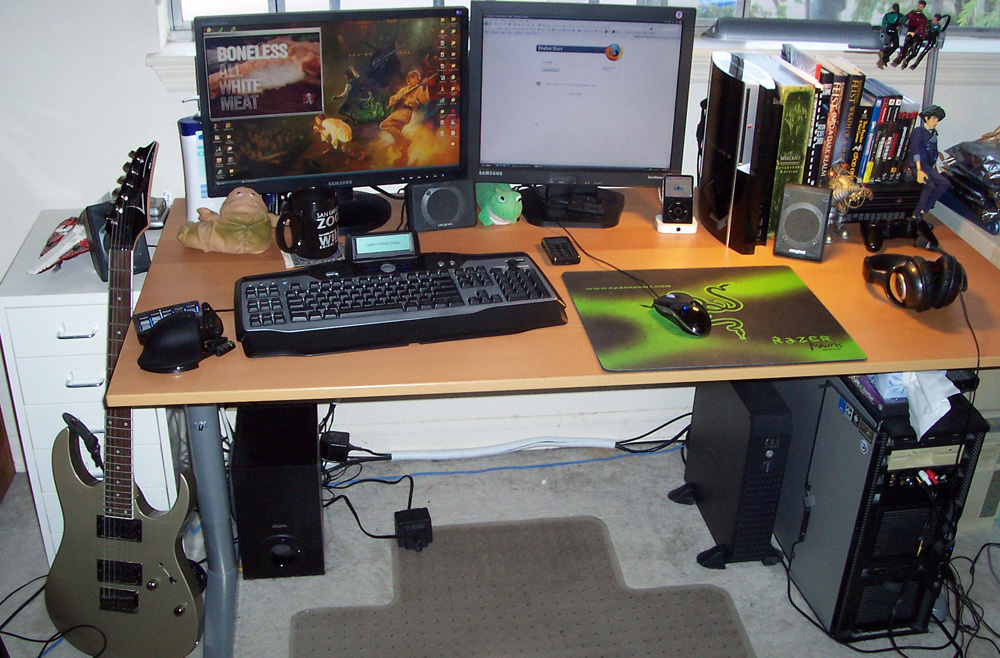
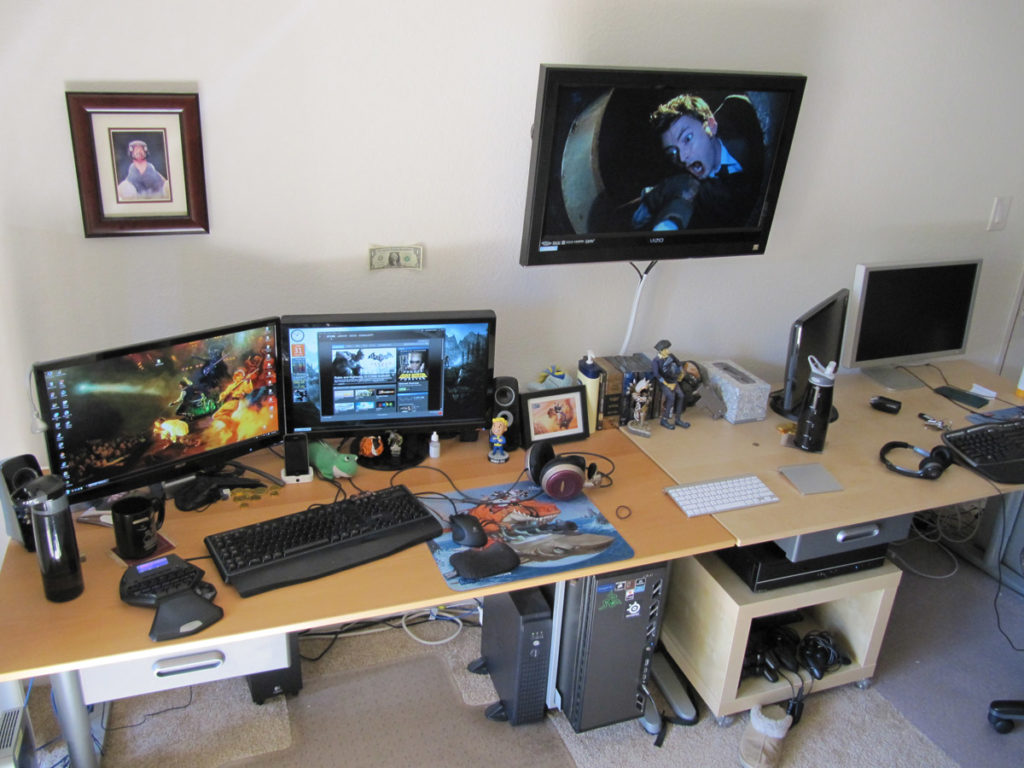
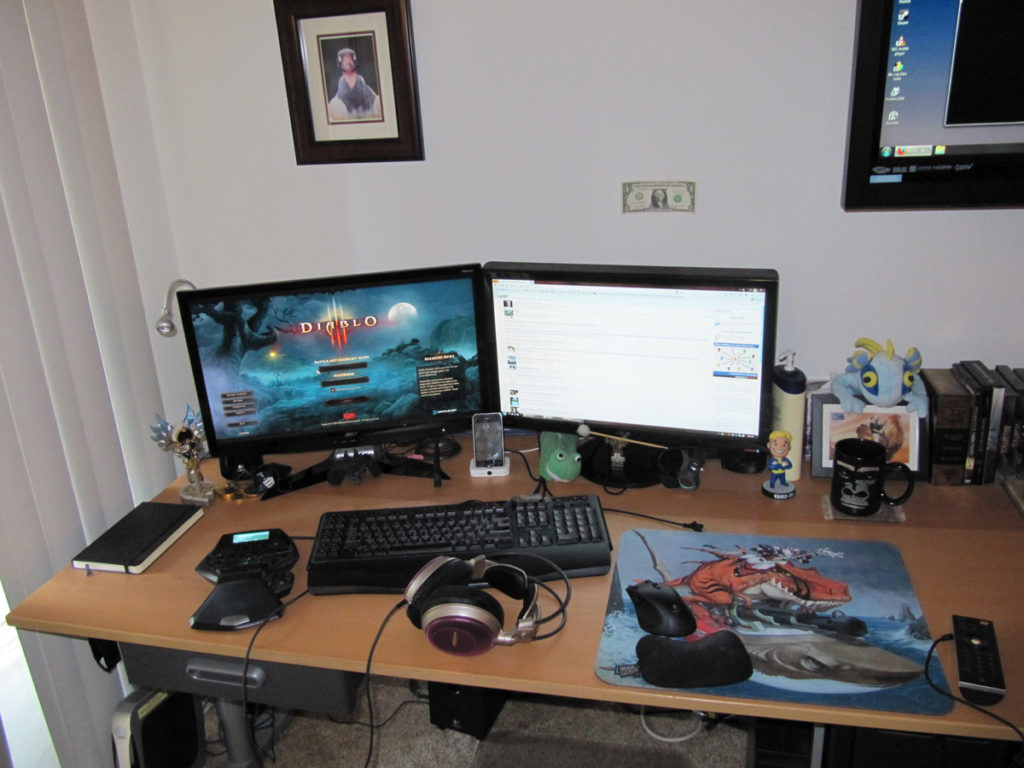
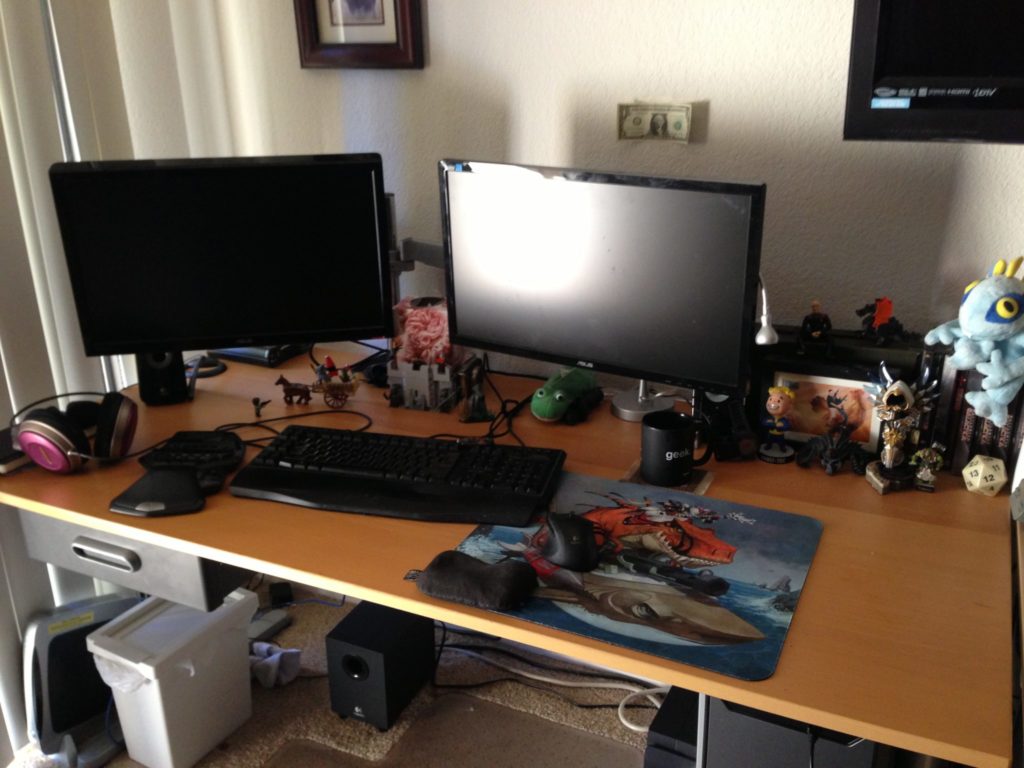
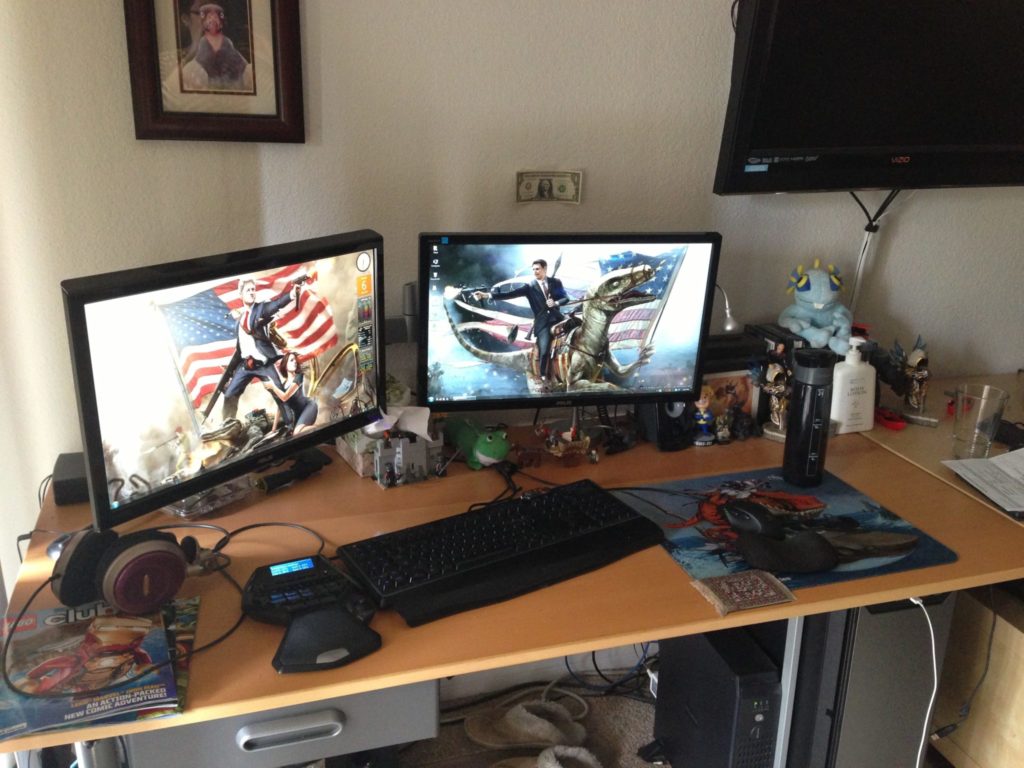
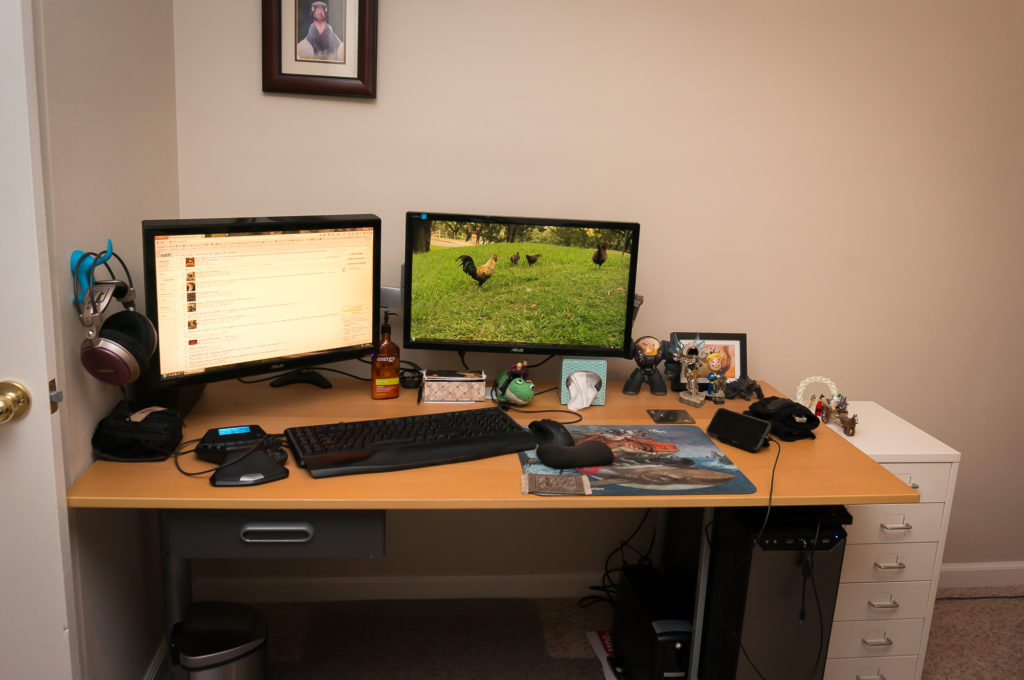
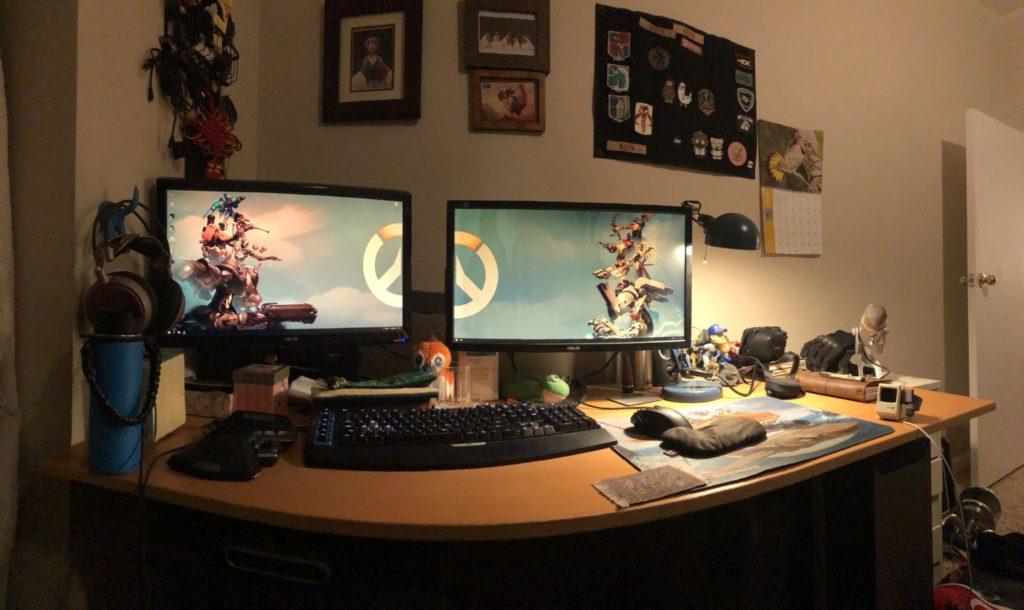
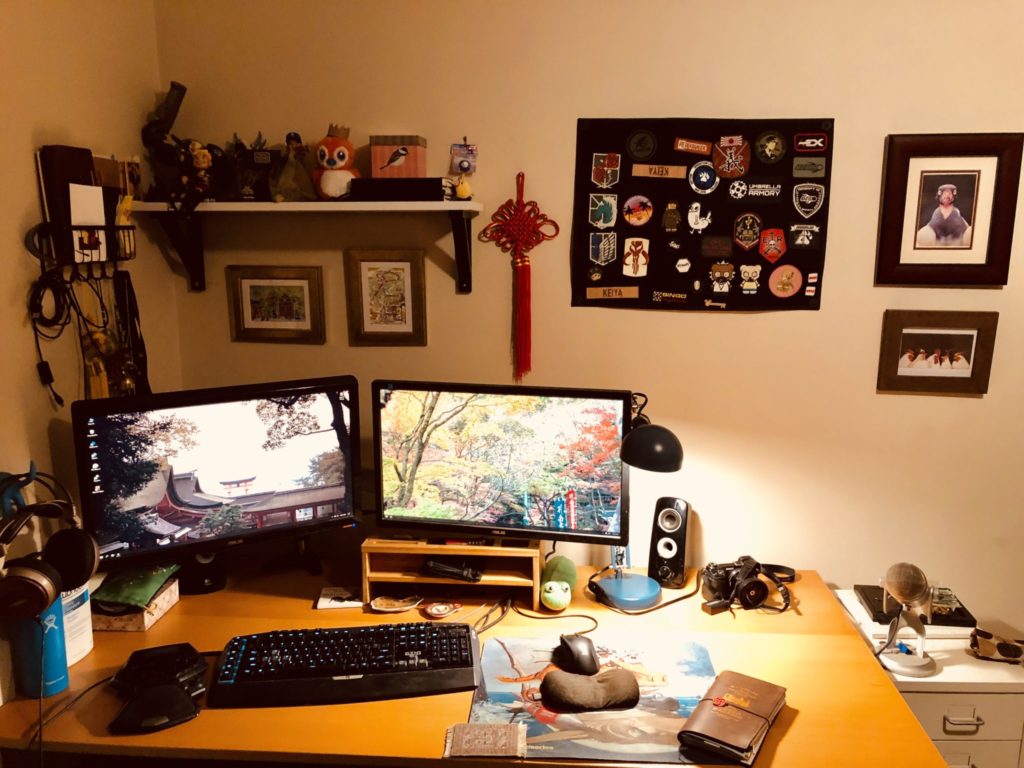
A visual history of my computer desk (I really like taking pictures of my desk during the Spring I guess). Neither clutter nor cable free but, whatever.
My workspace actually hasn’t changed that much in the last couple of years aside from adding a shelf and hanging a few pictures.
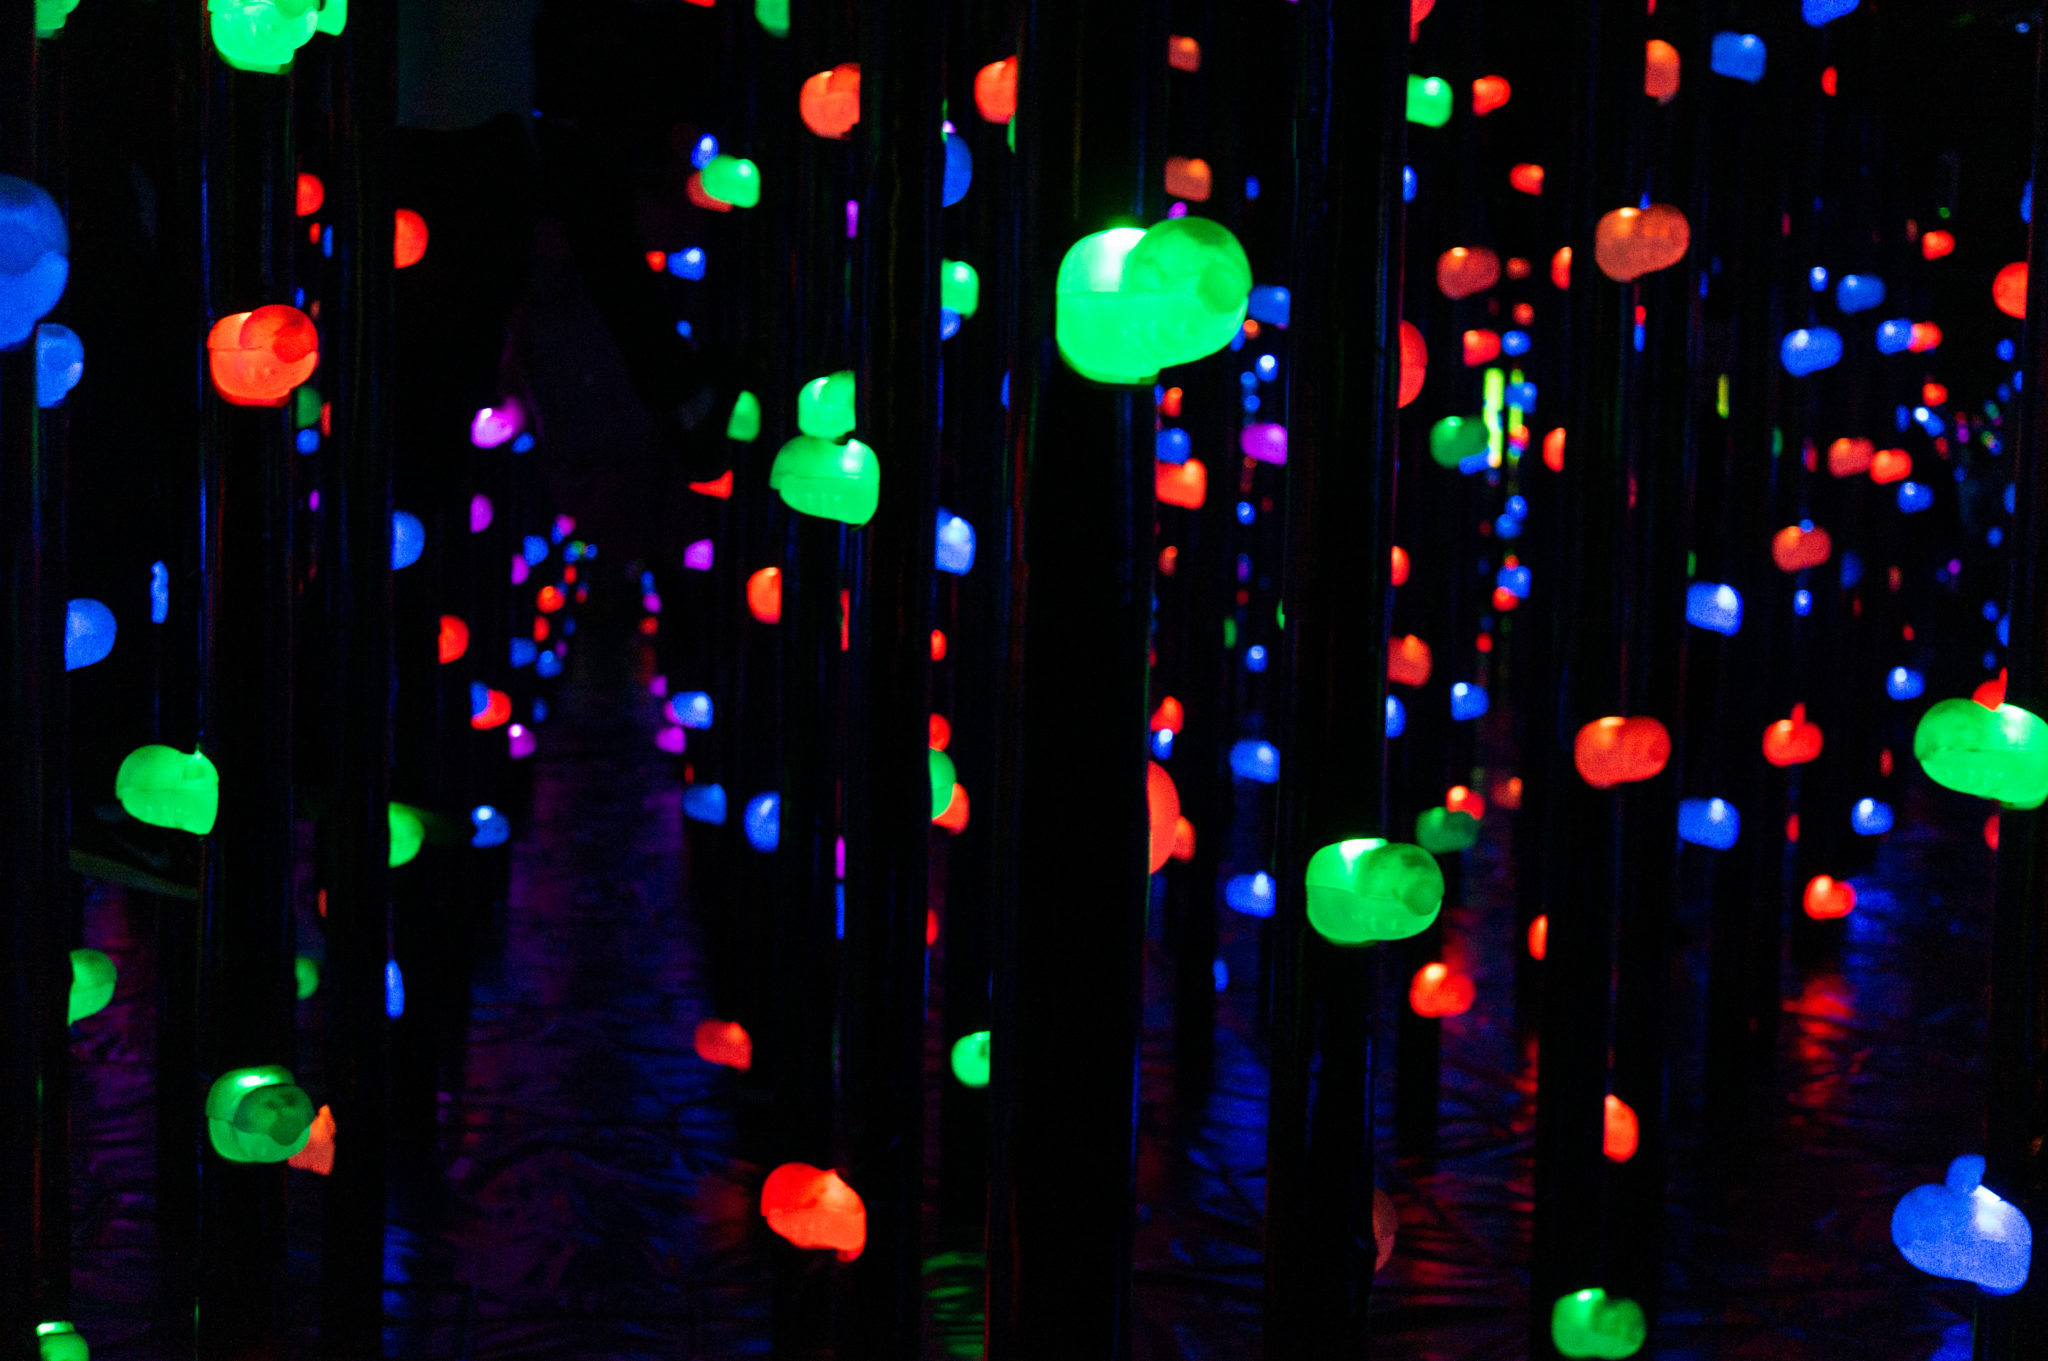
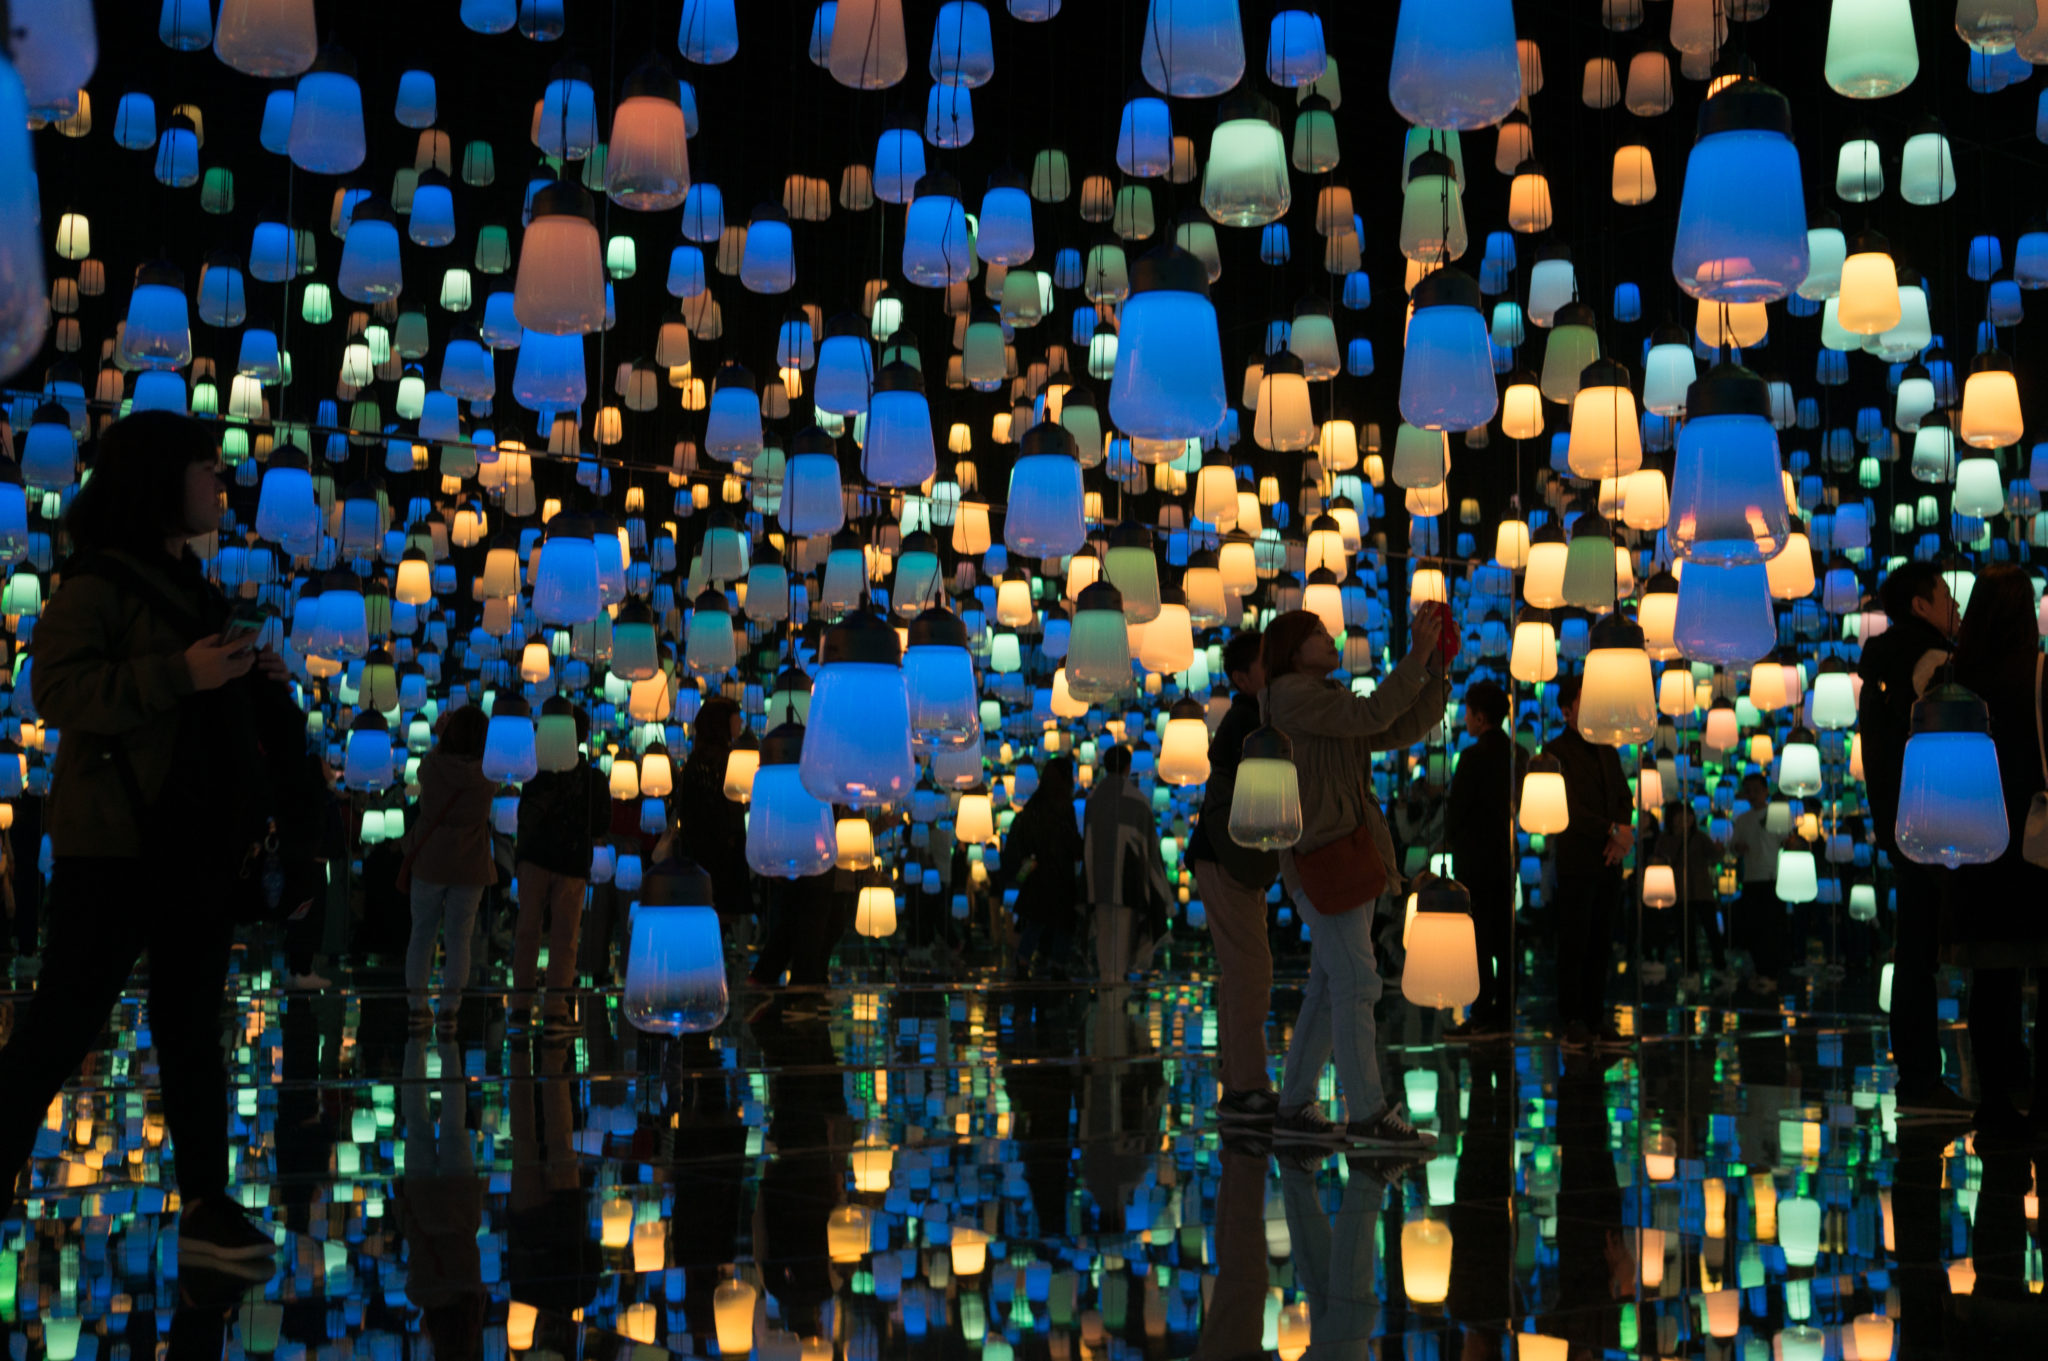
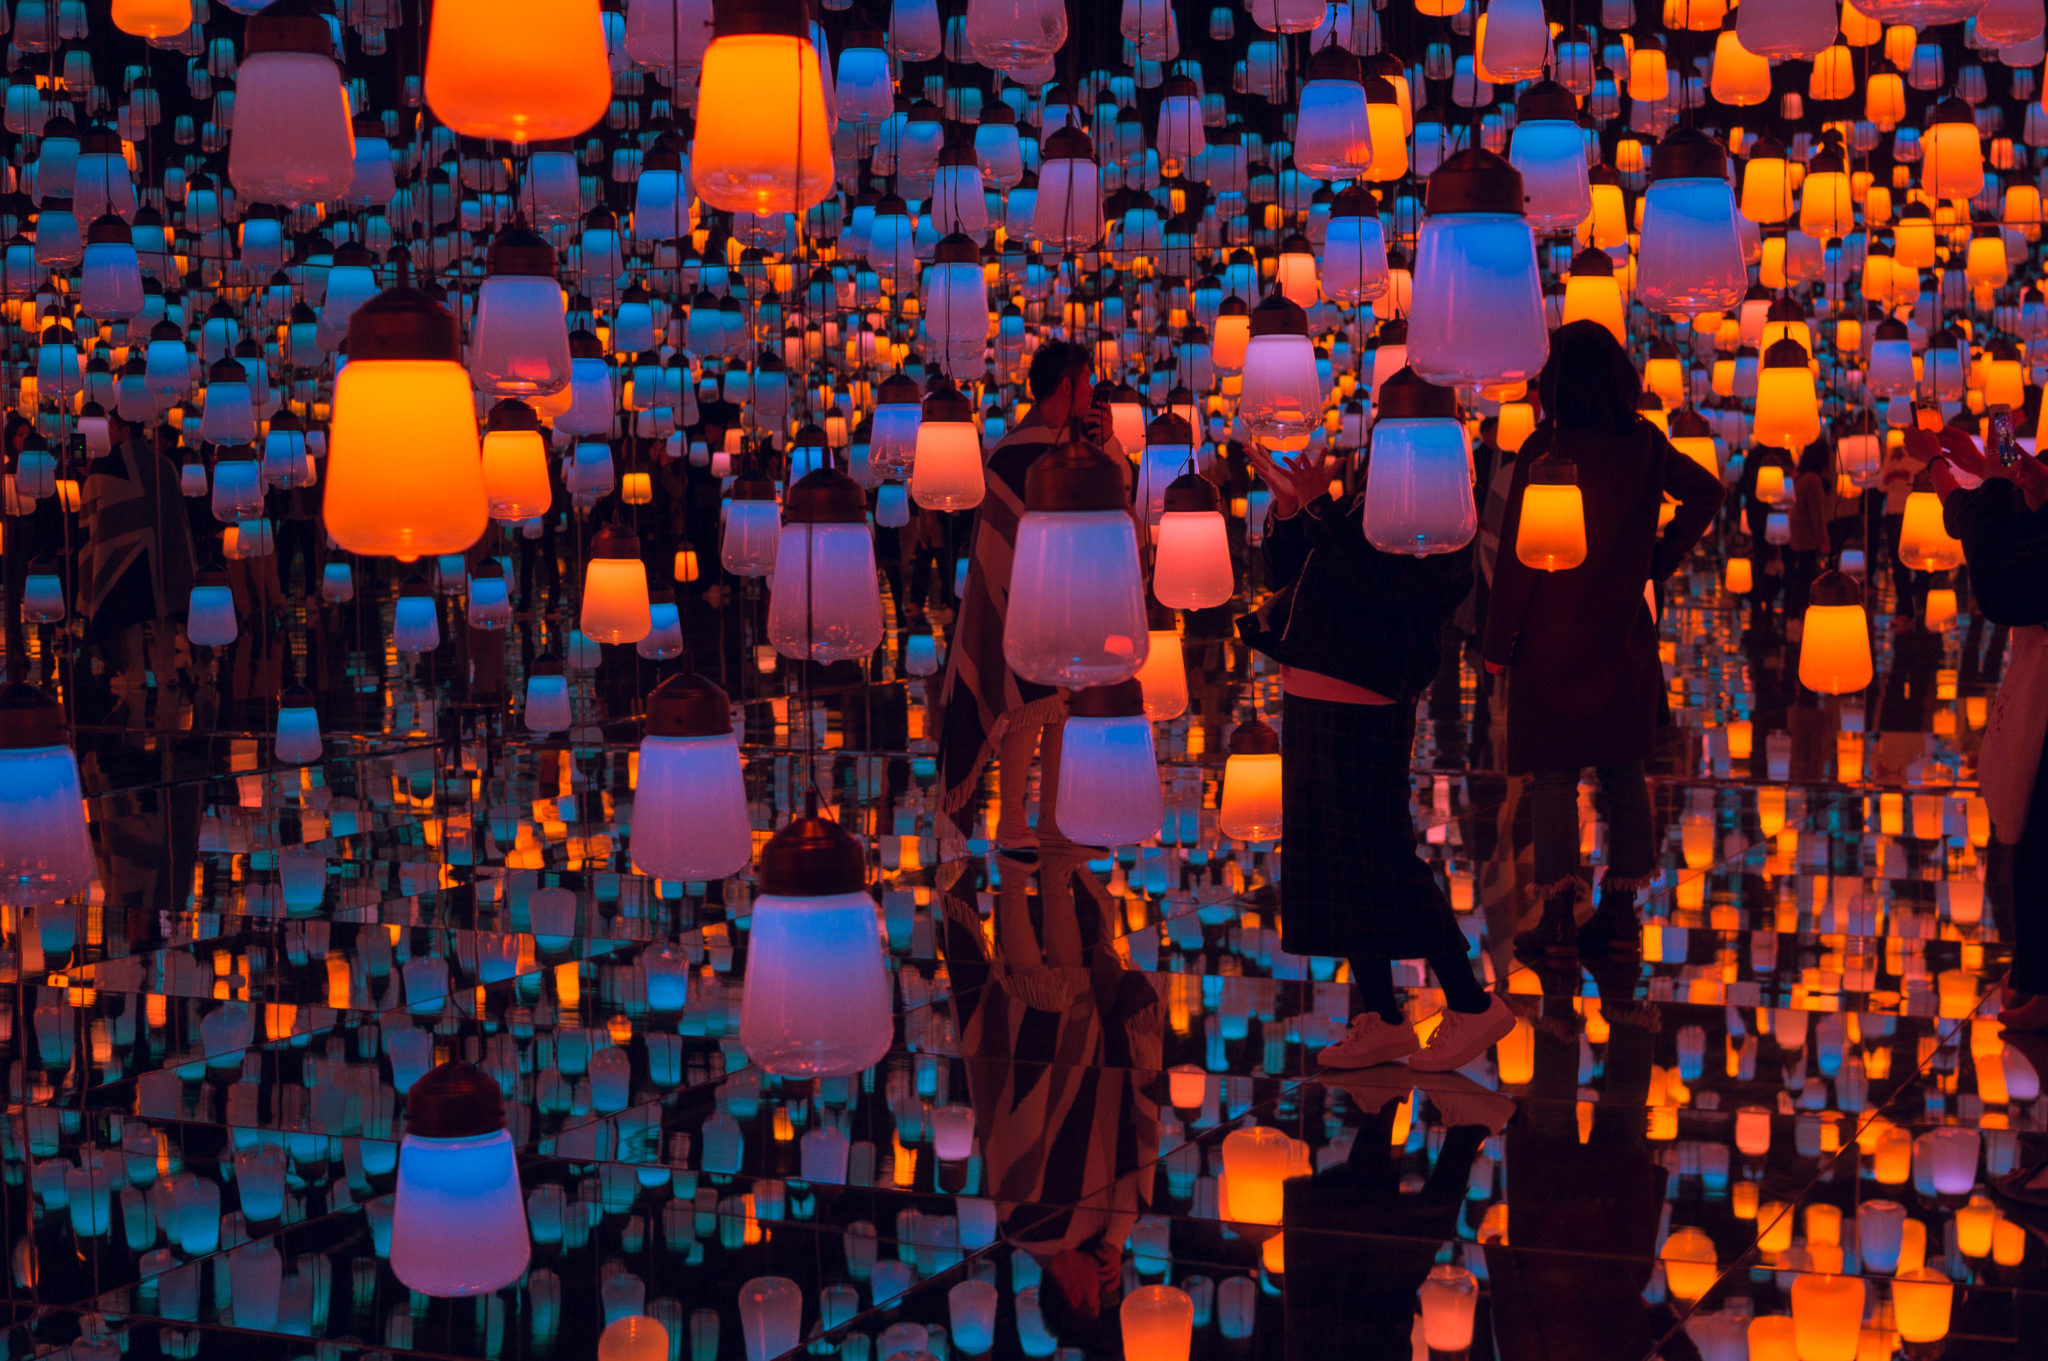
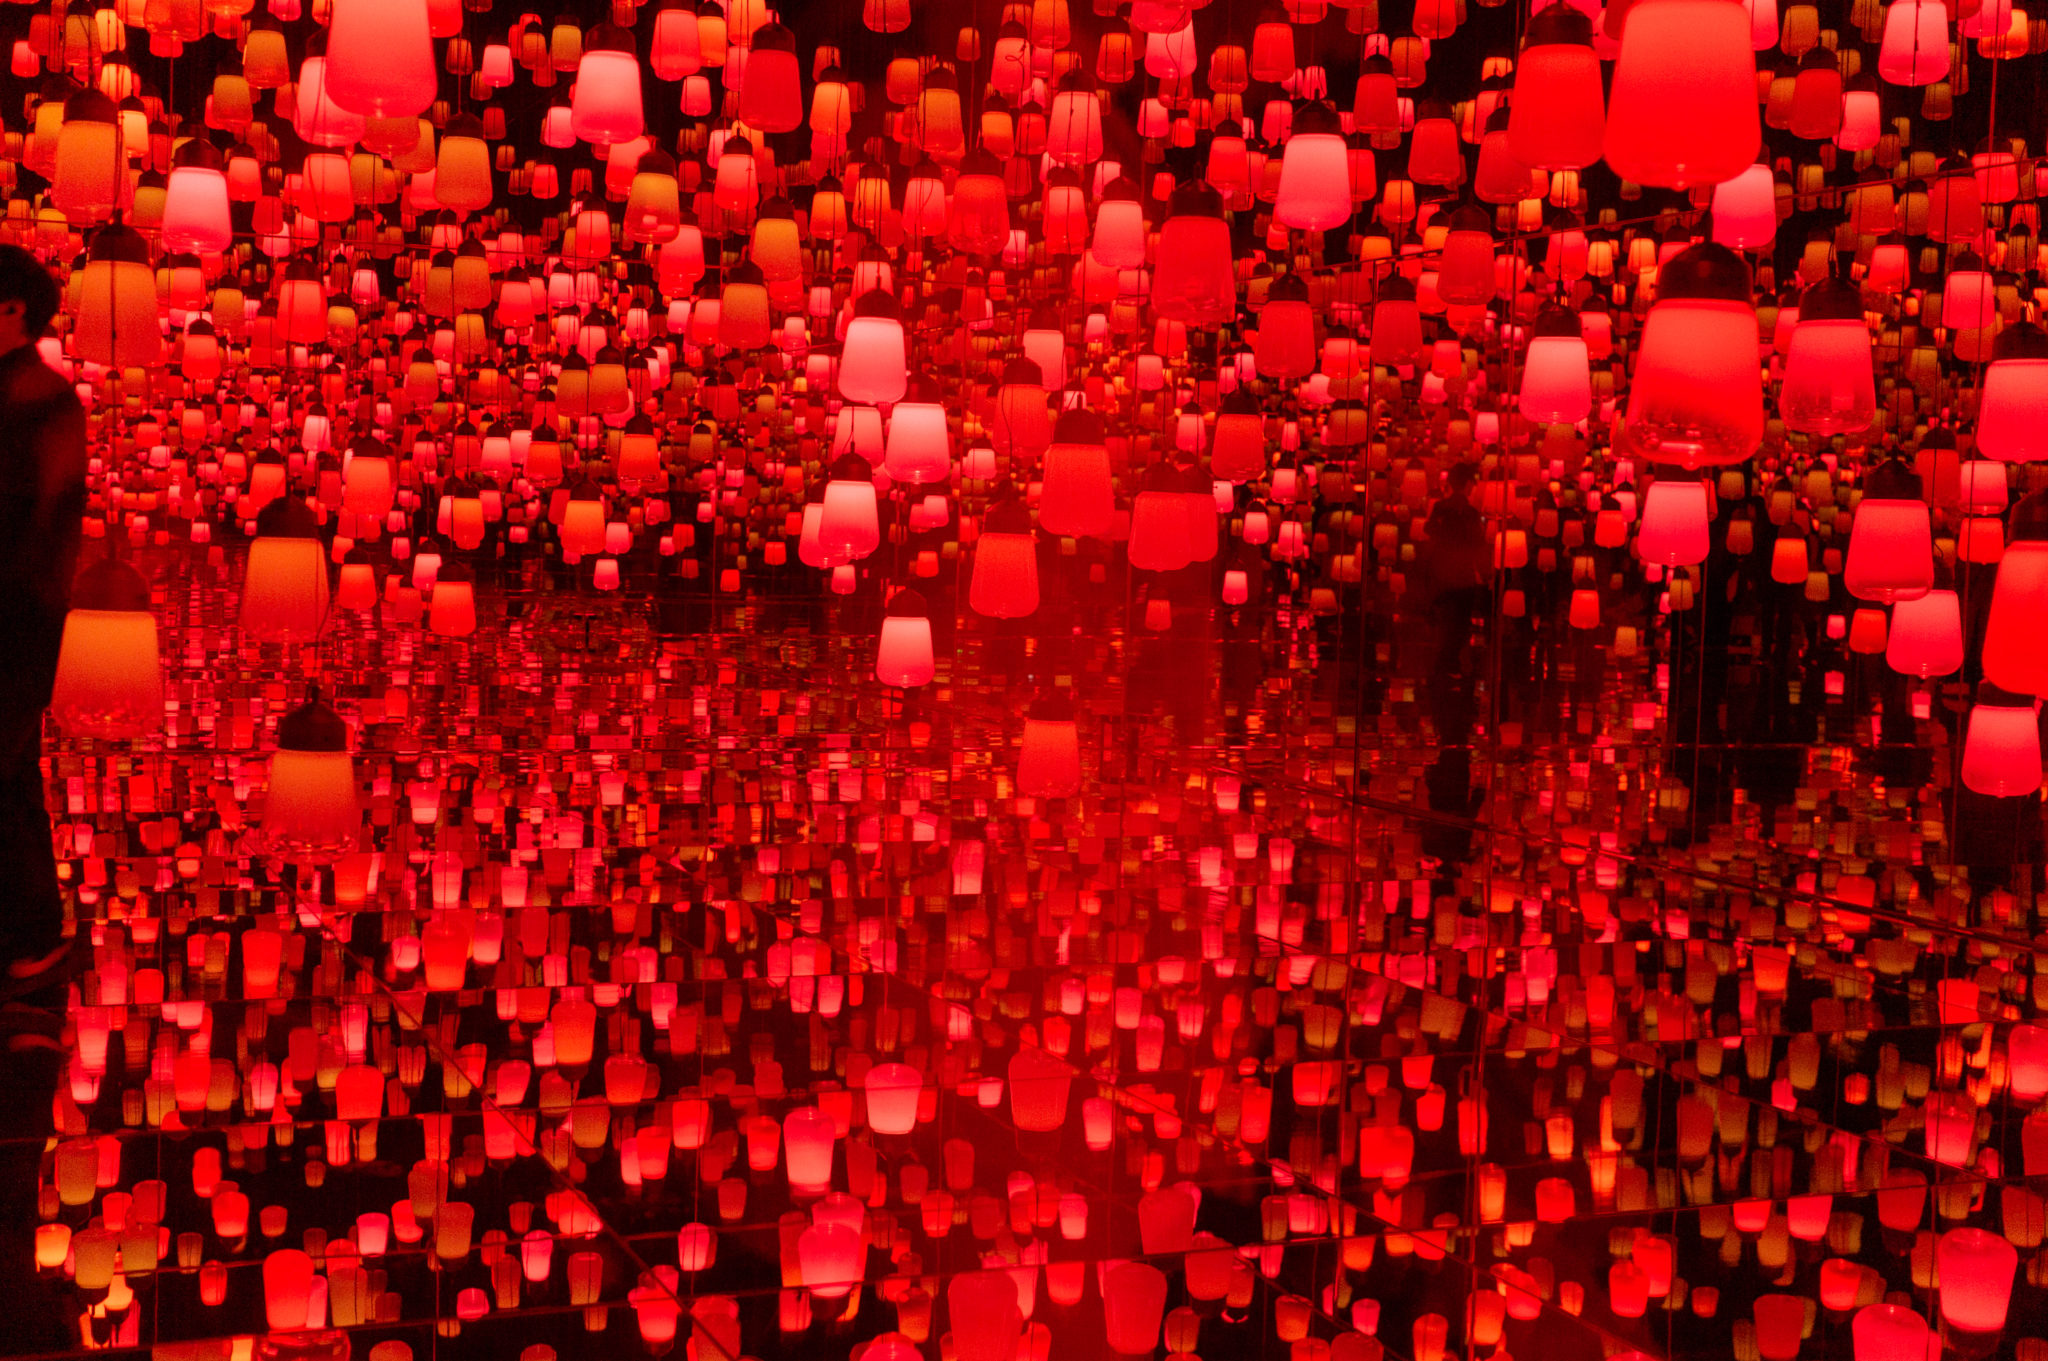
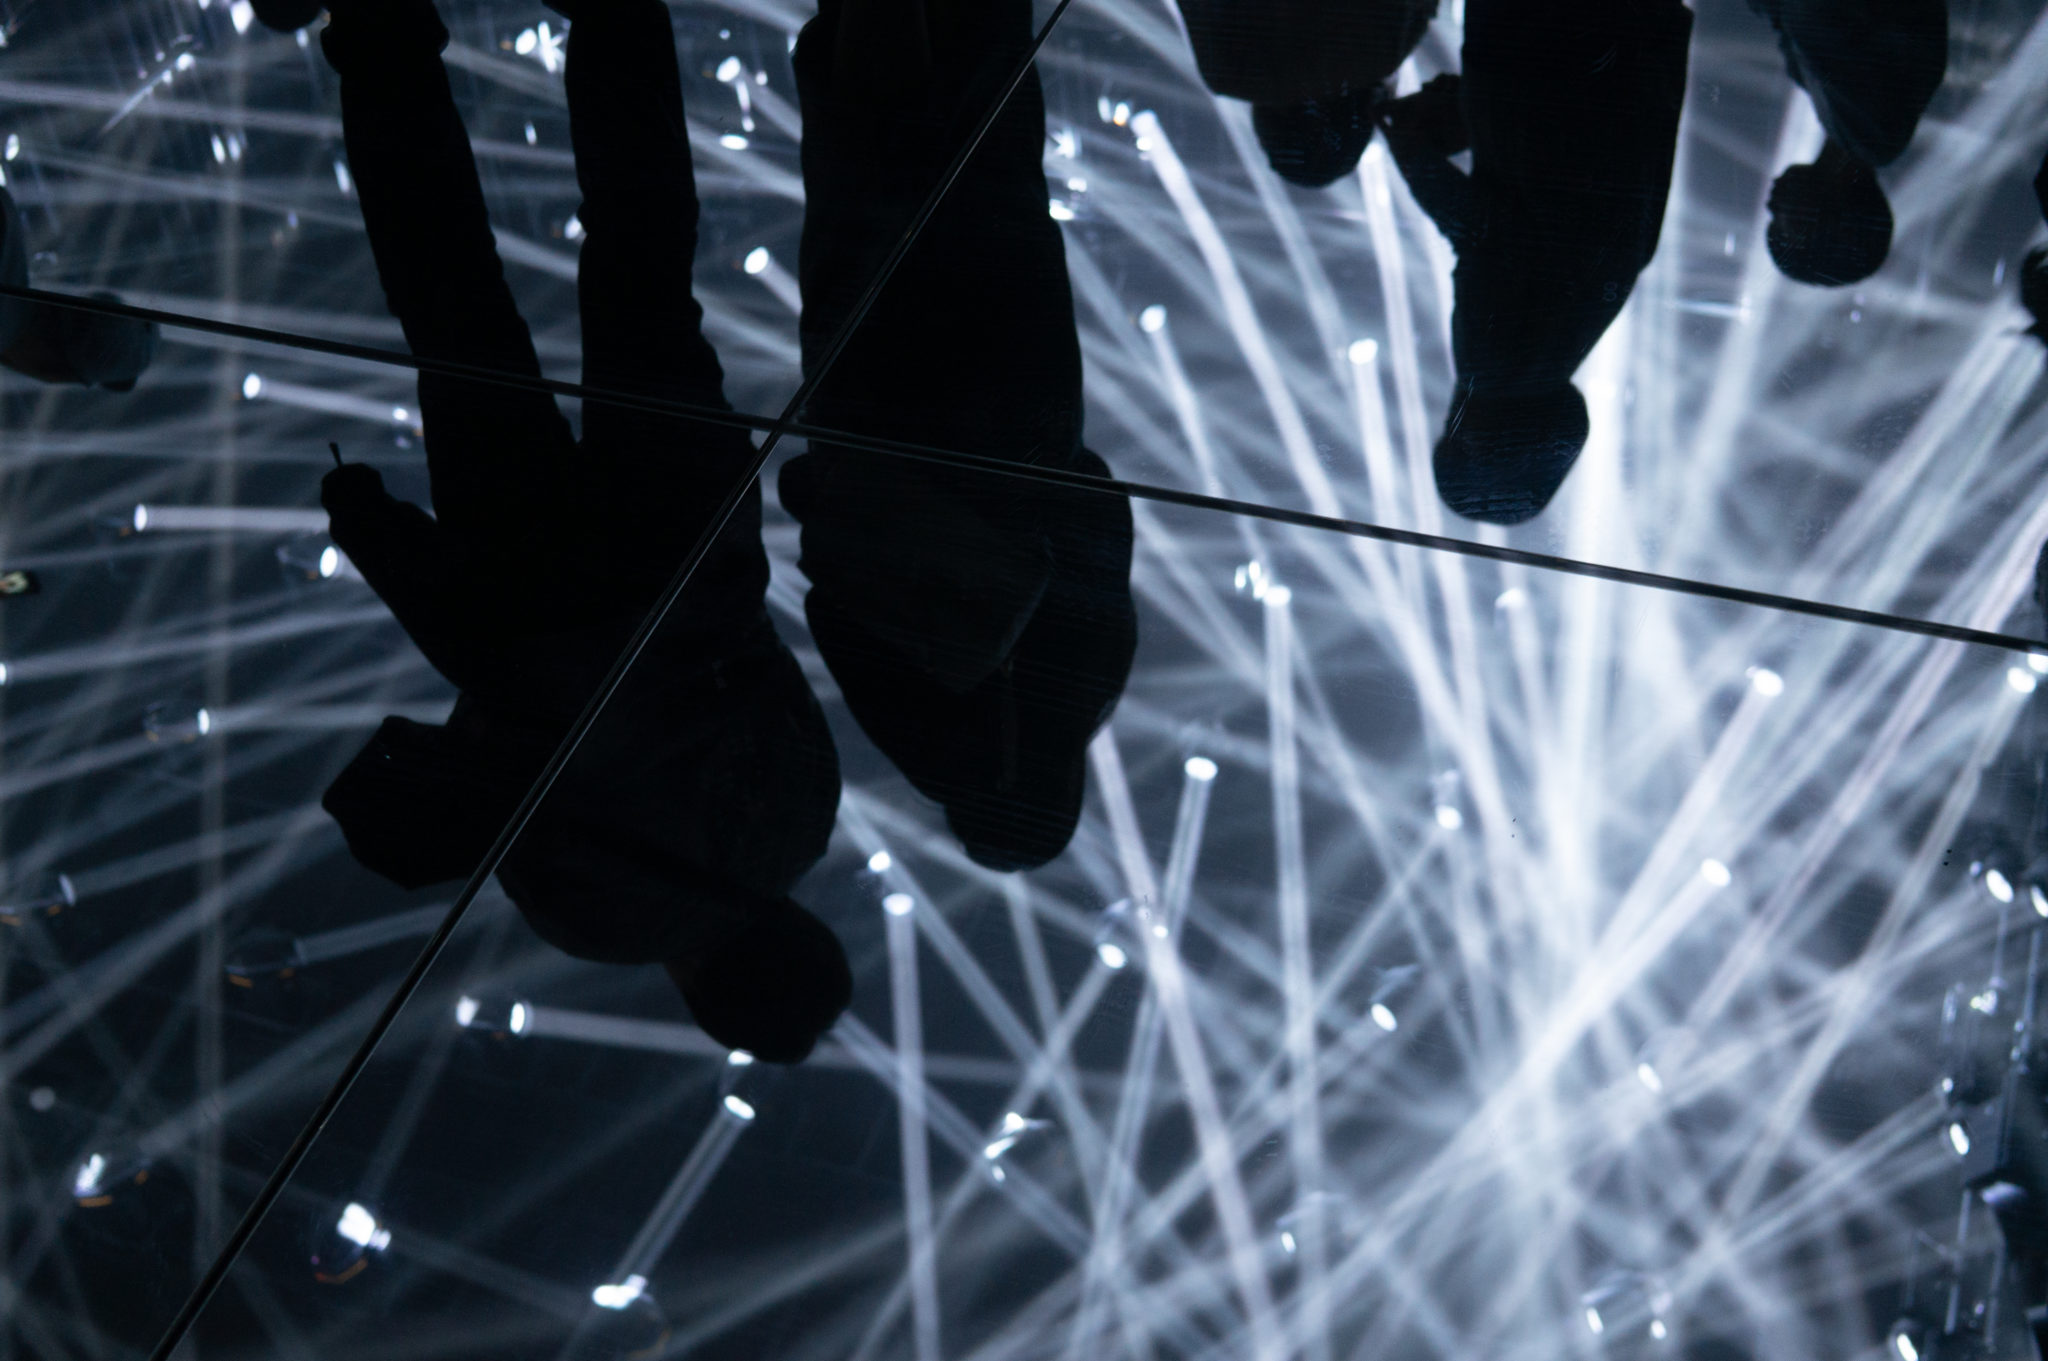
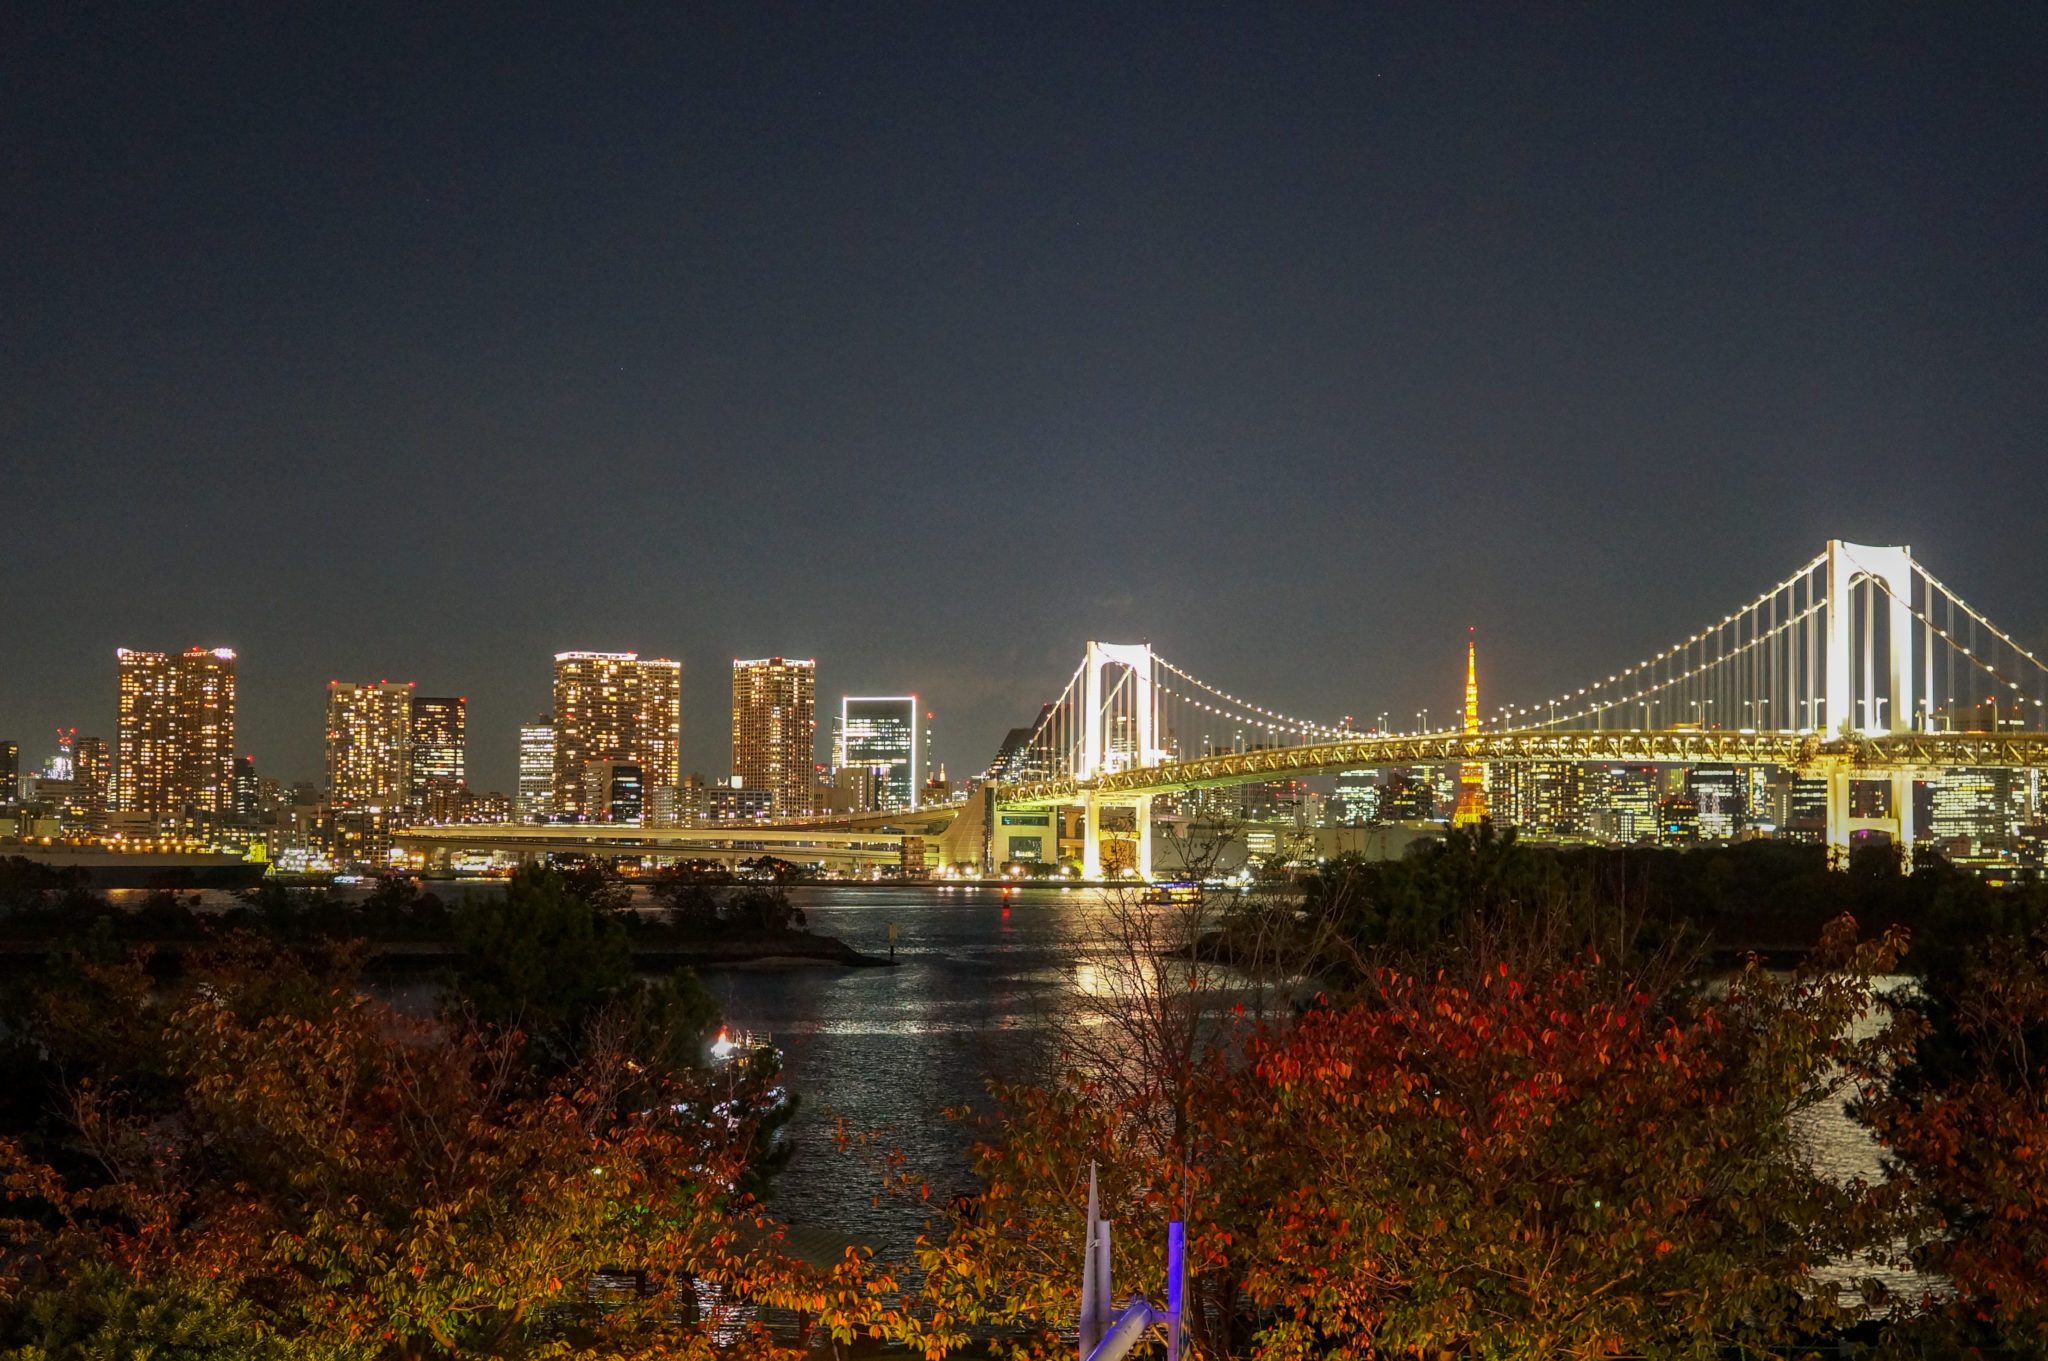
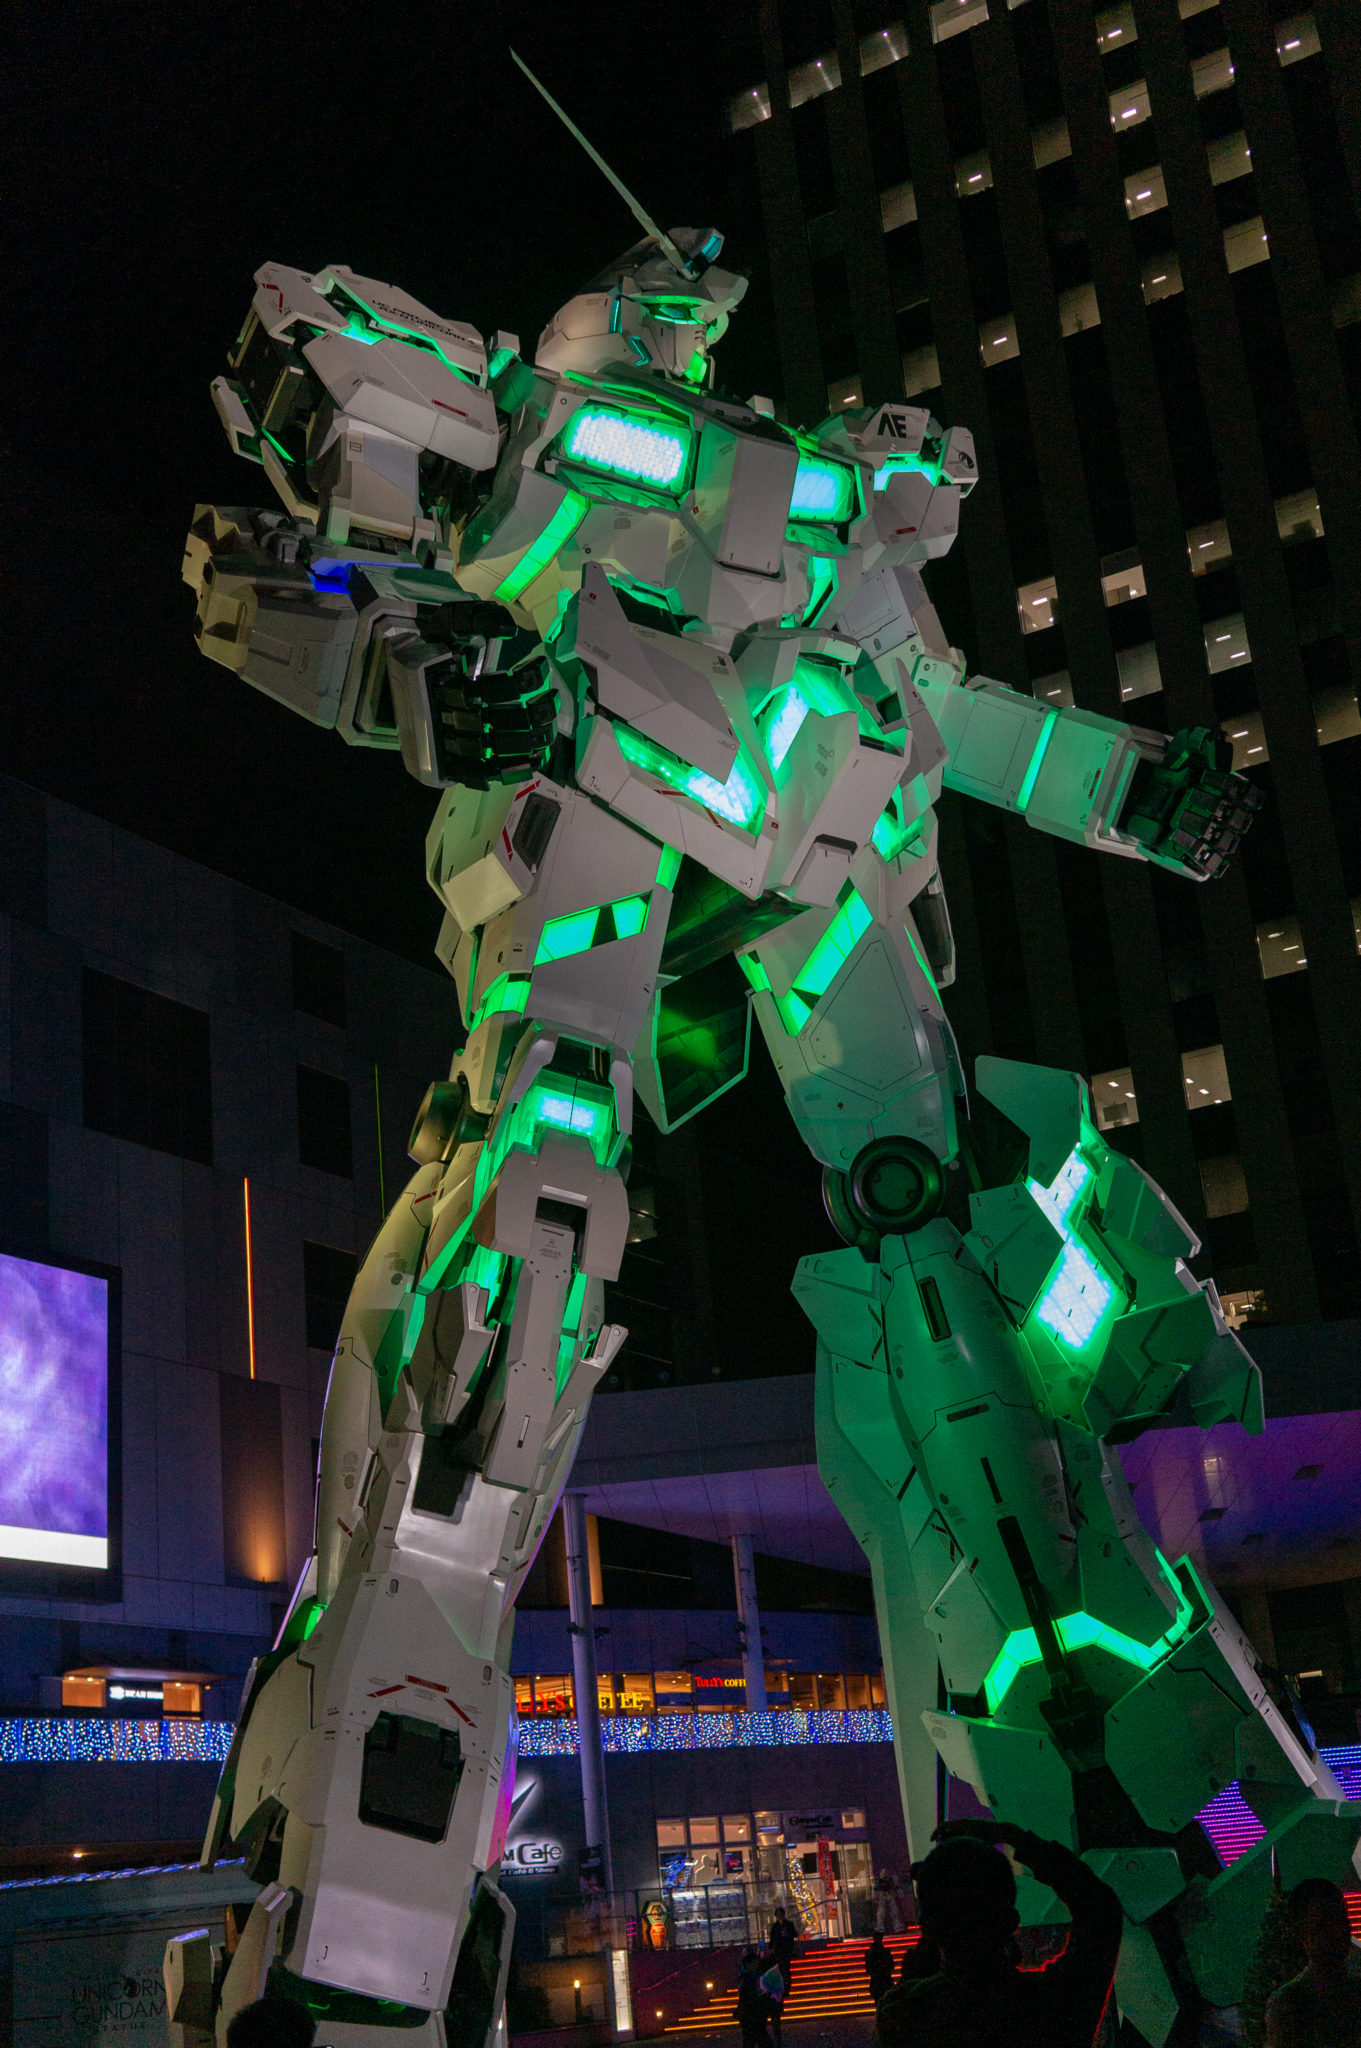
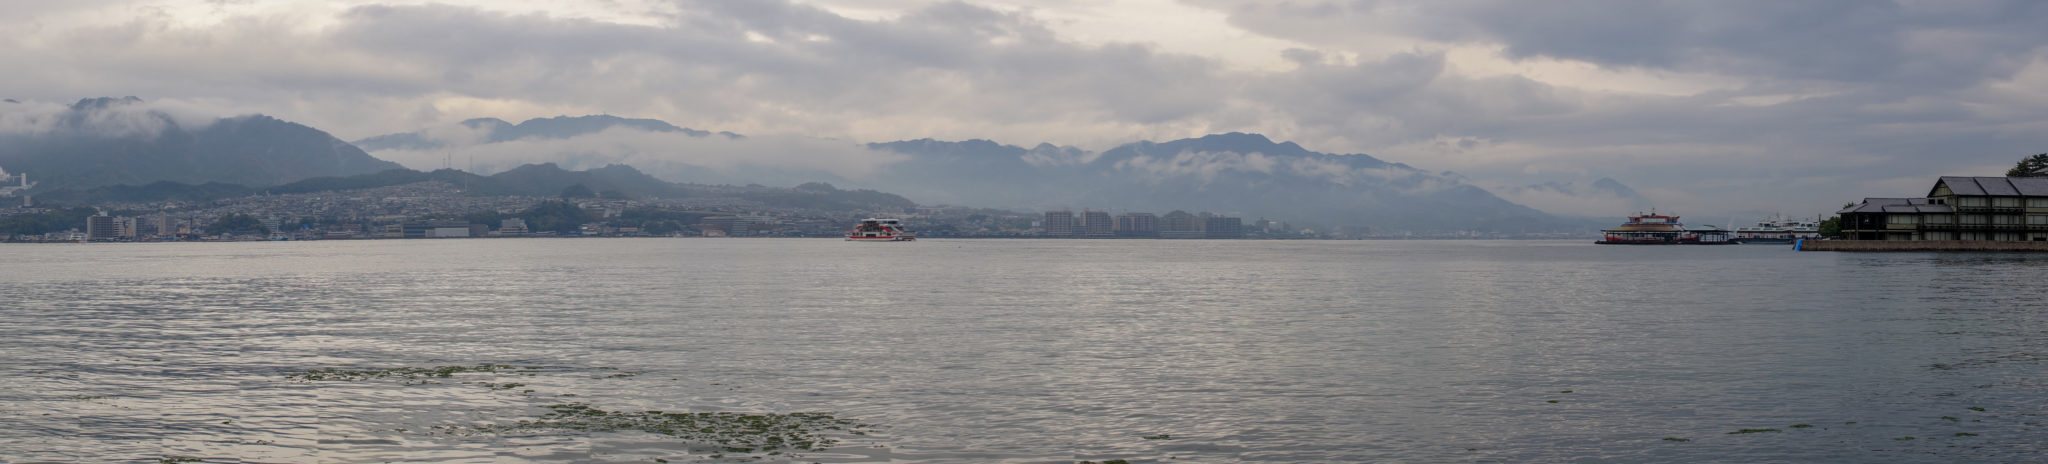
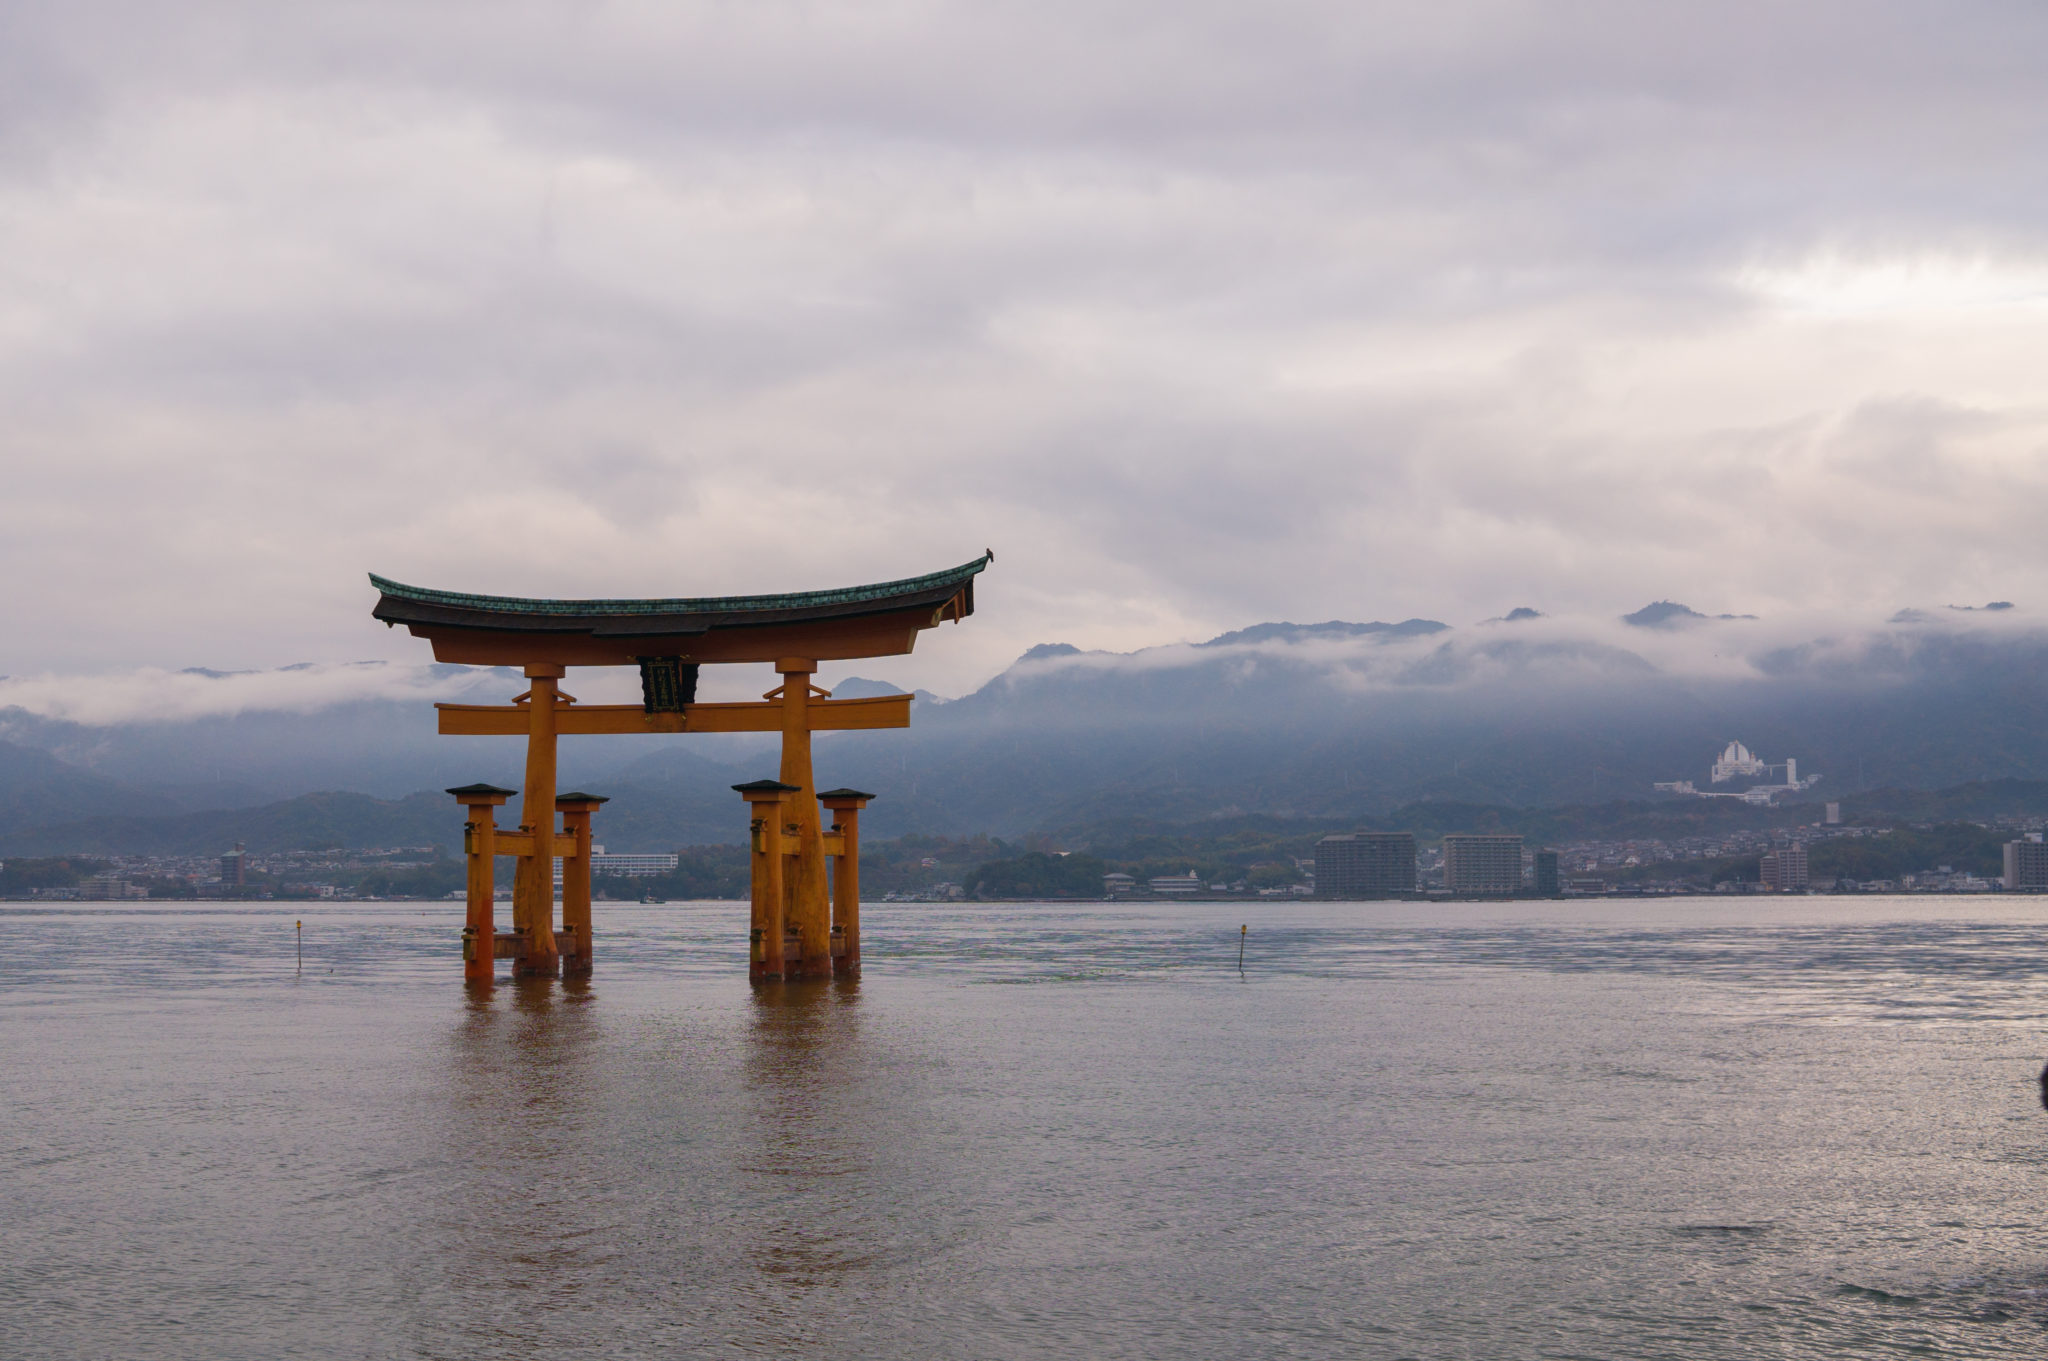
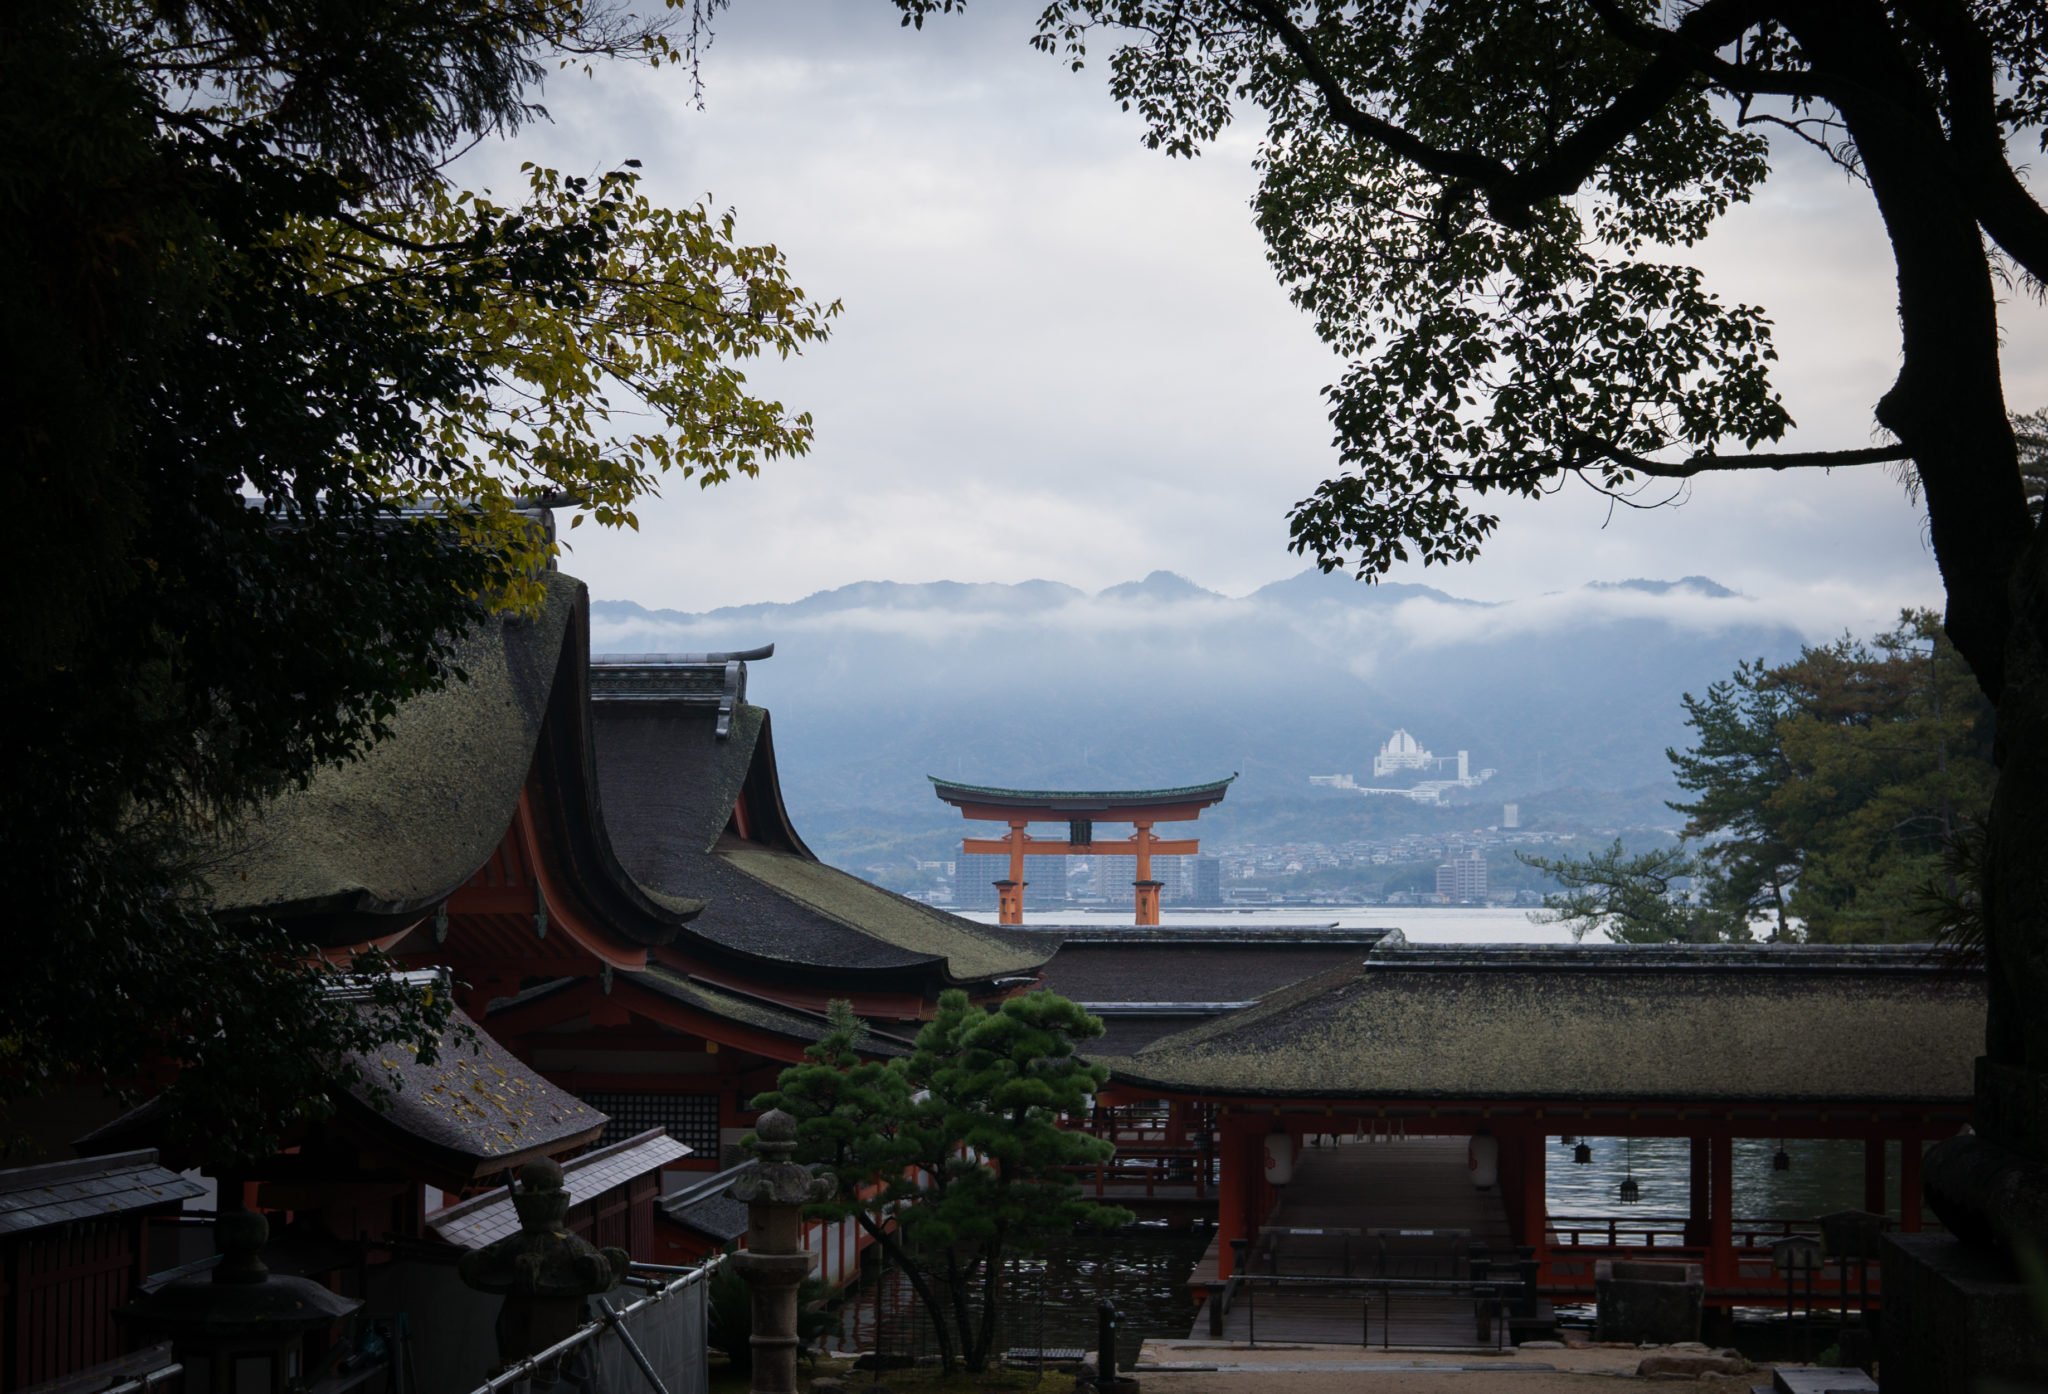
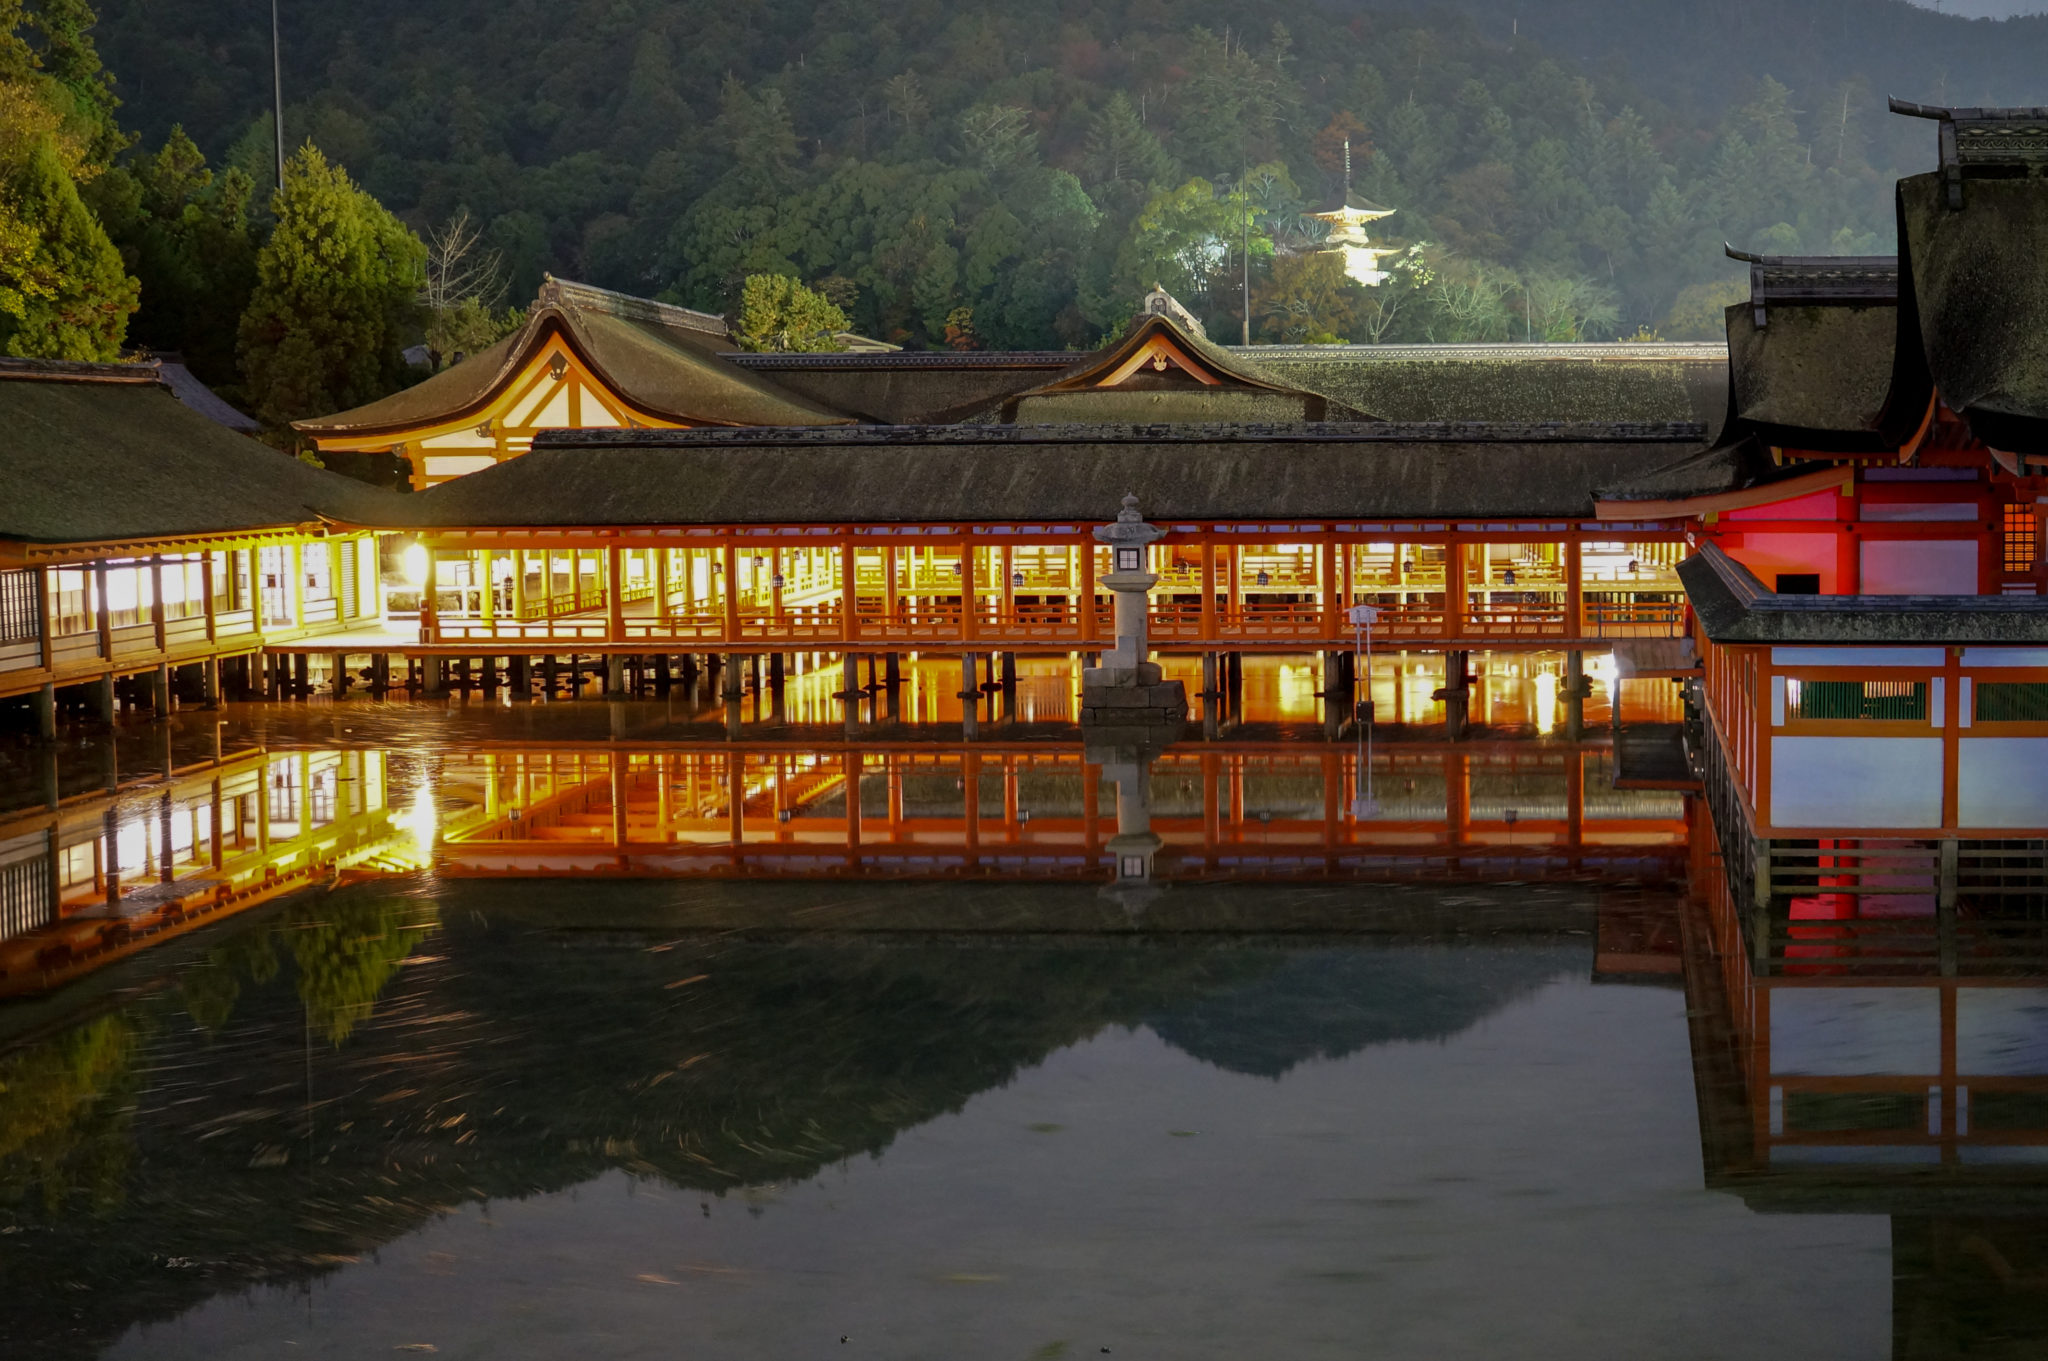
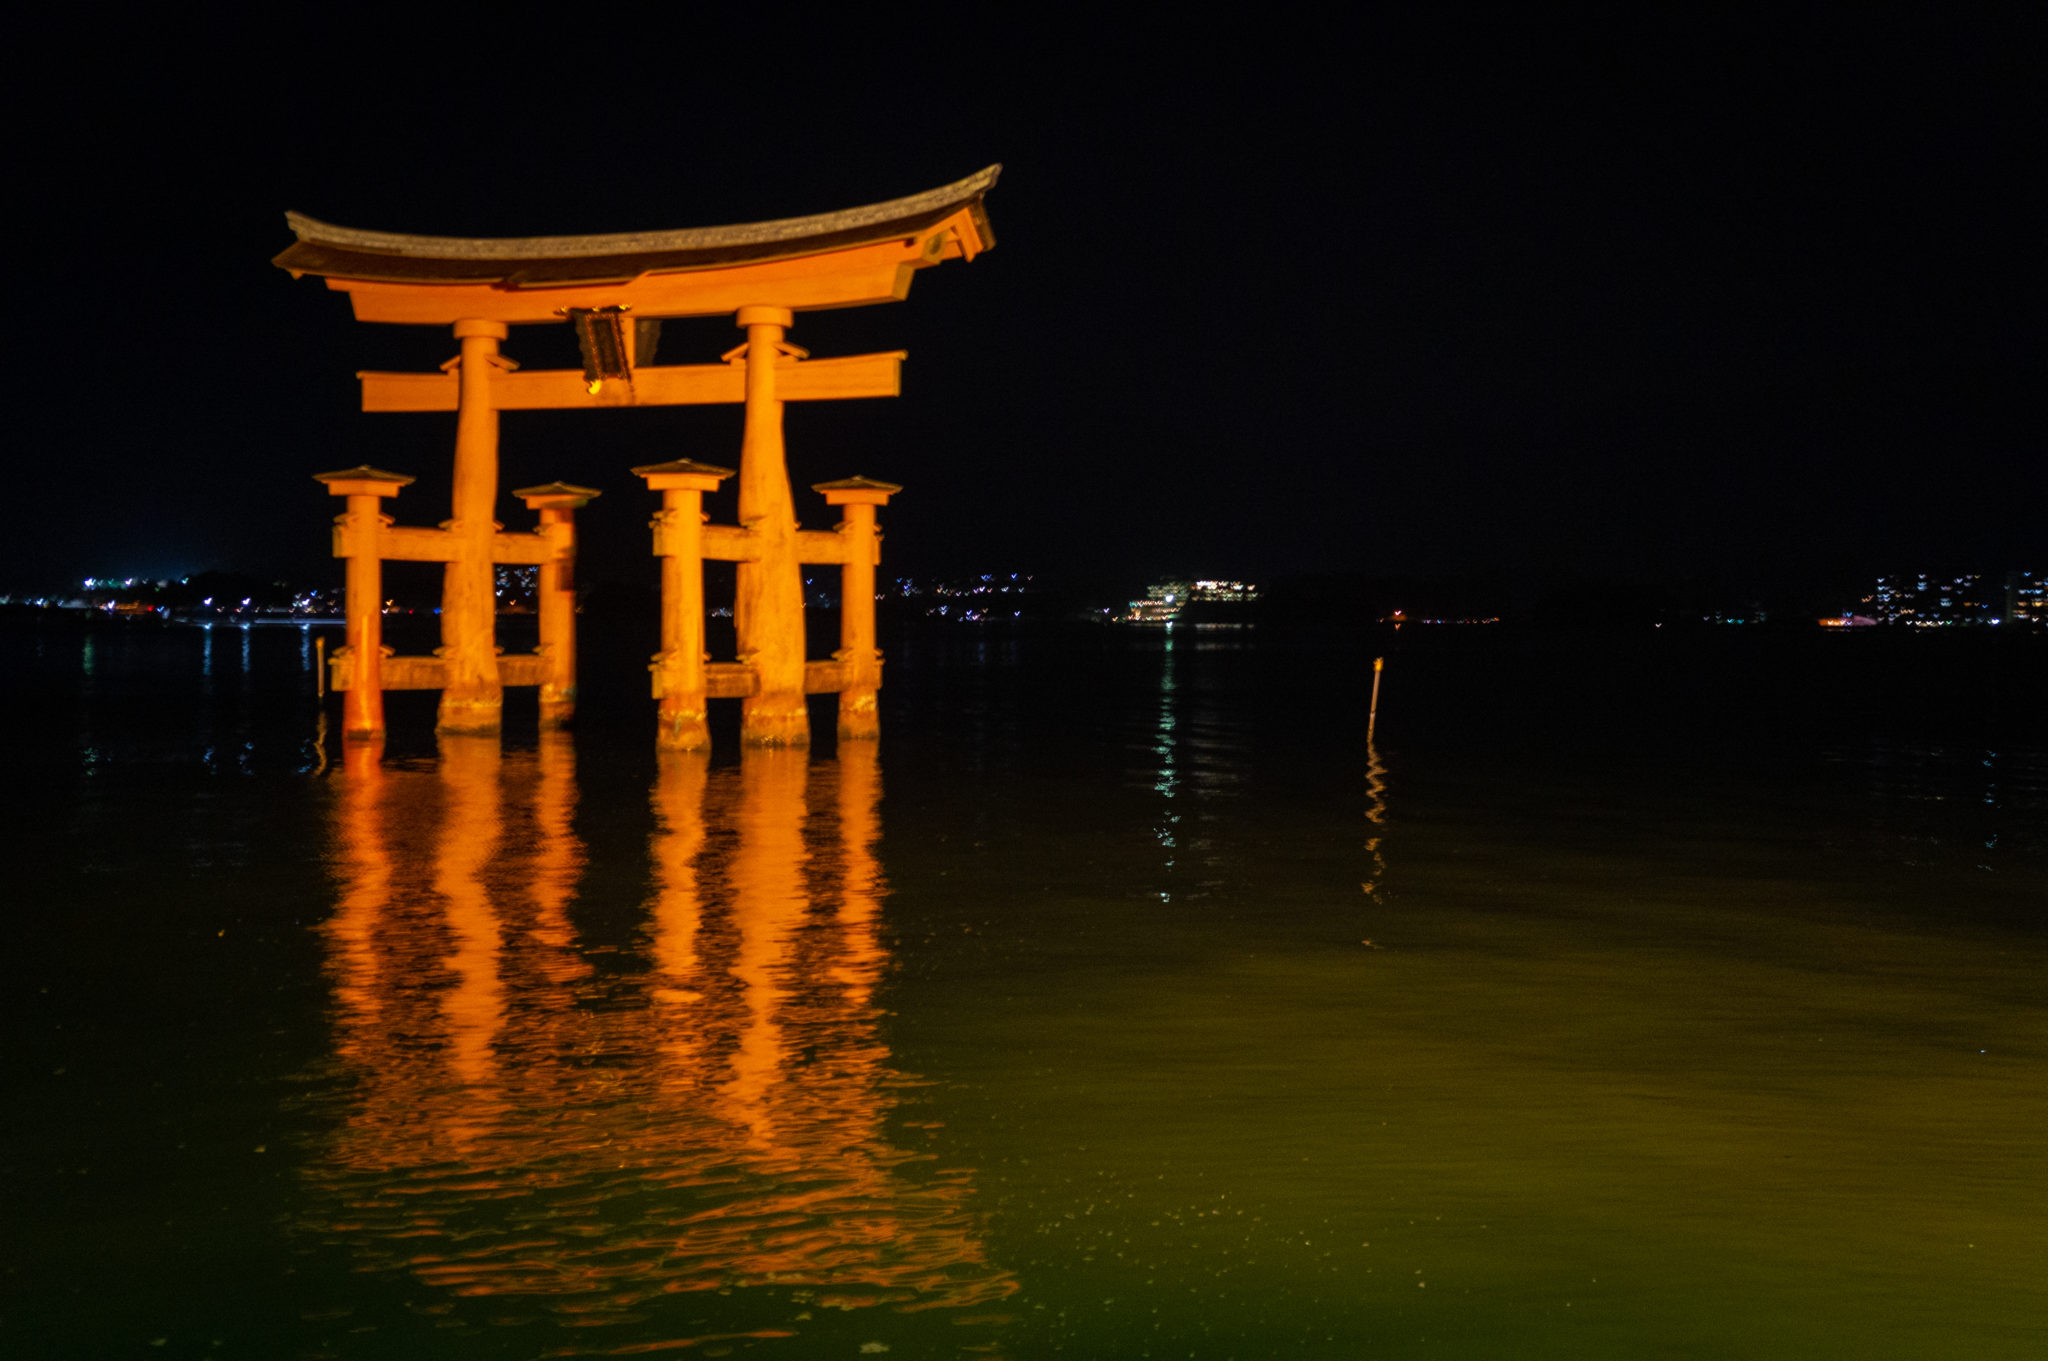
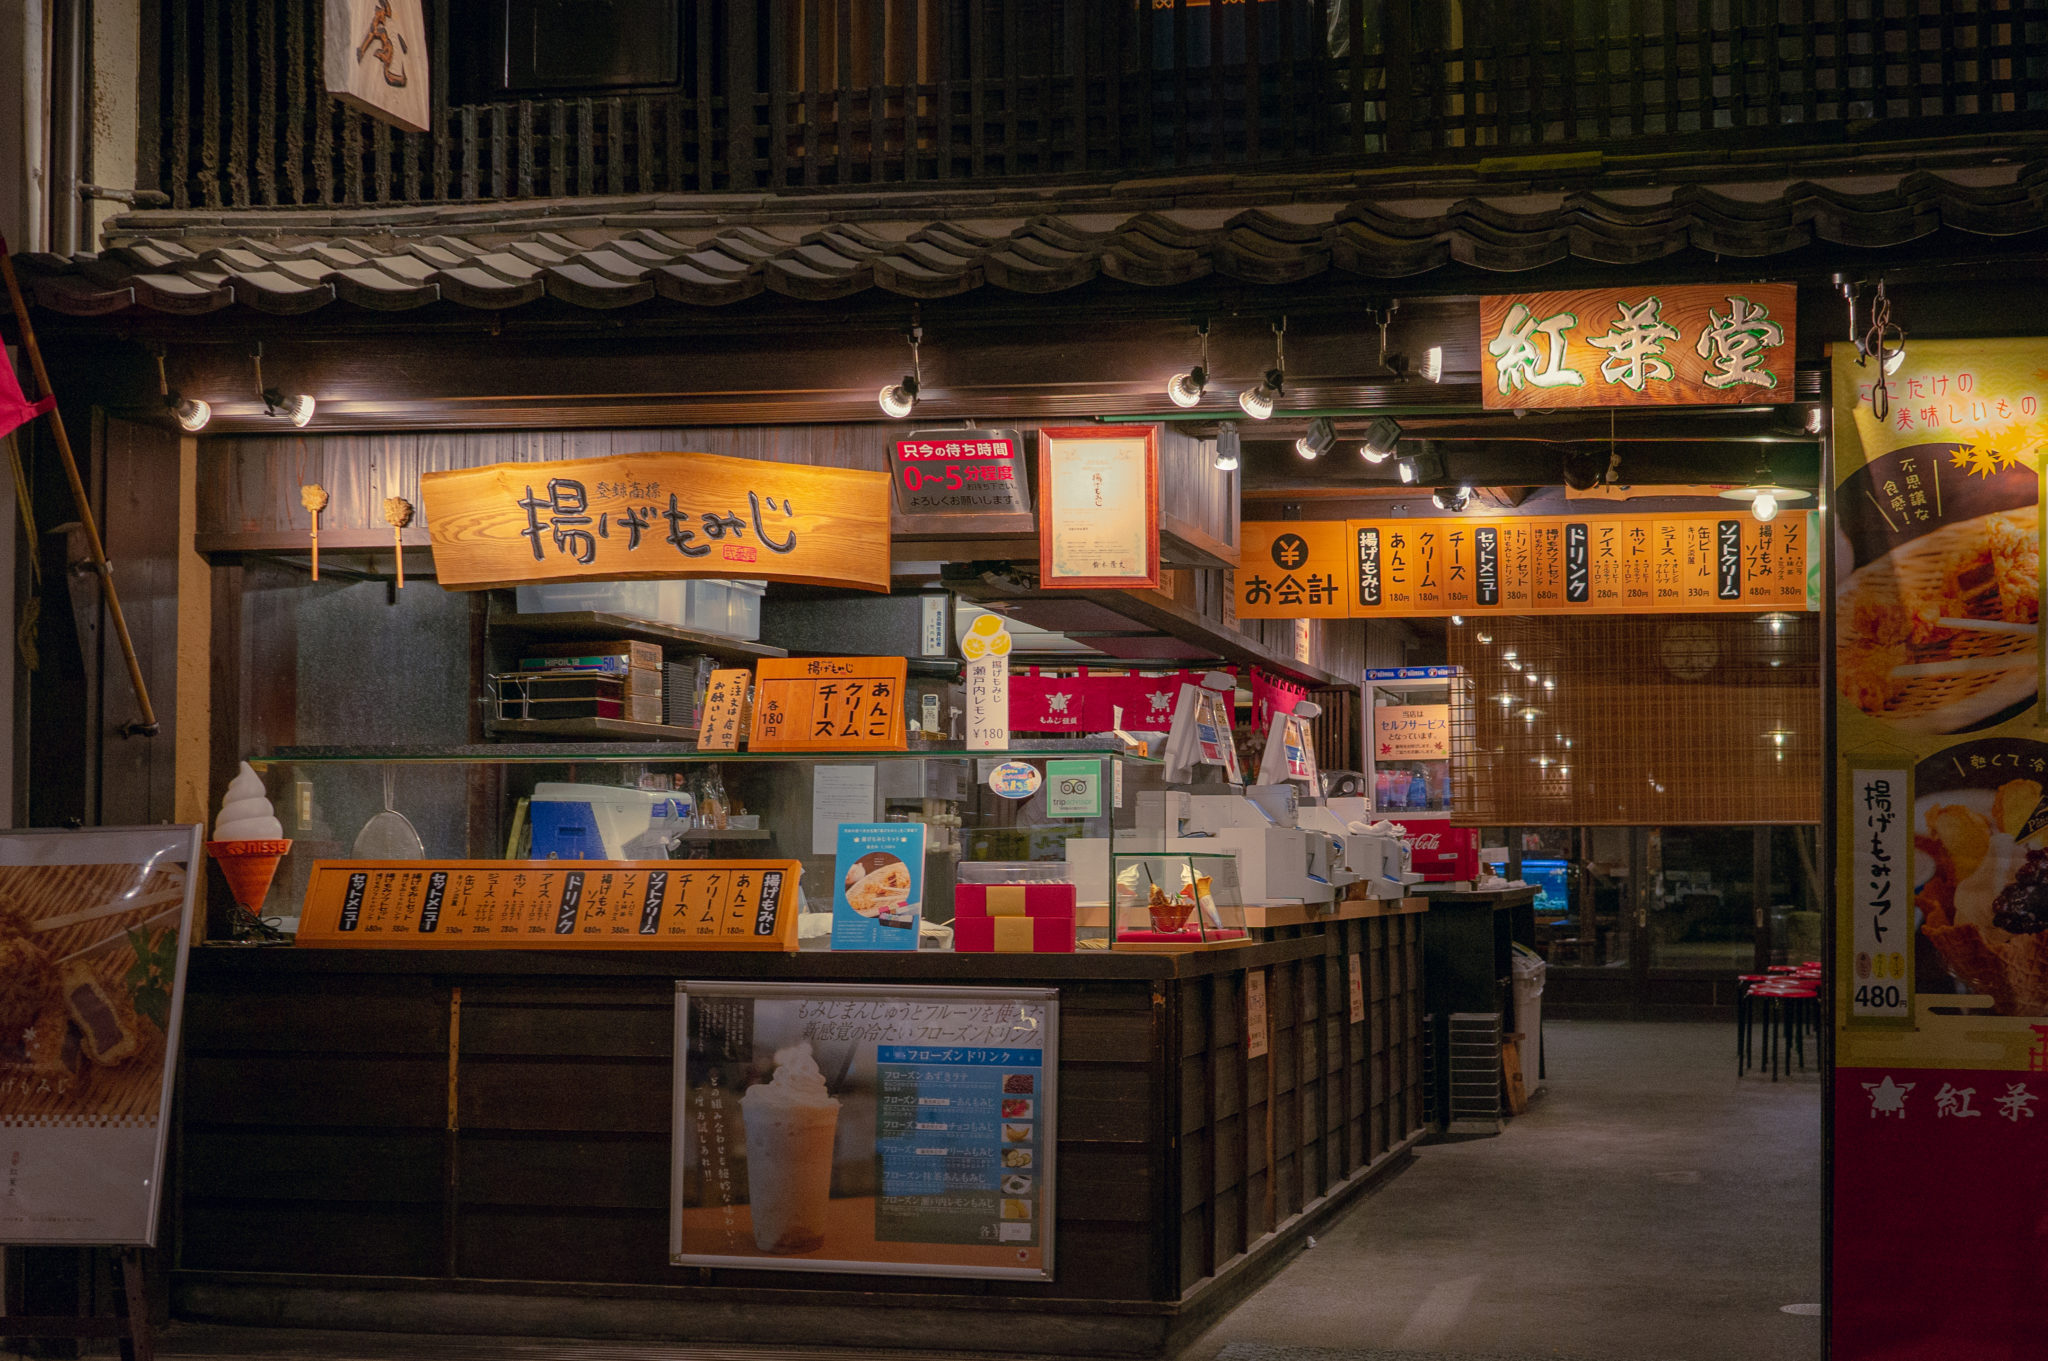
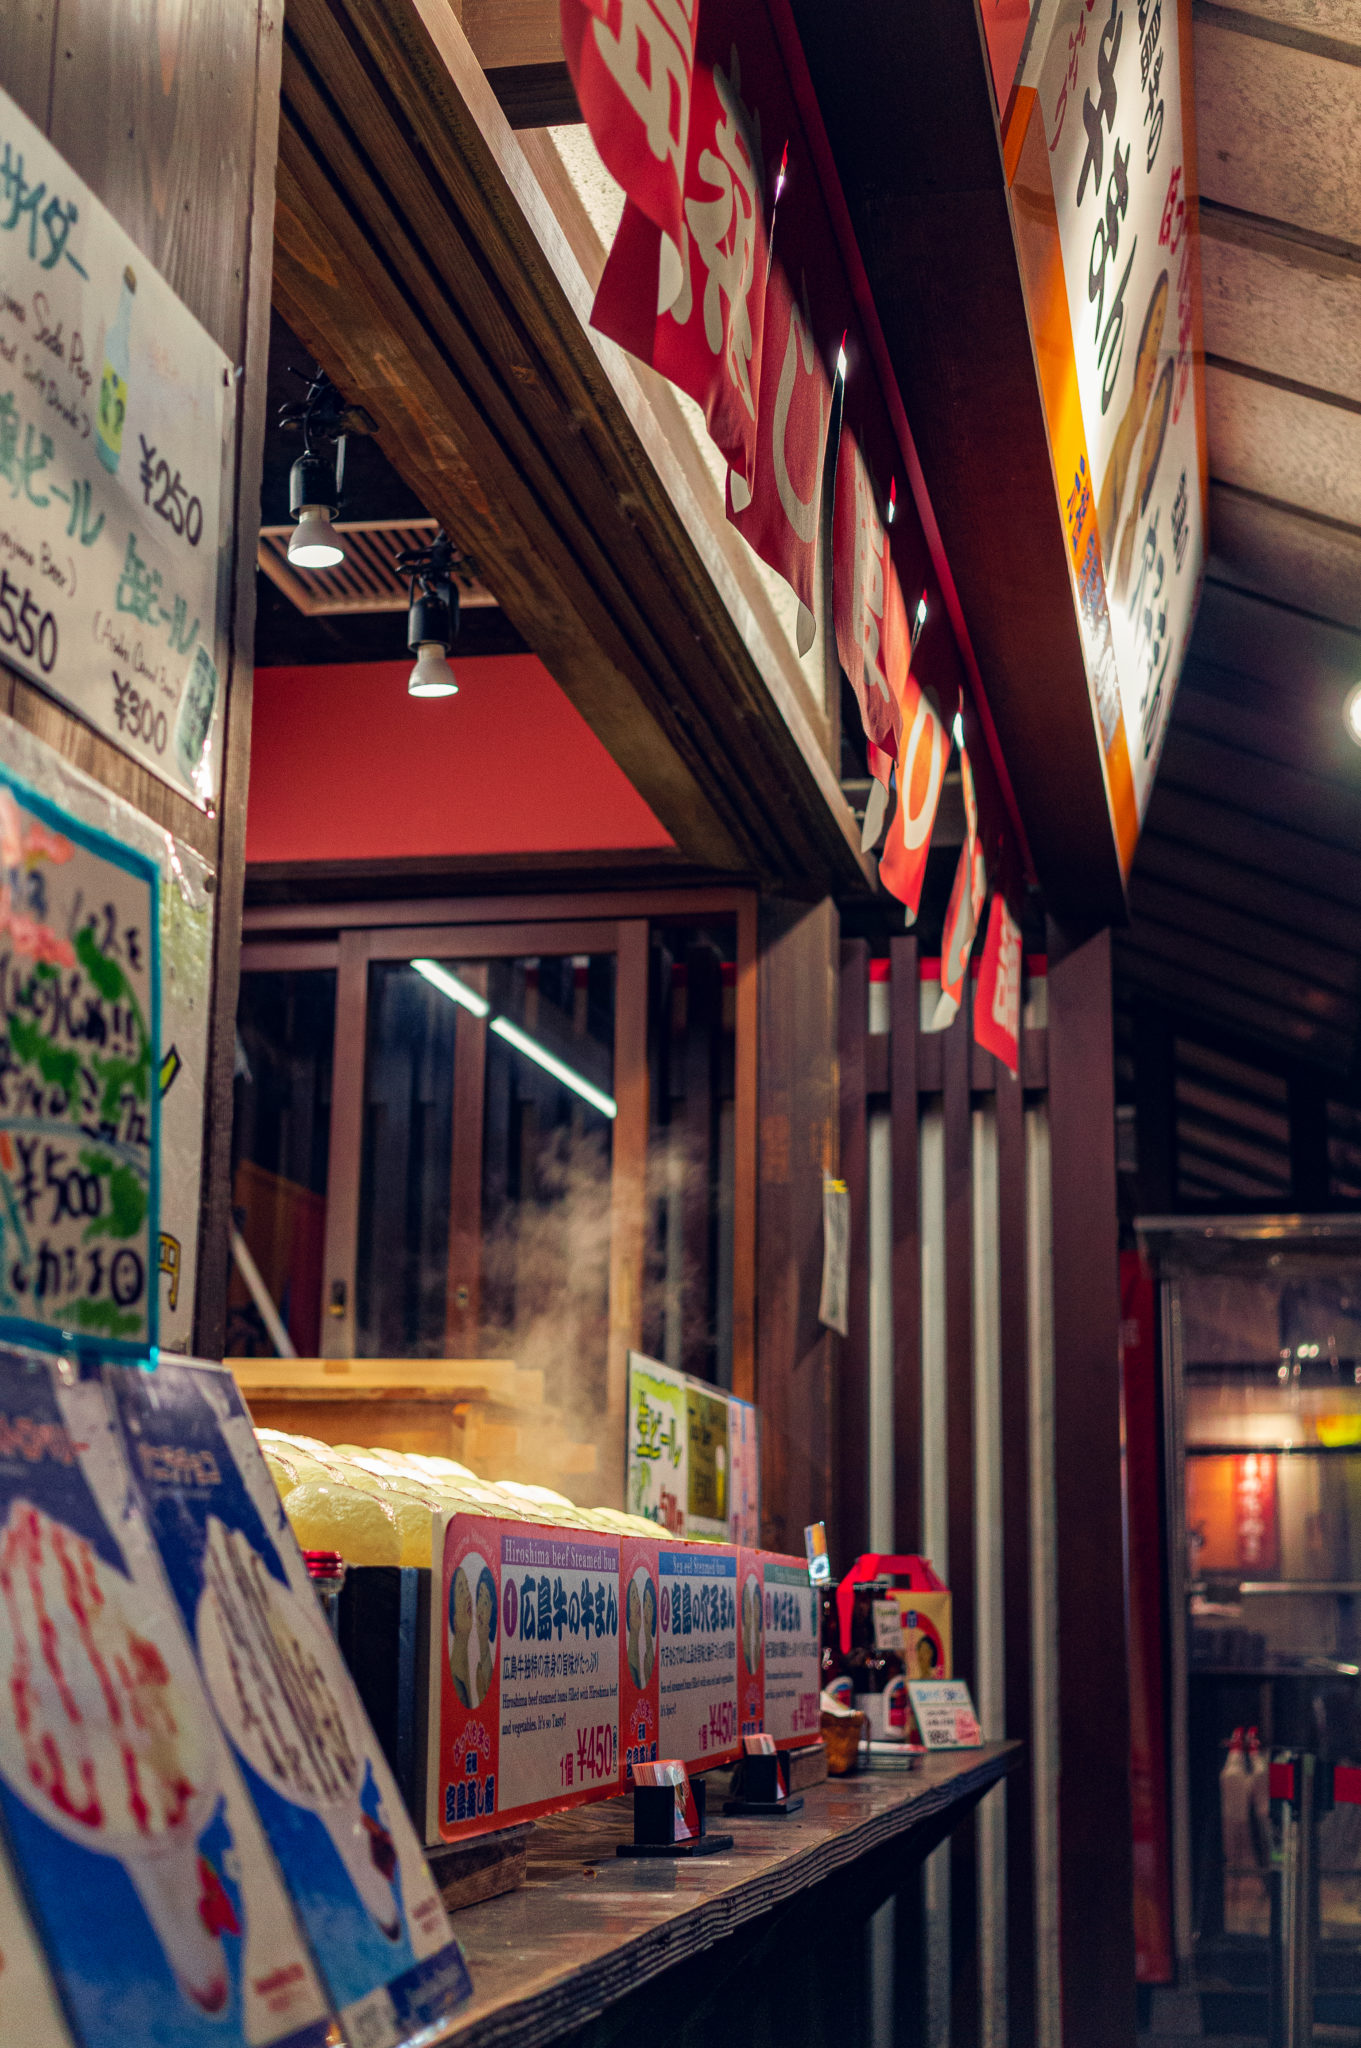
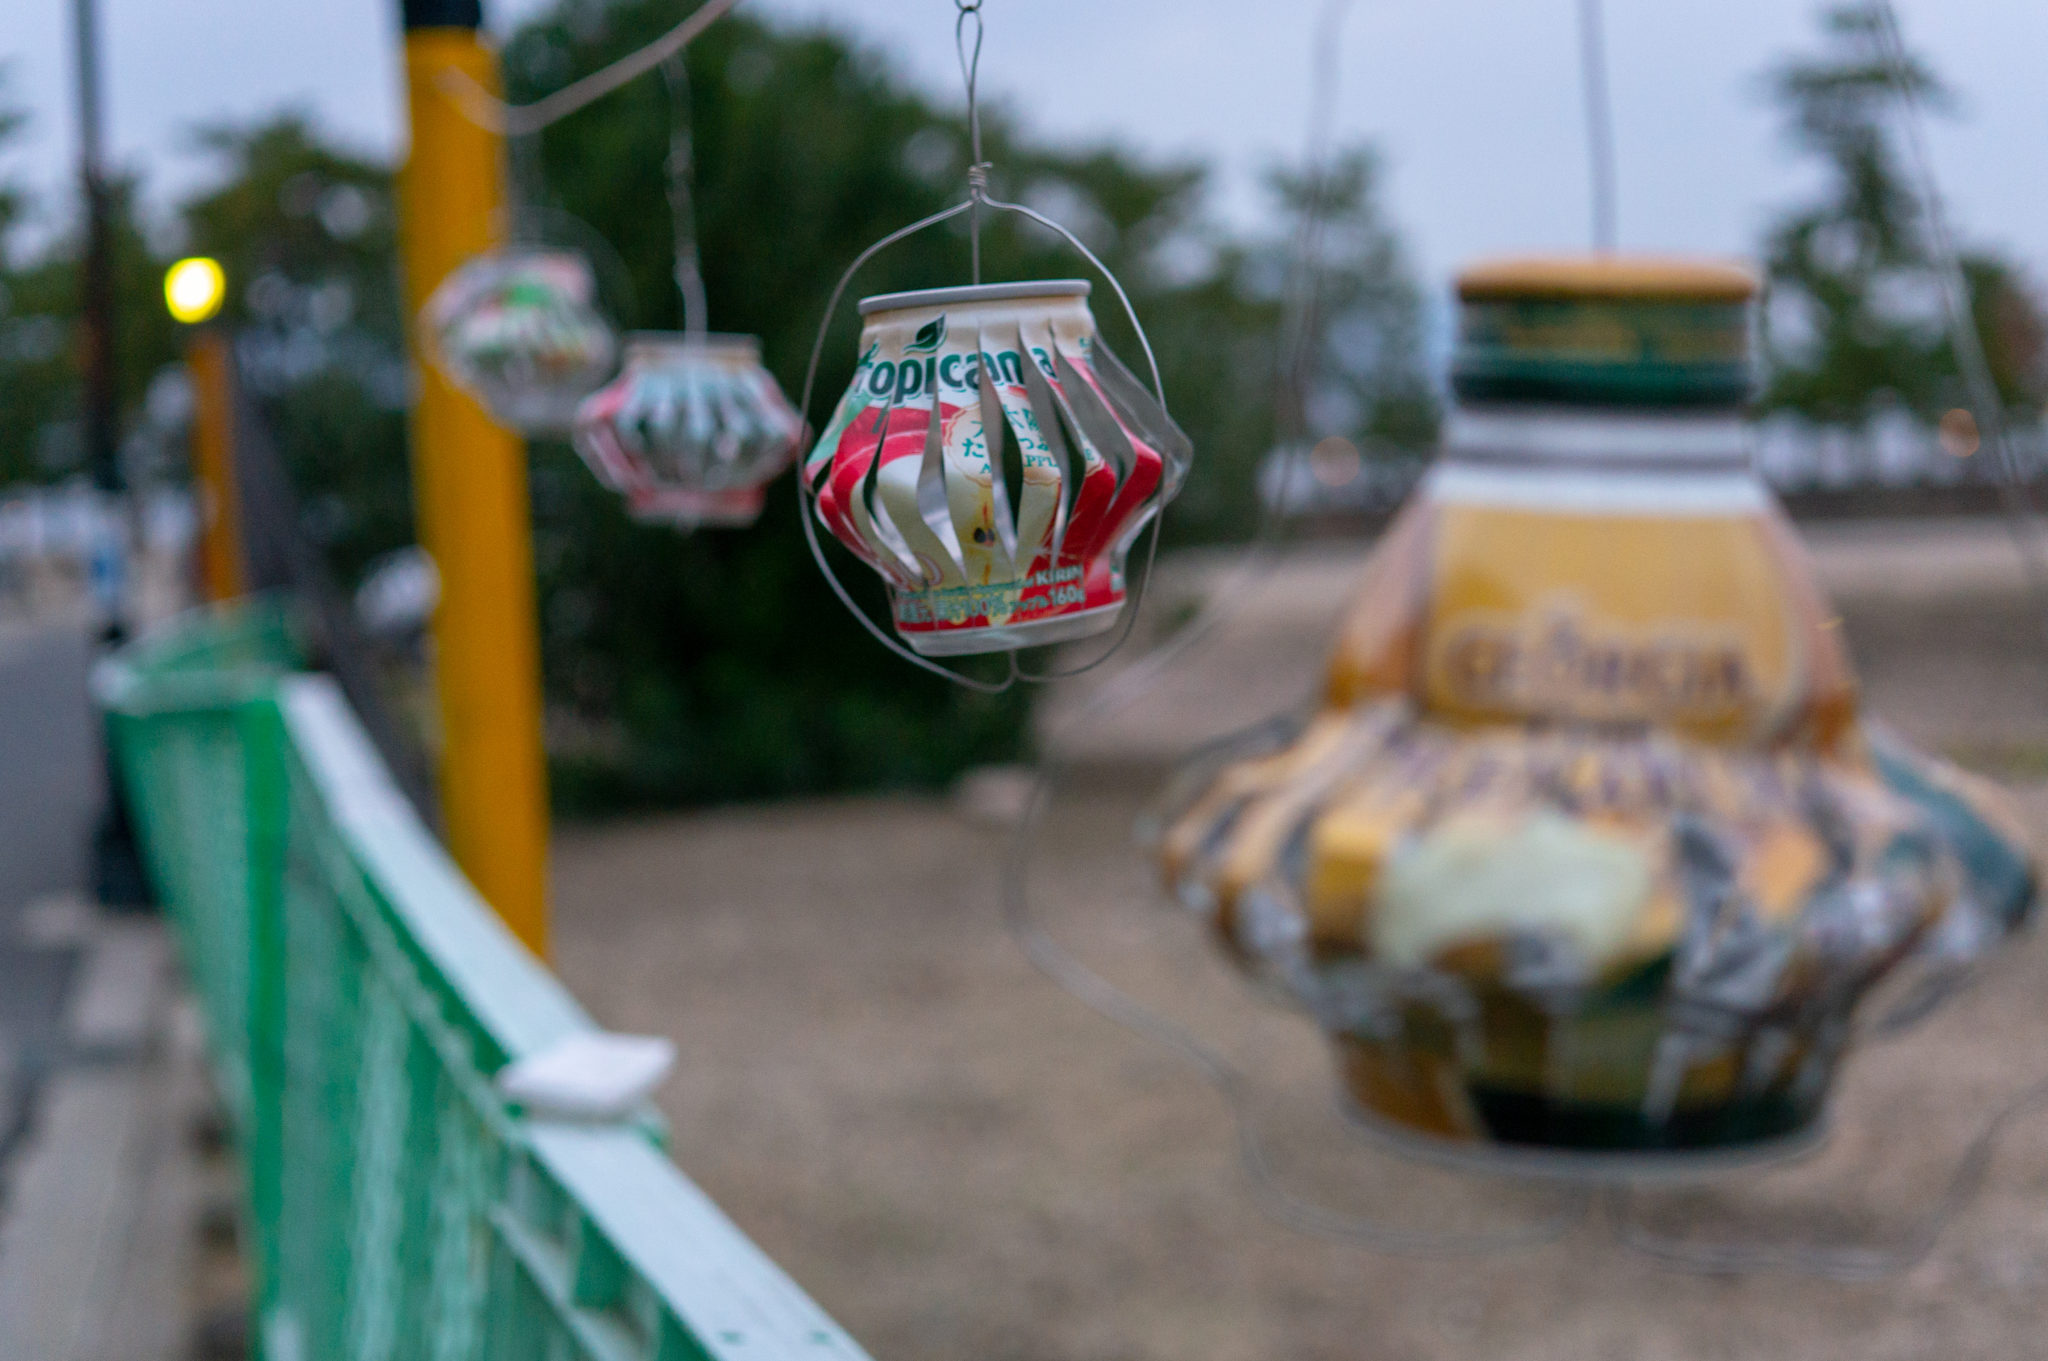
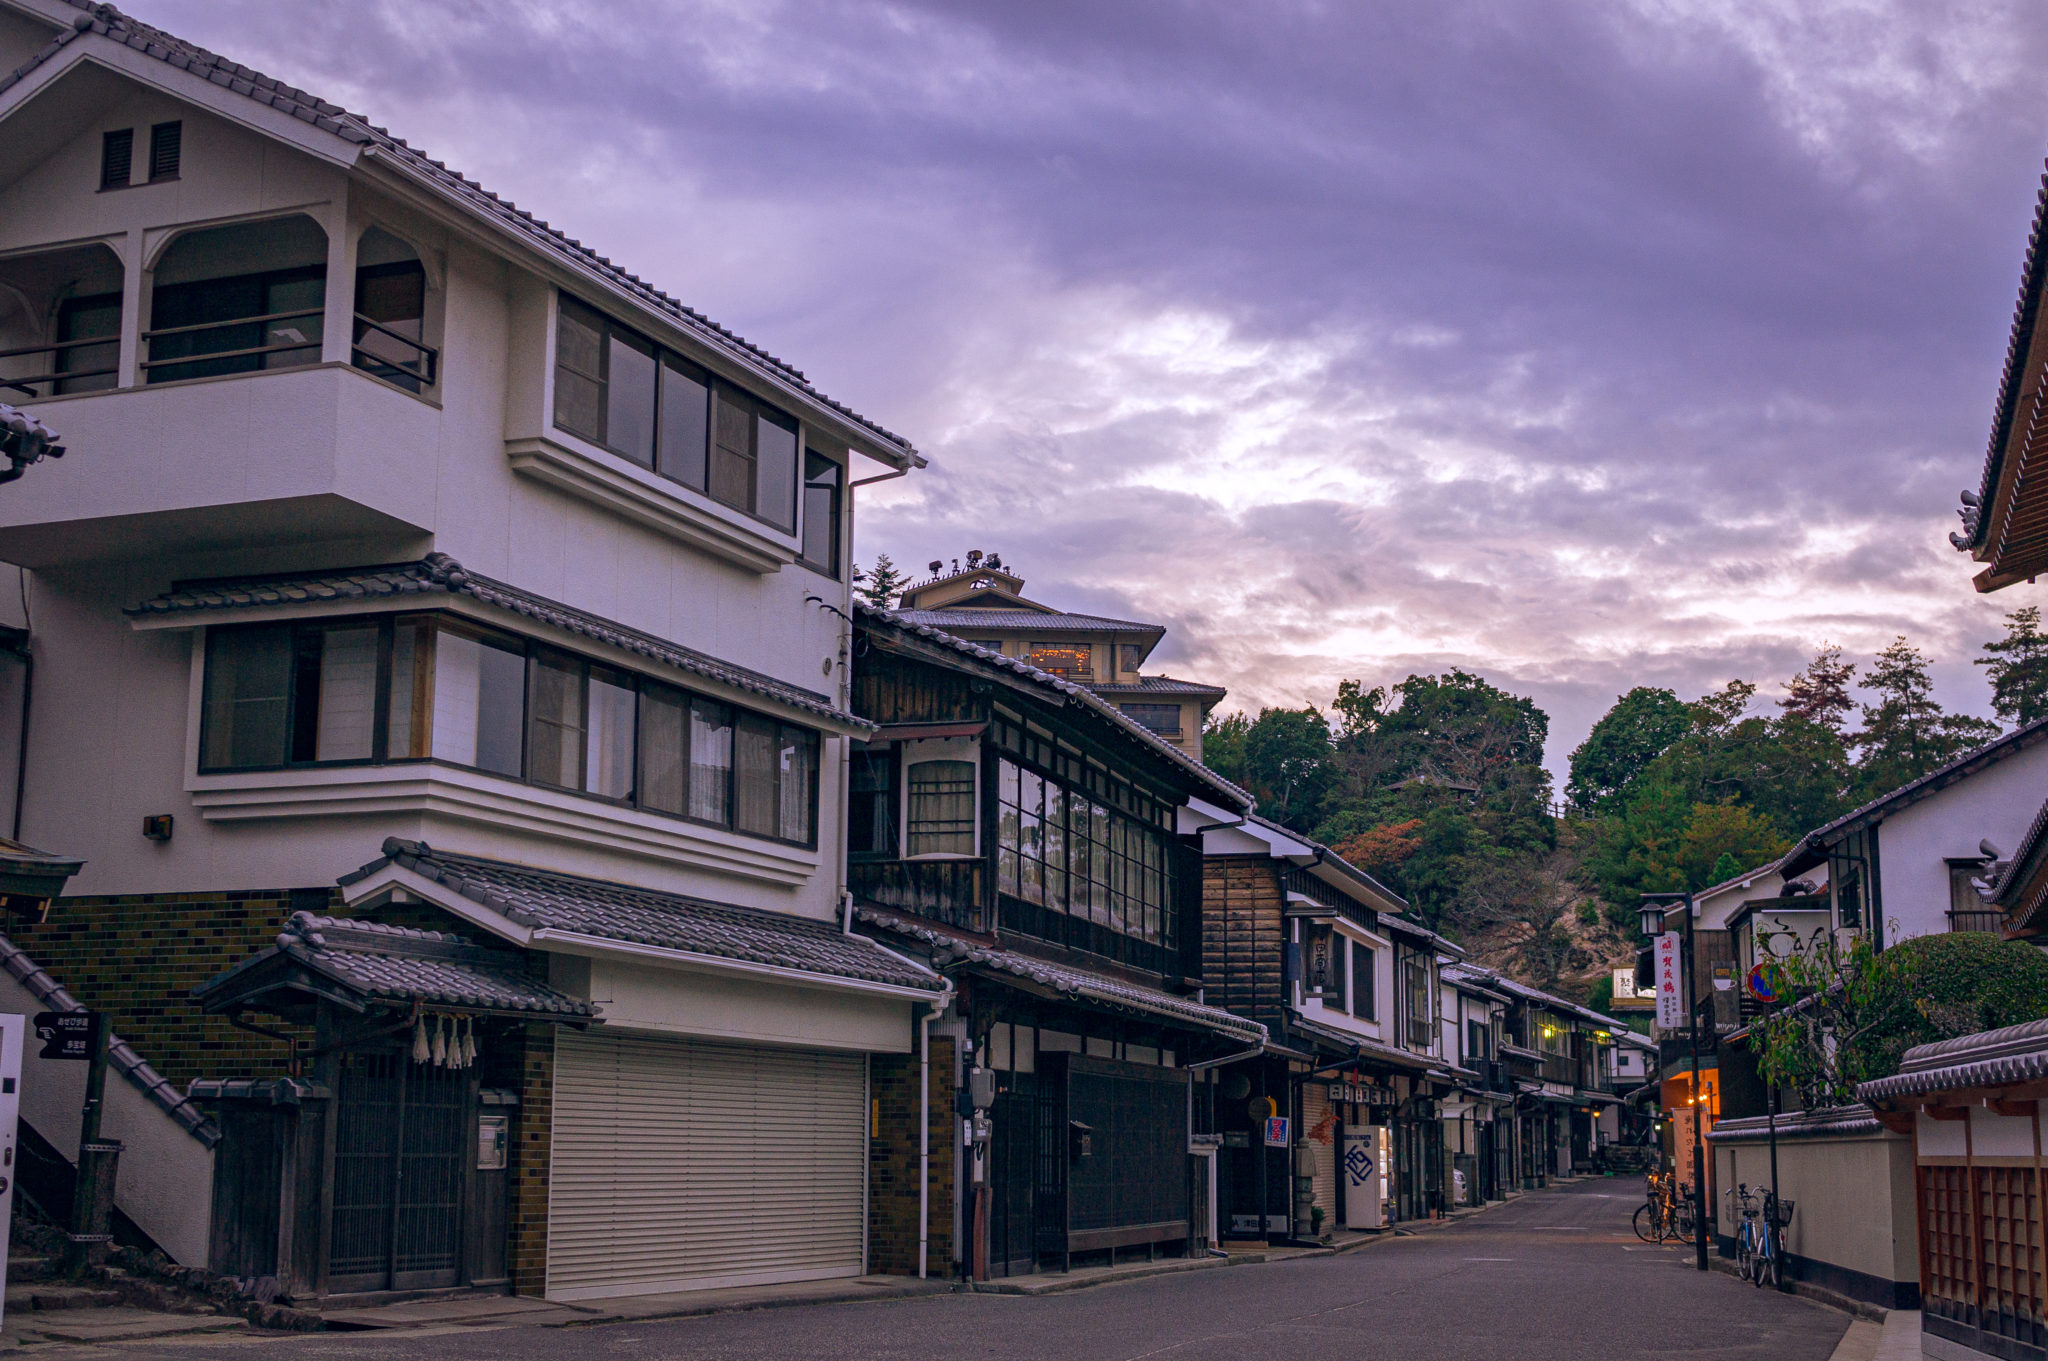
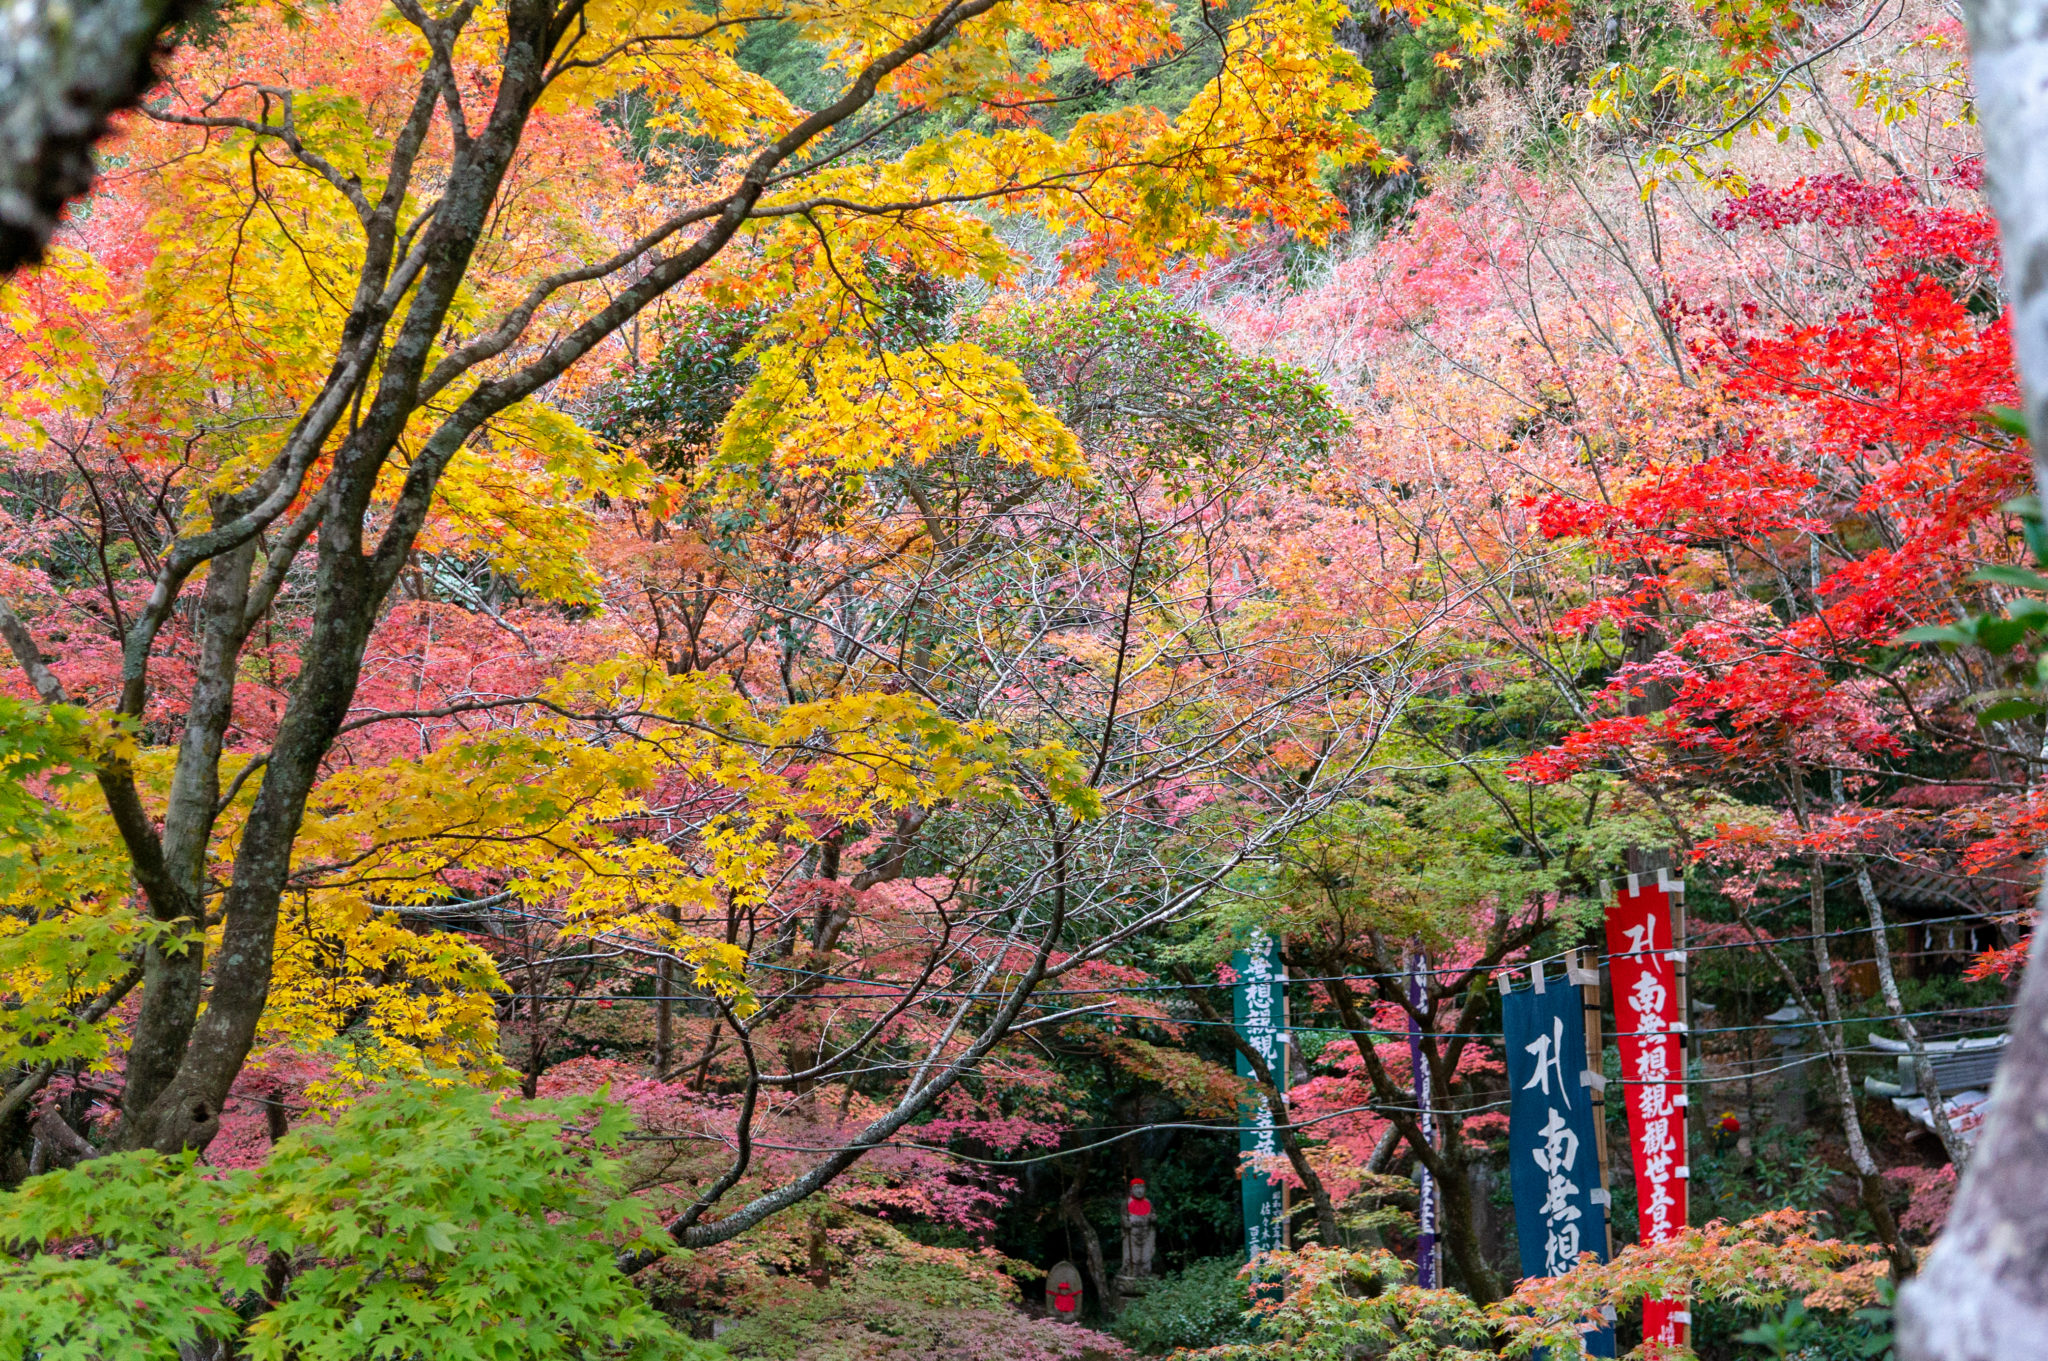
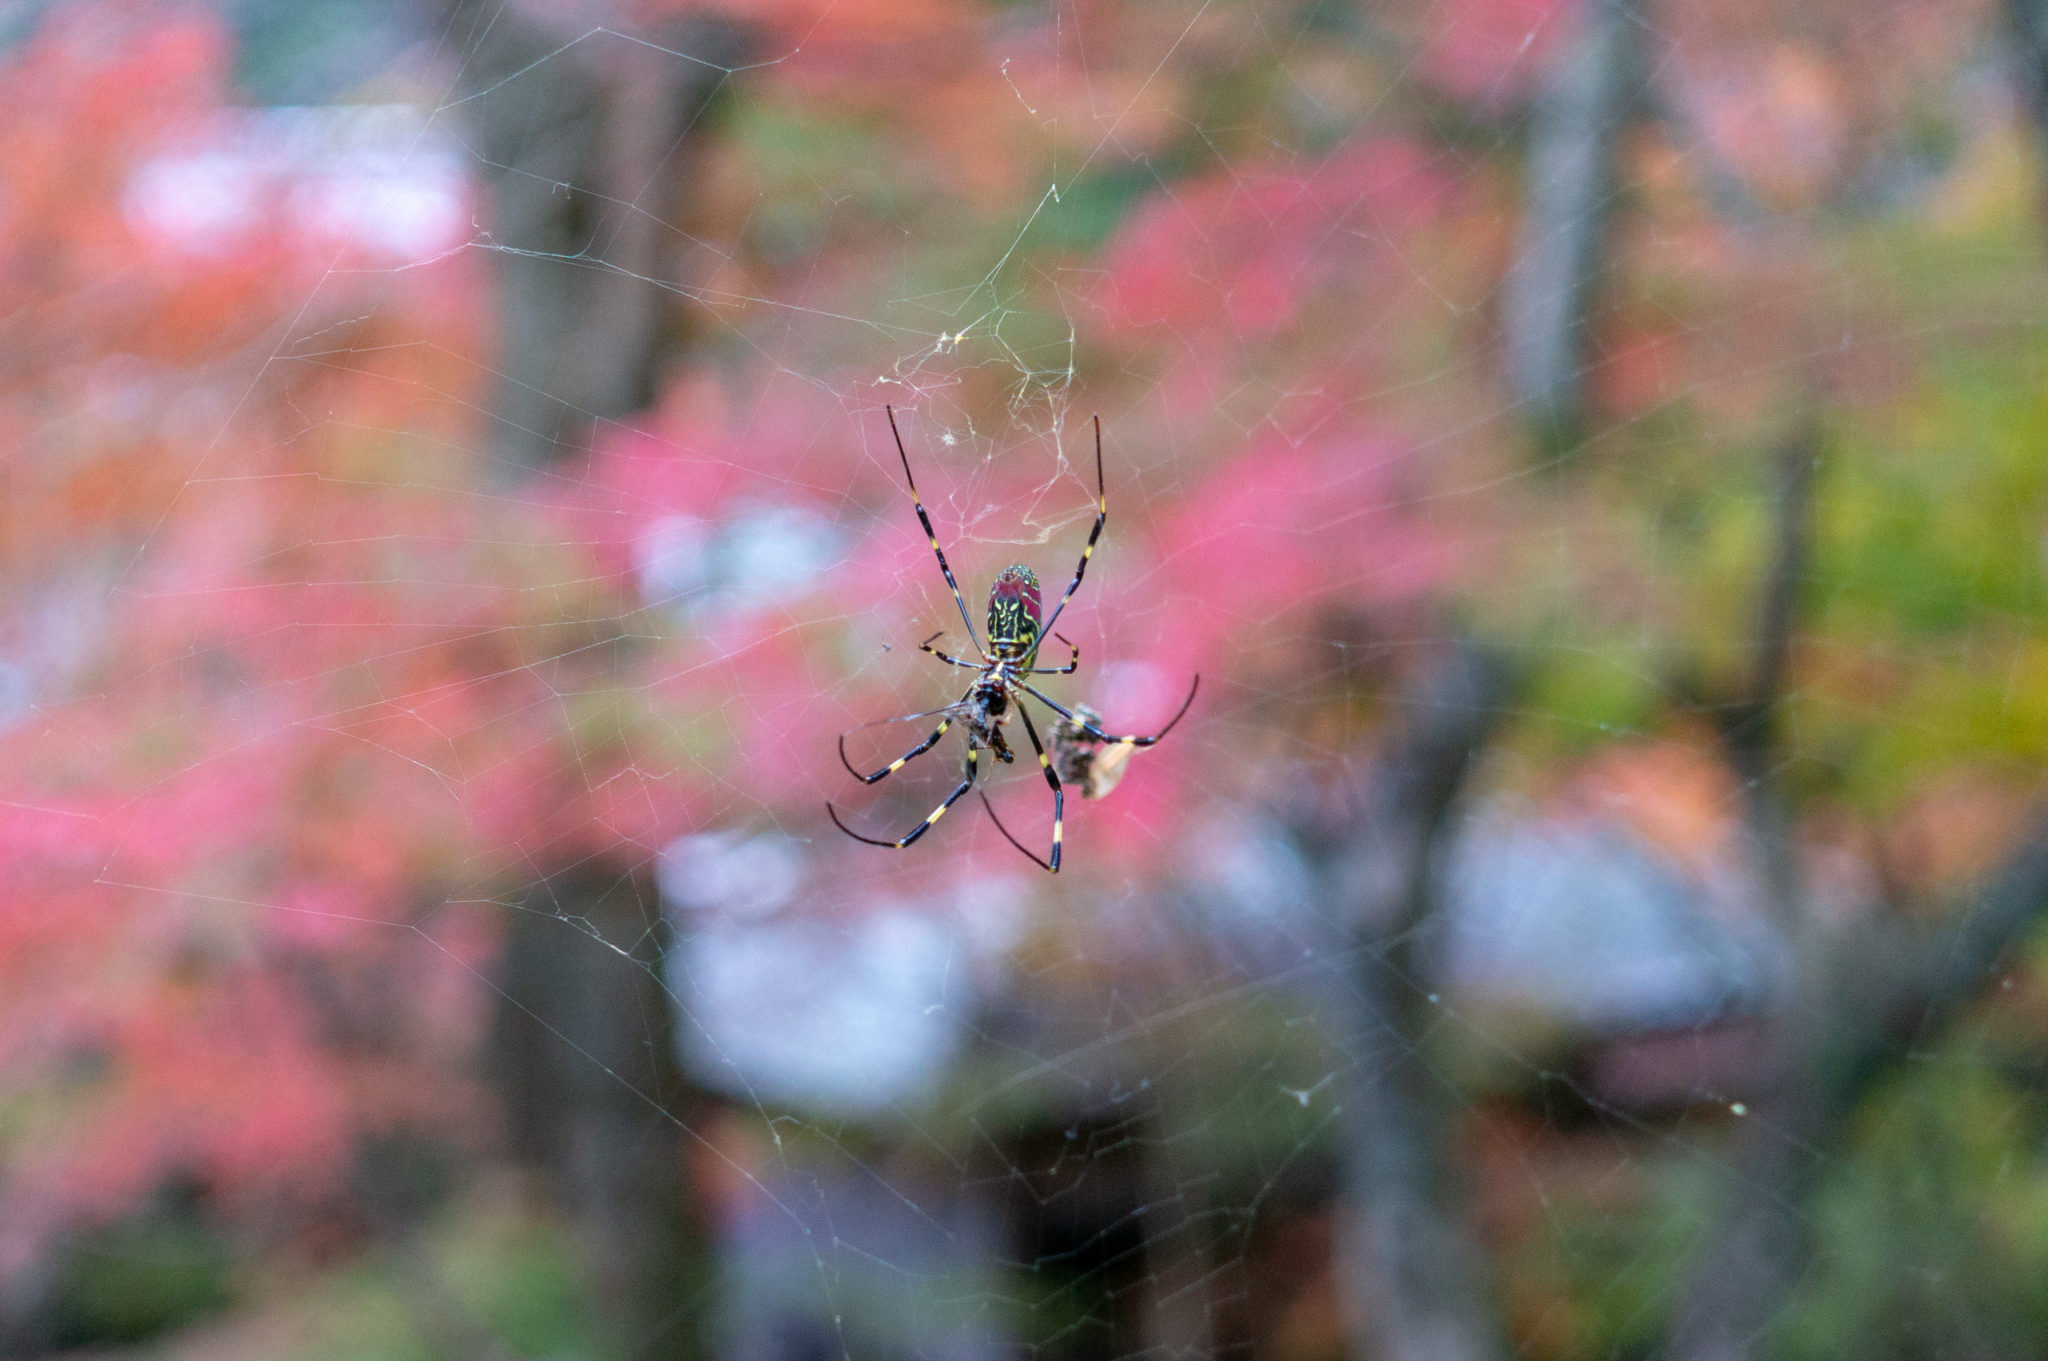
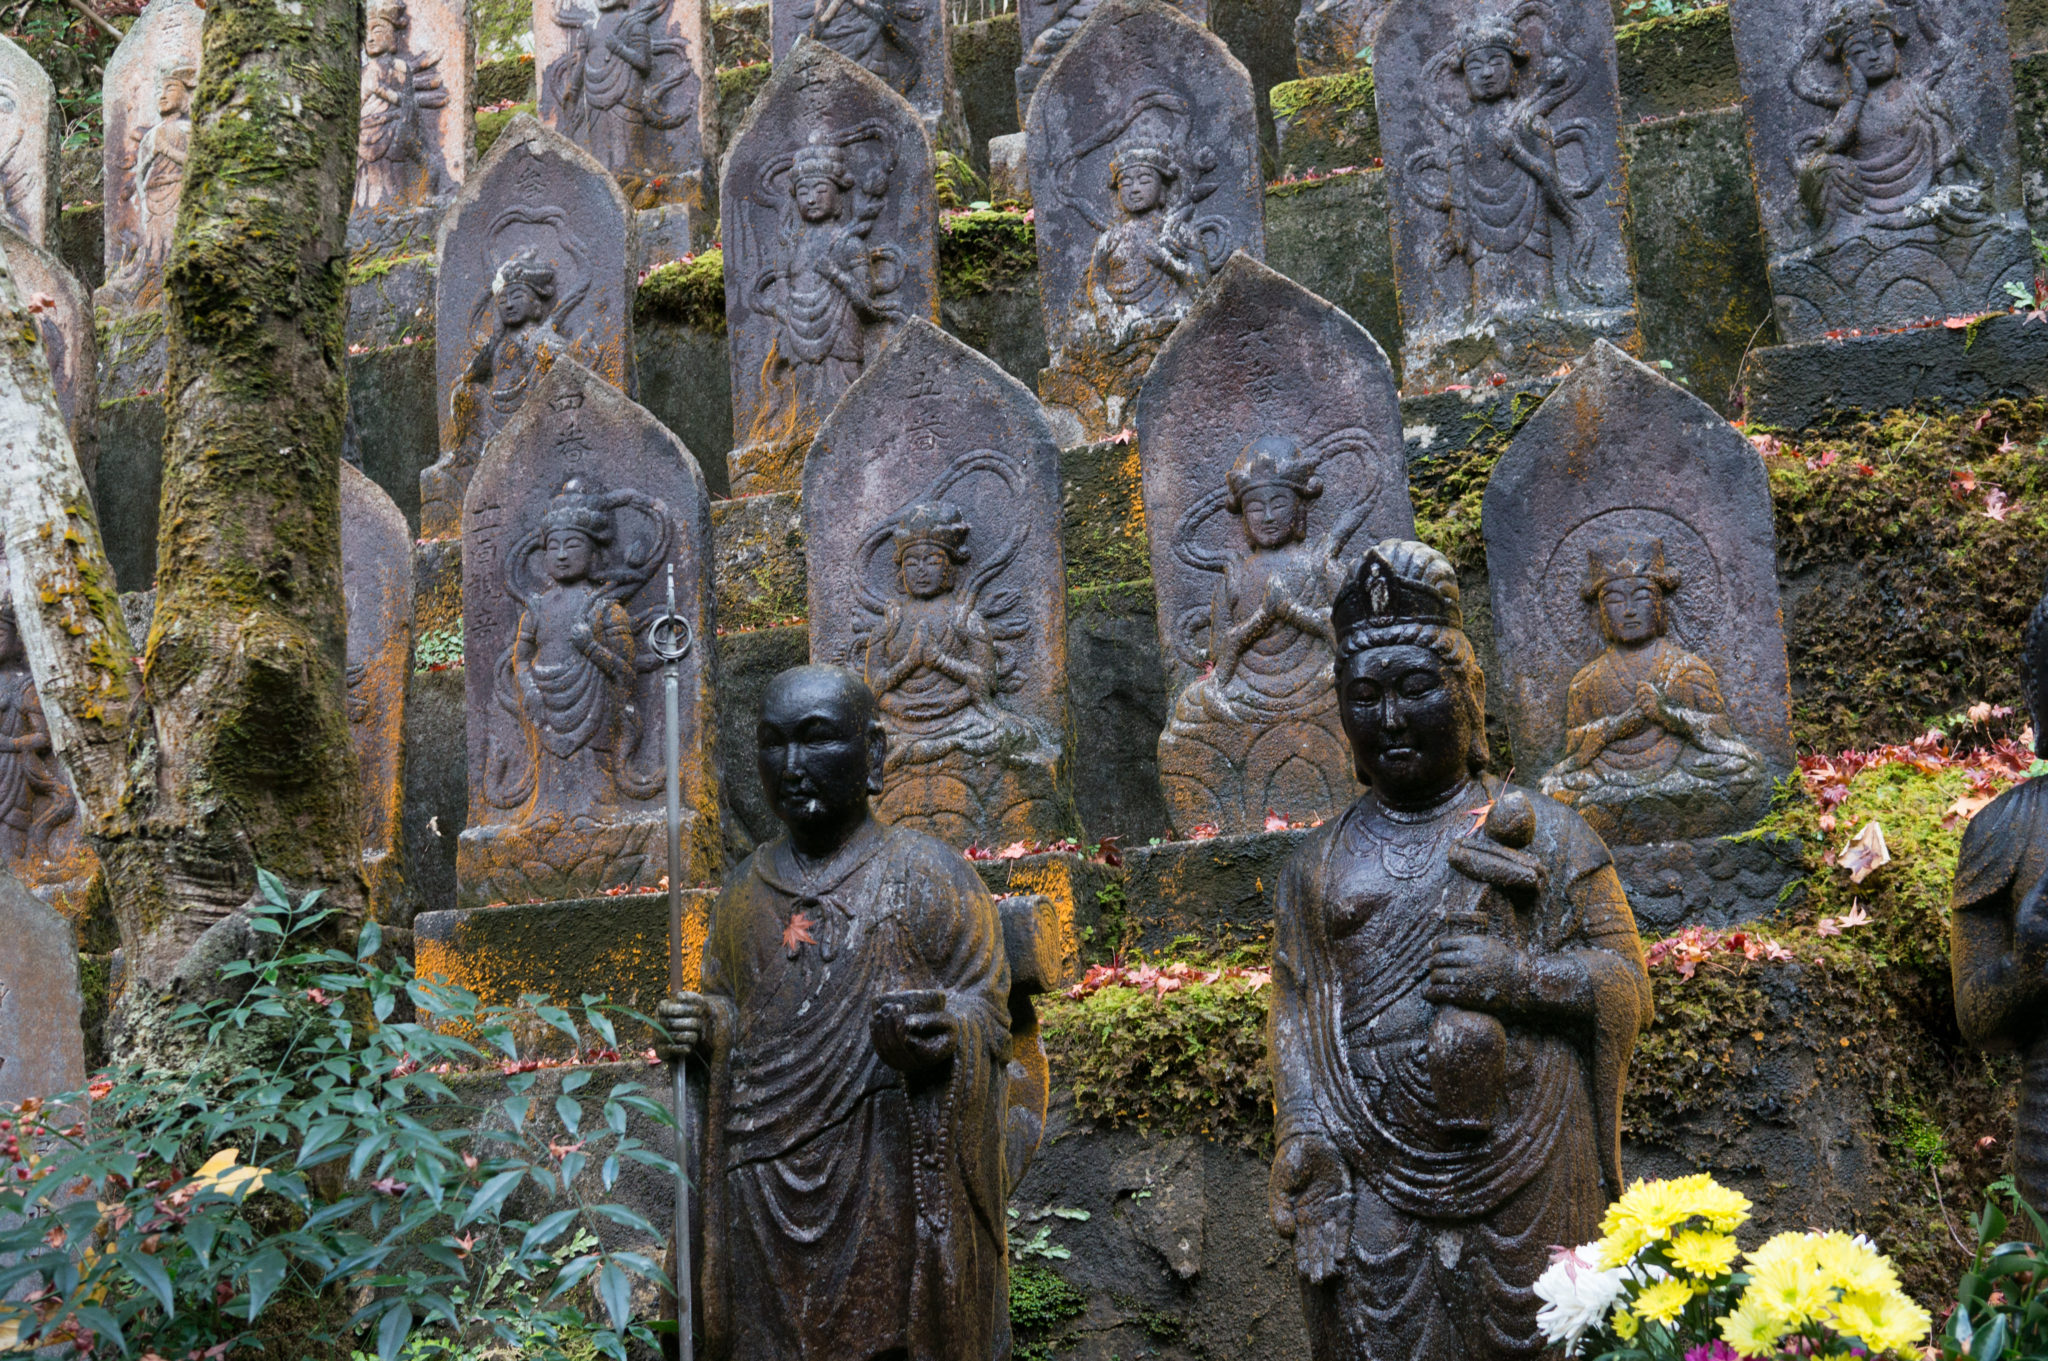
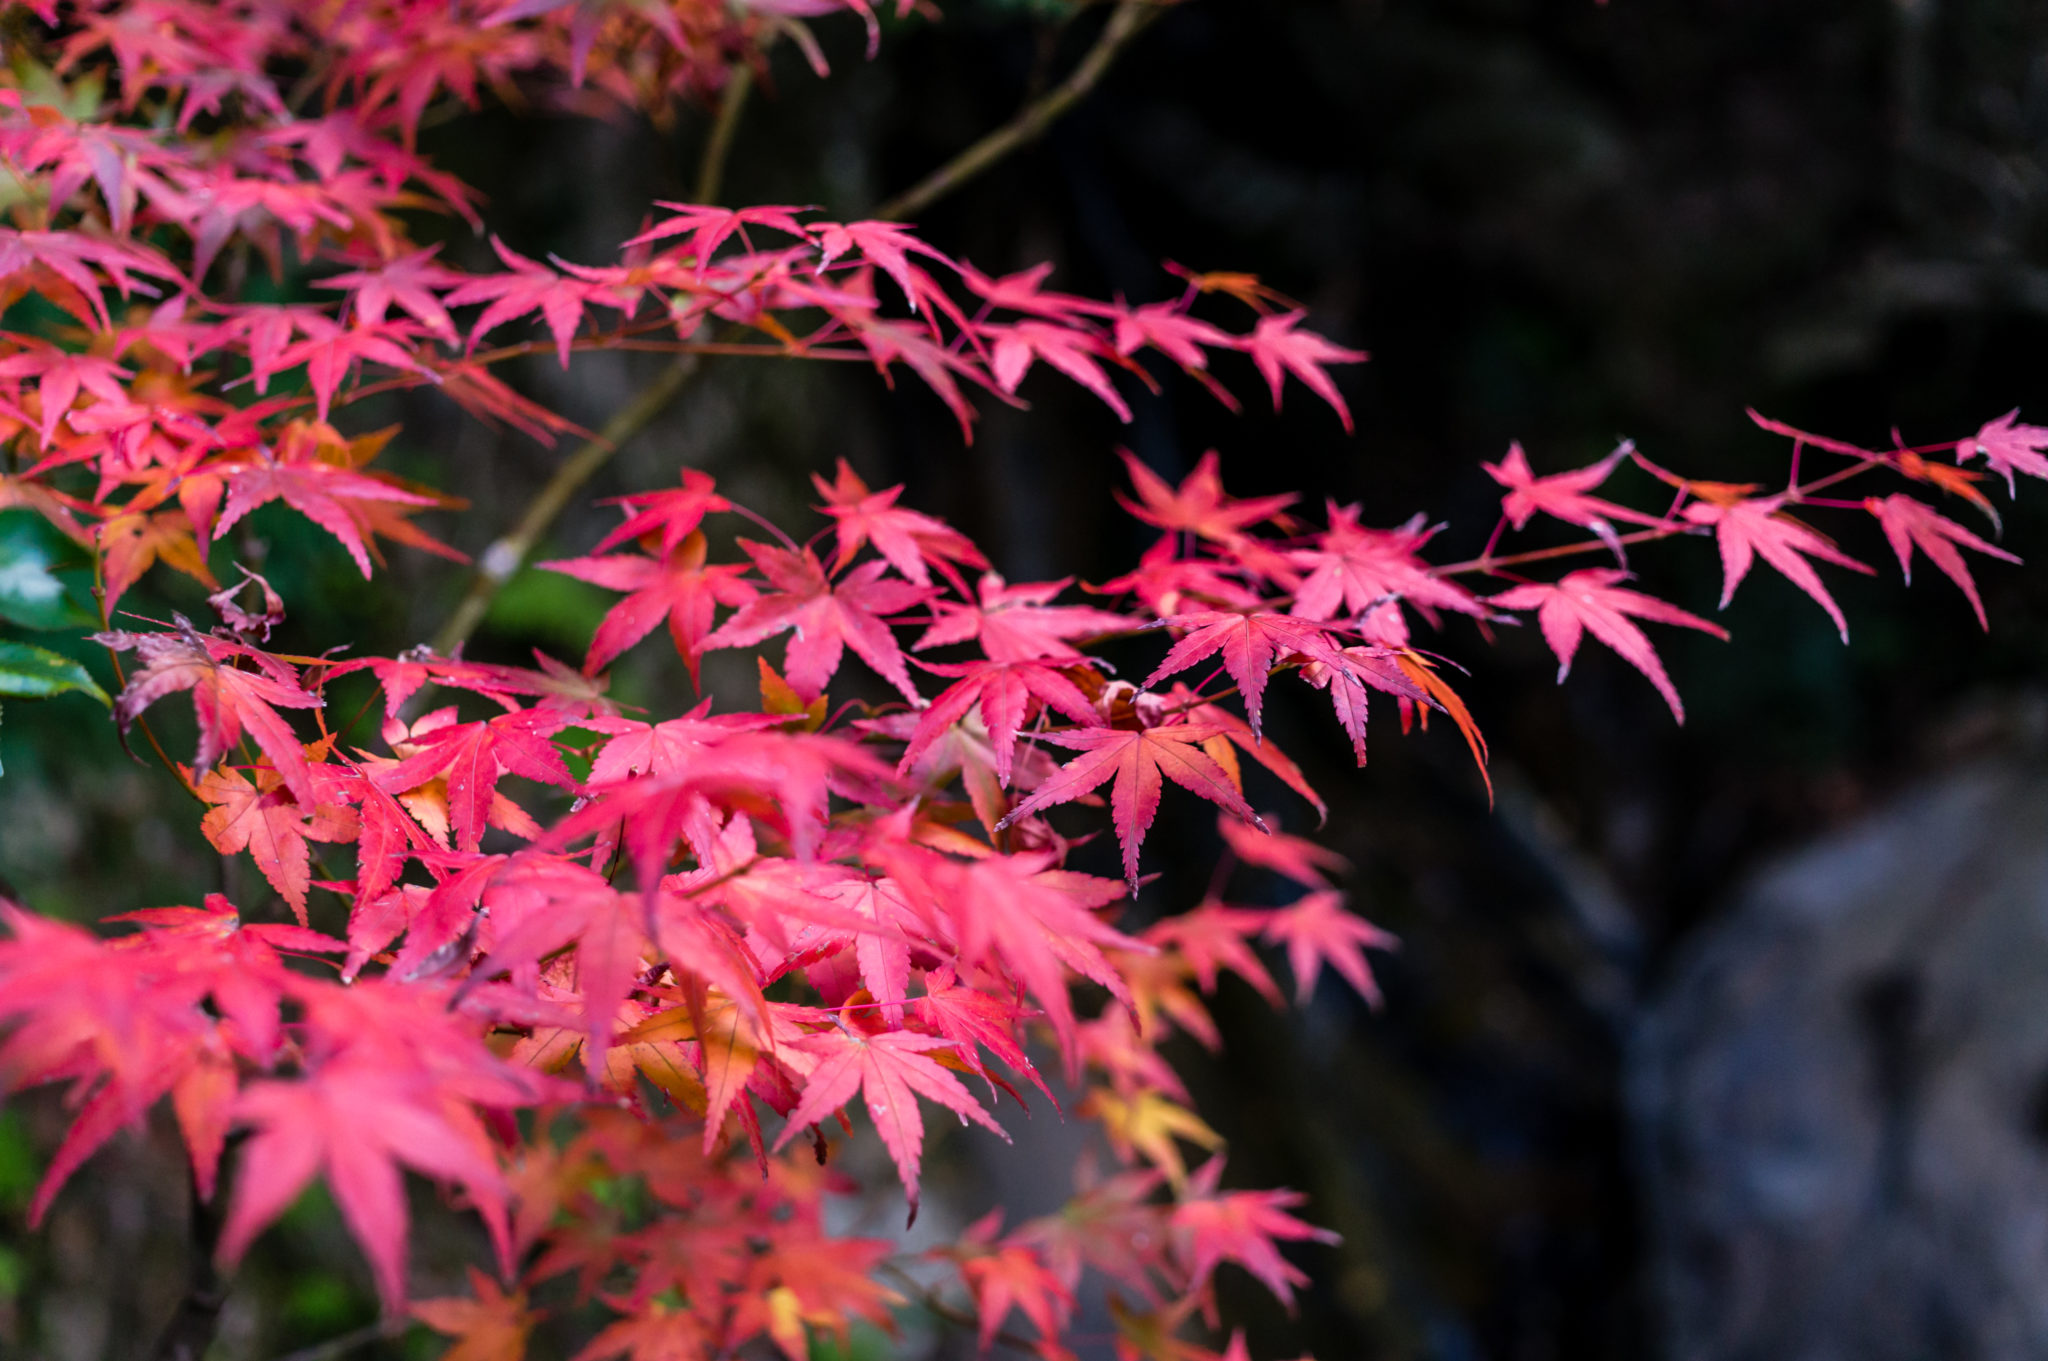
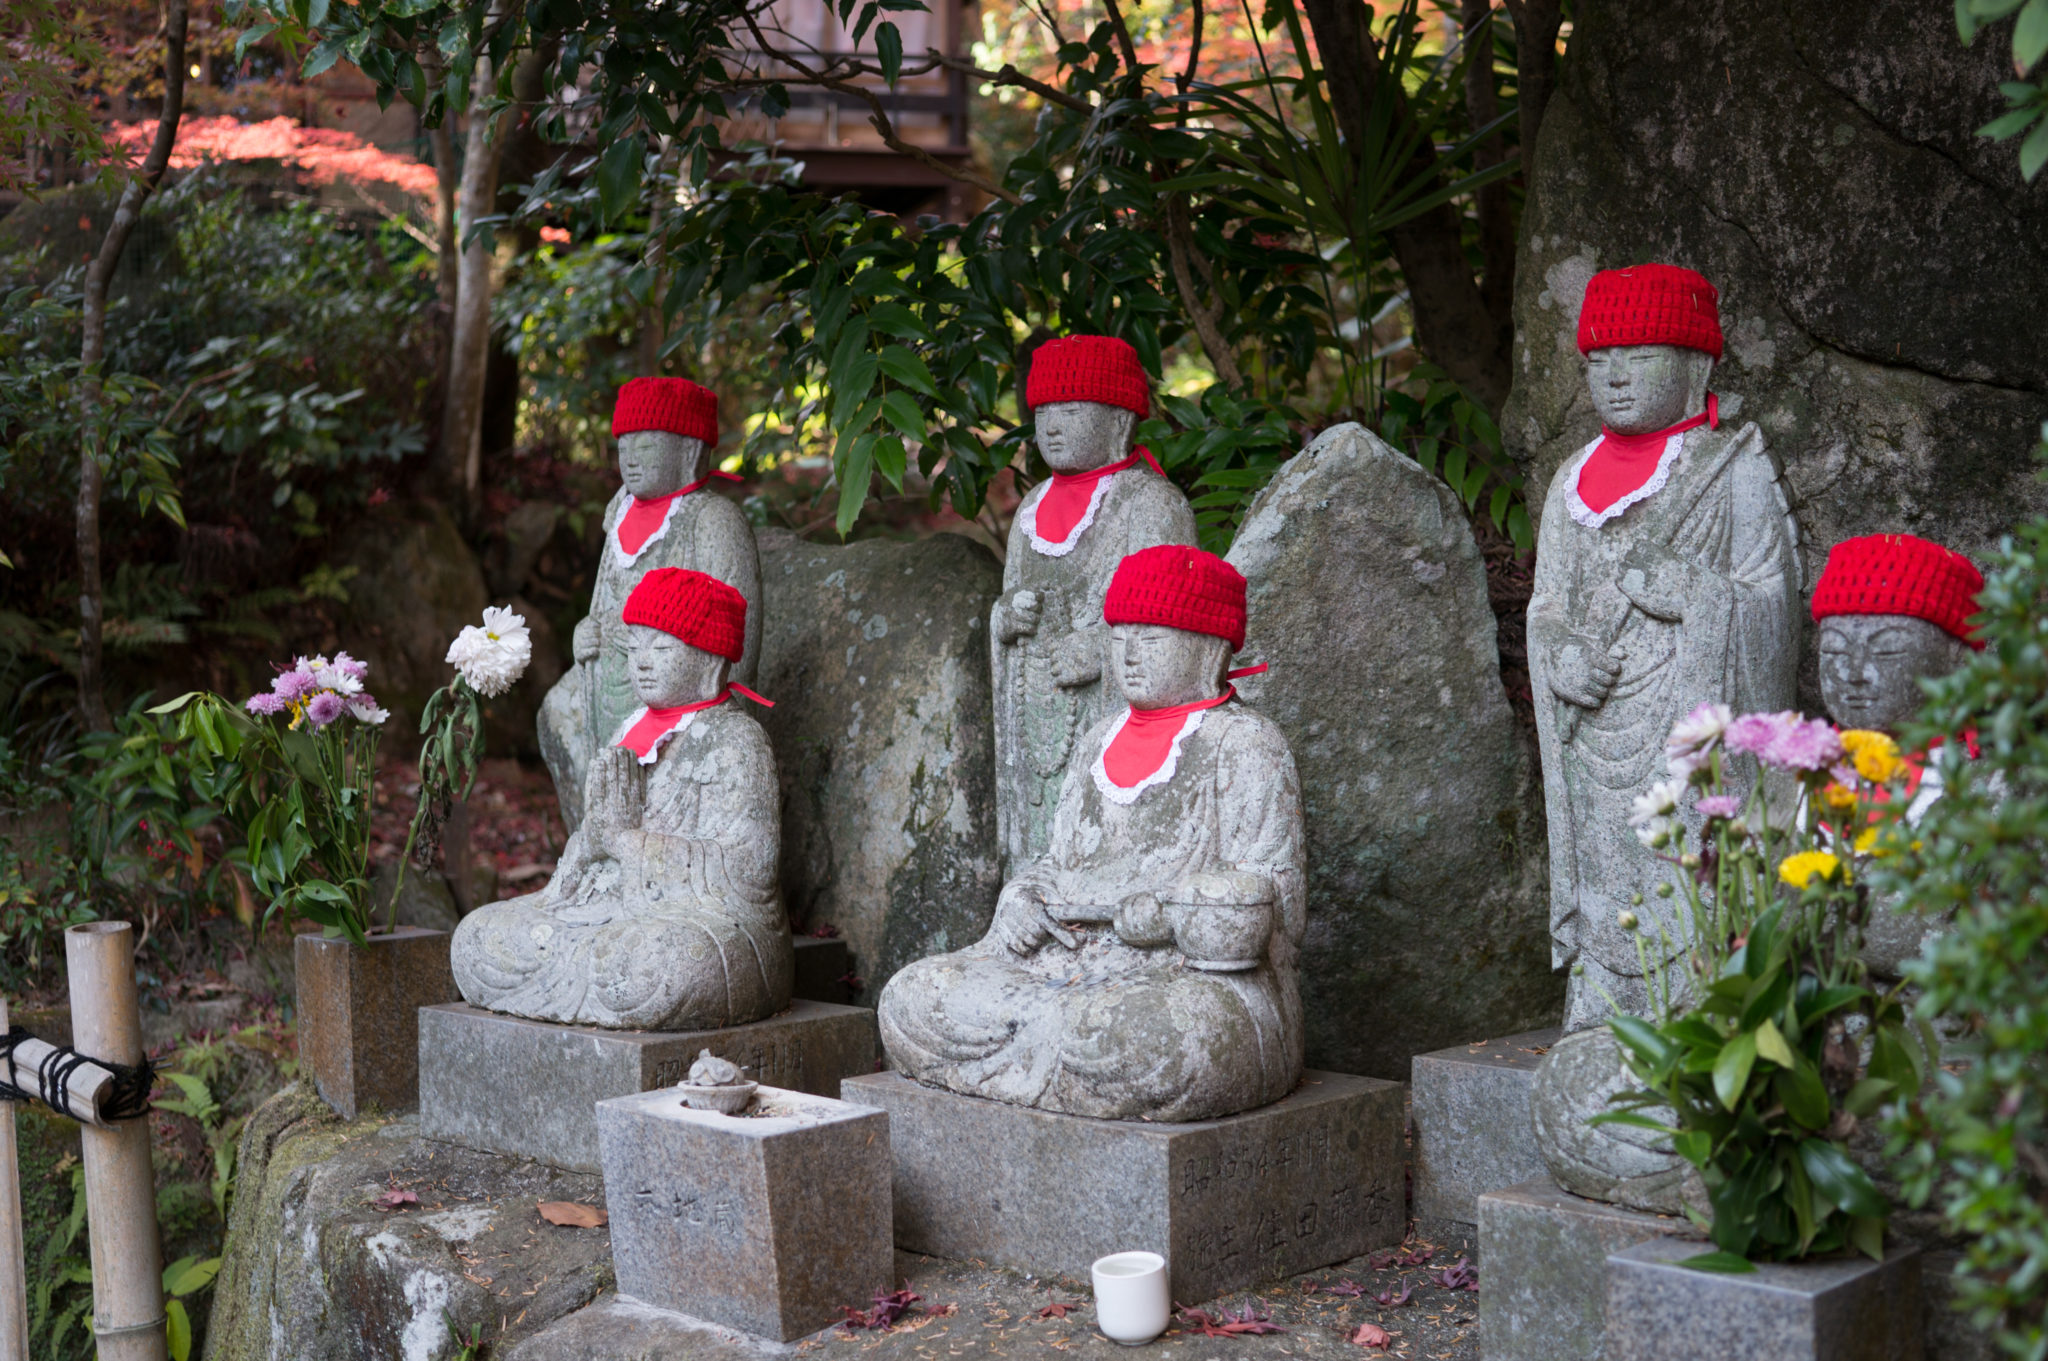
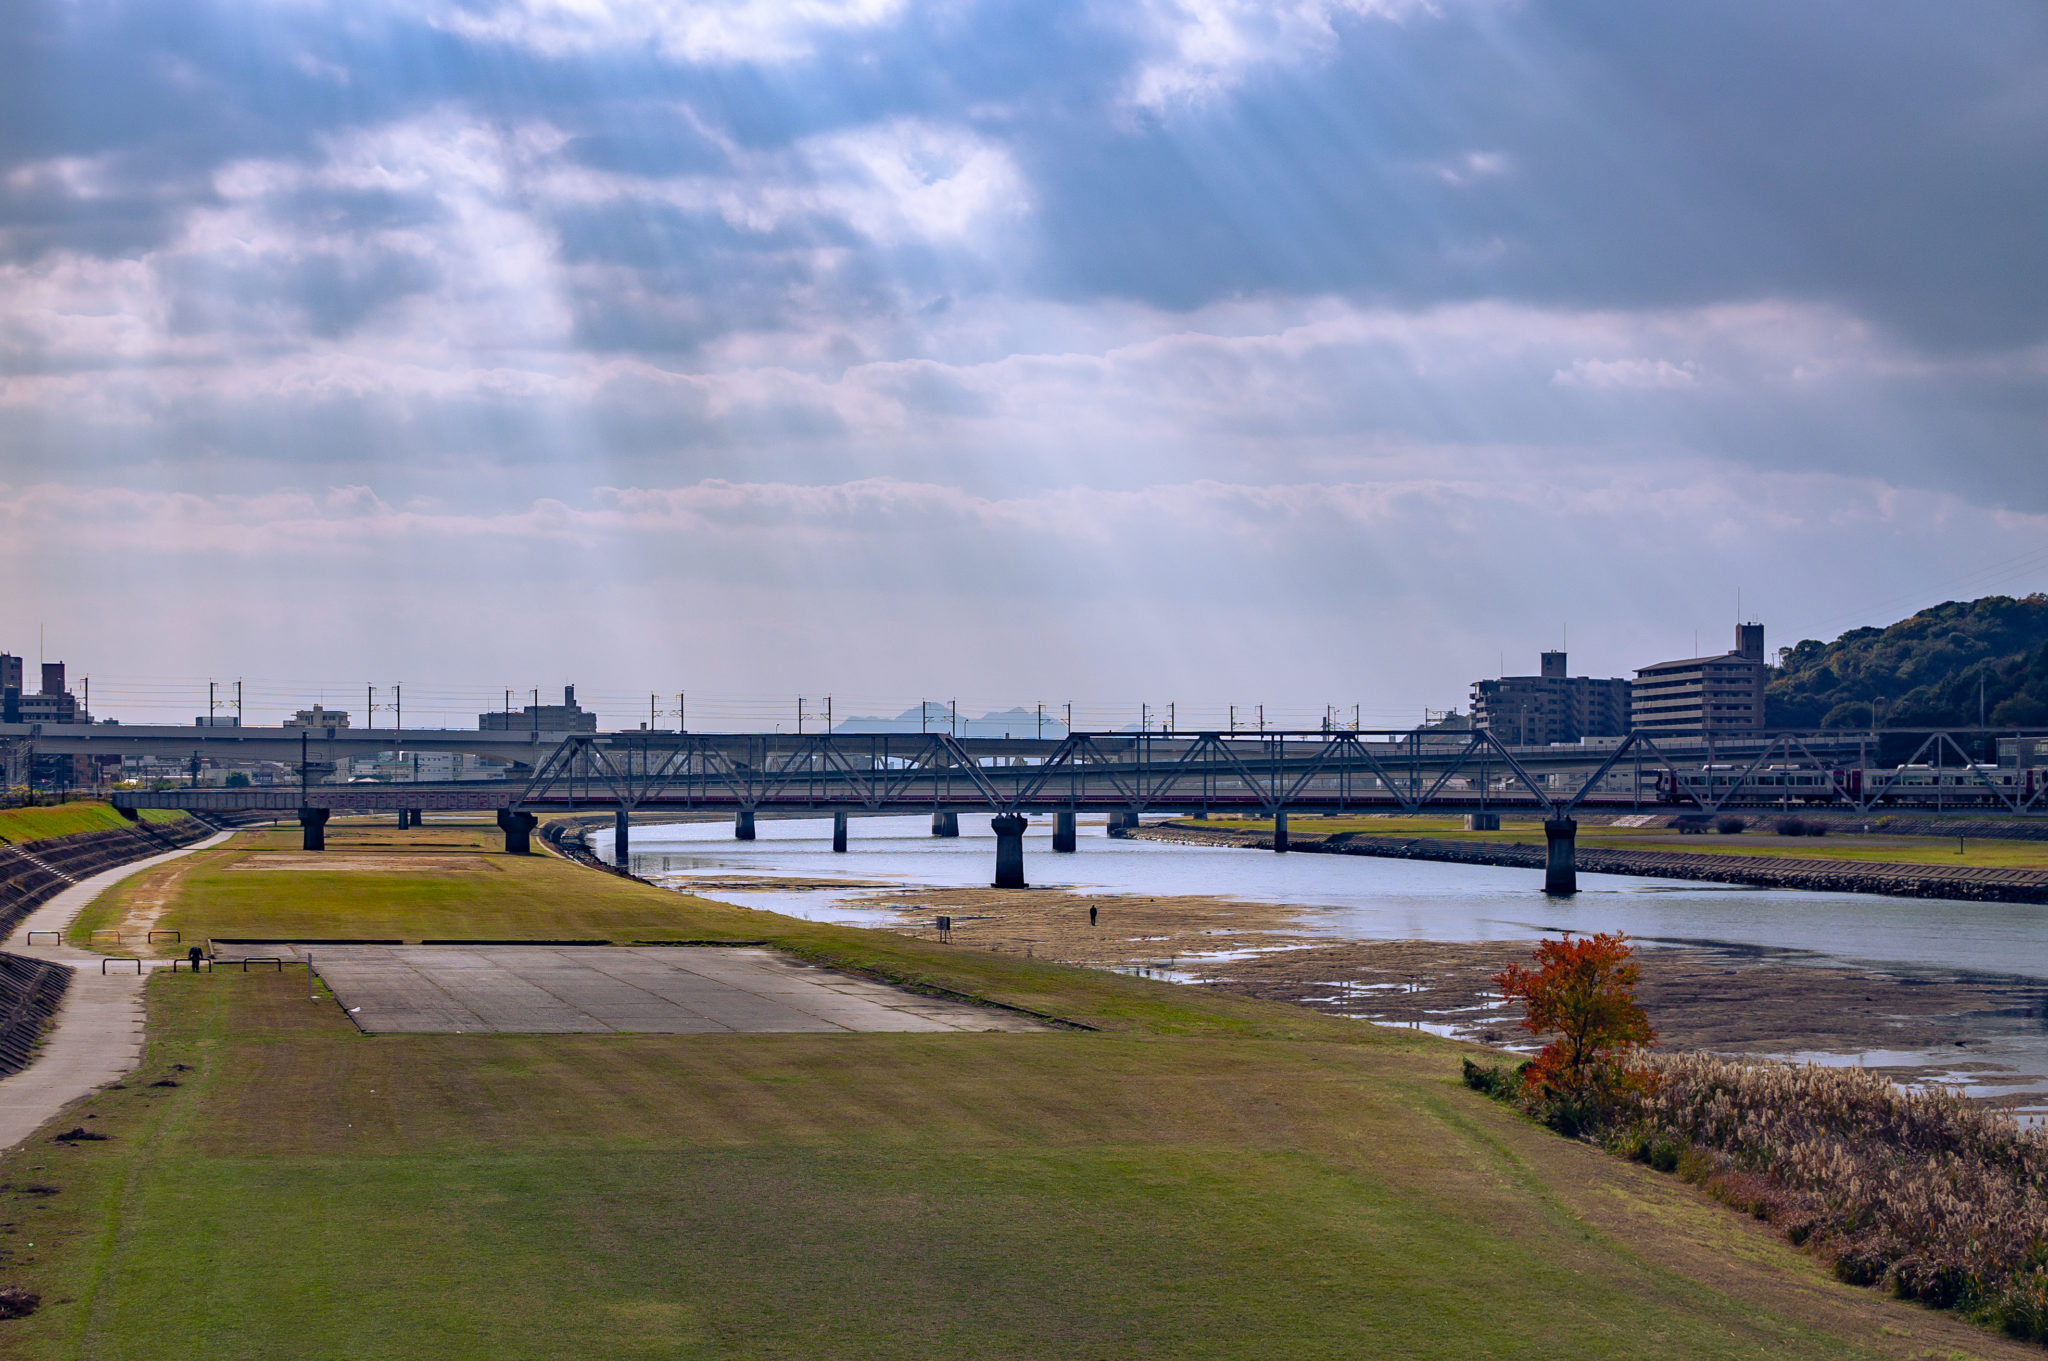
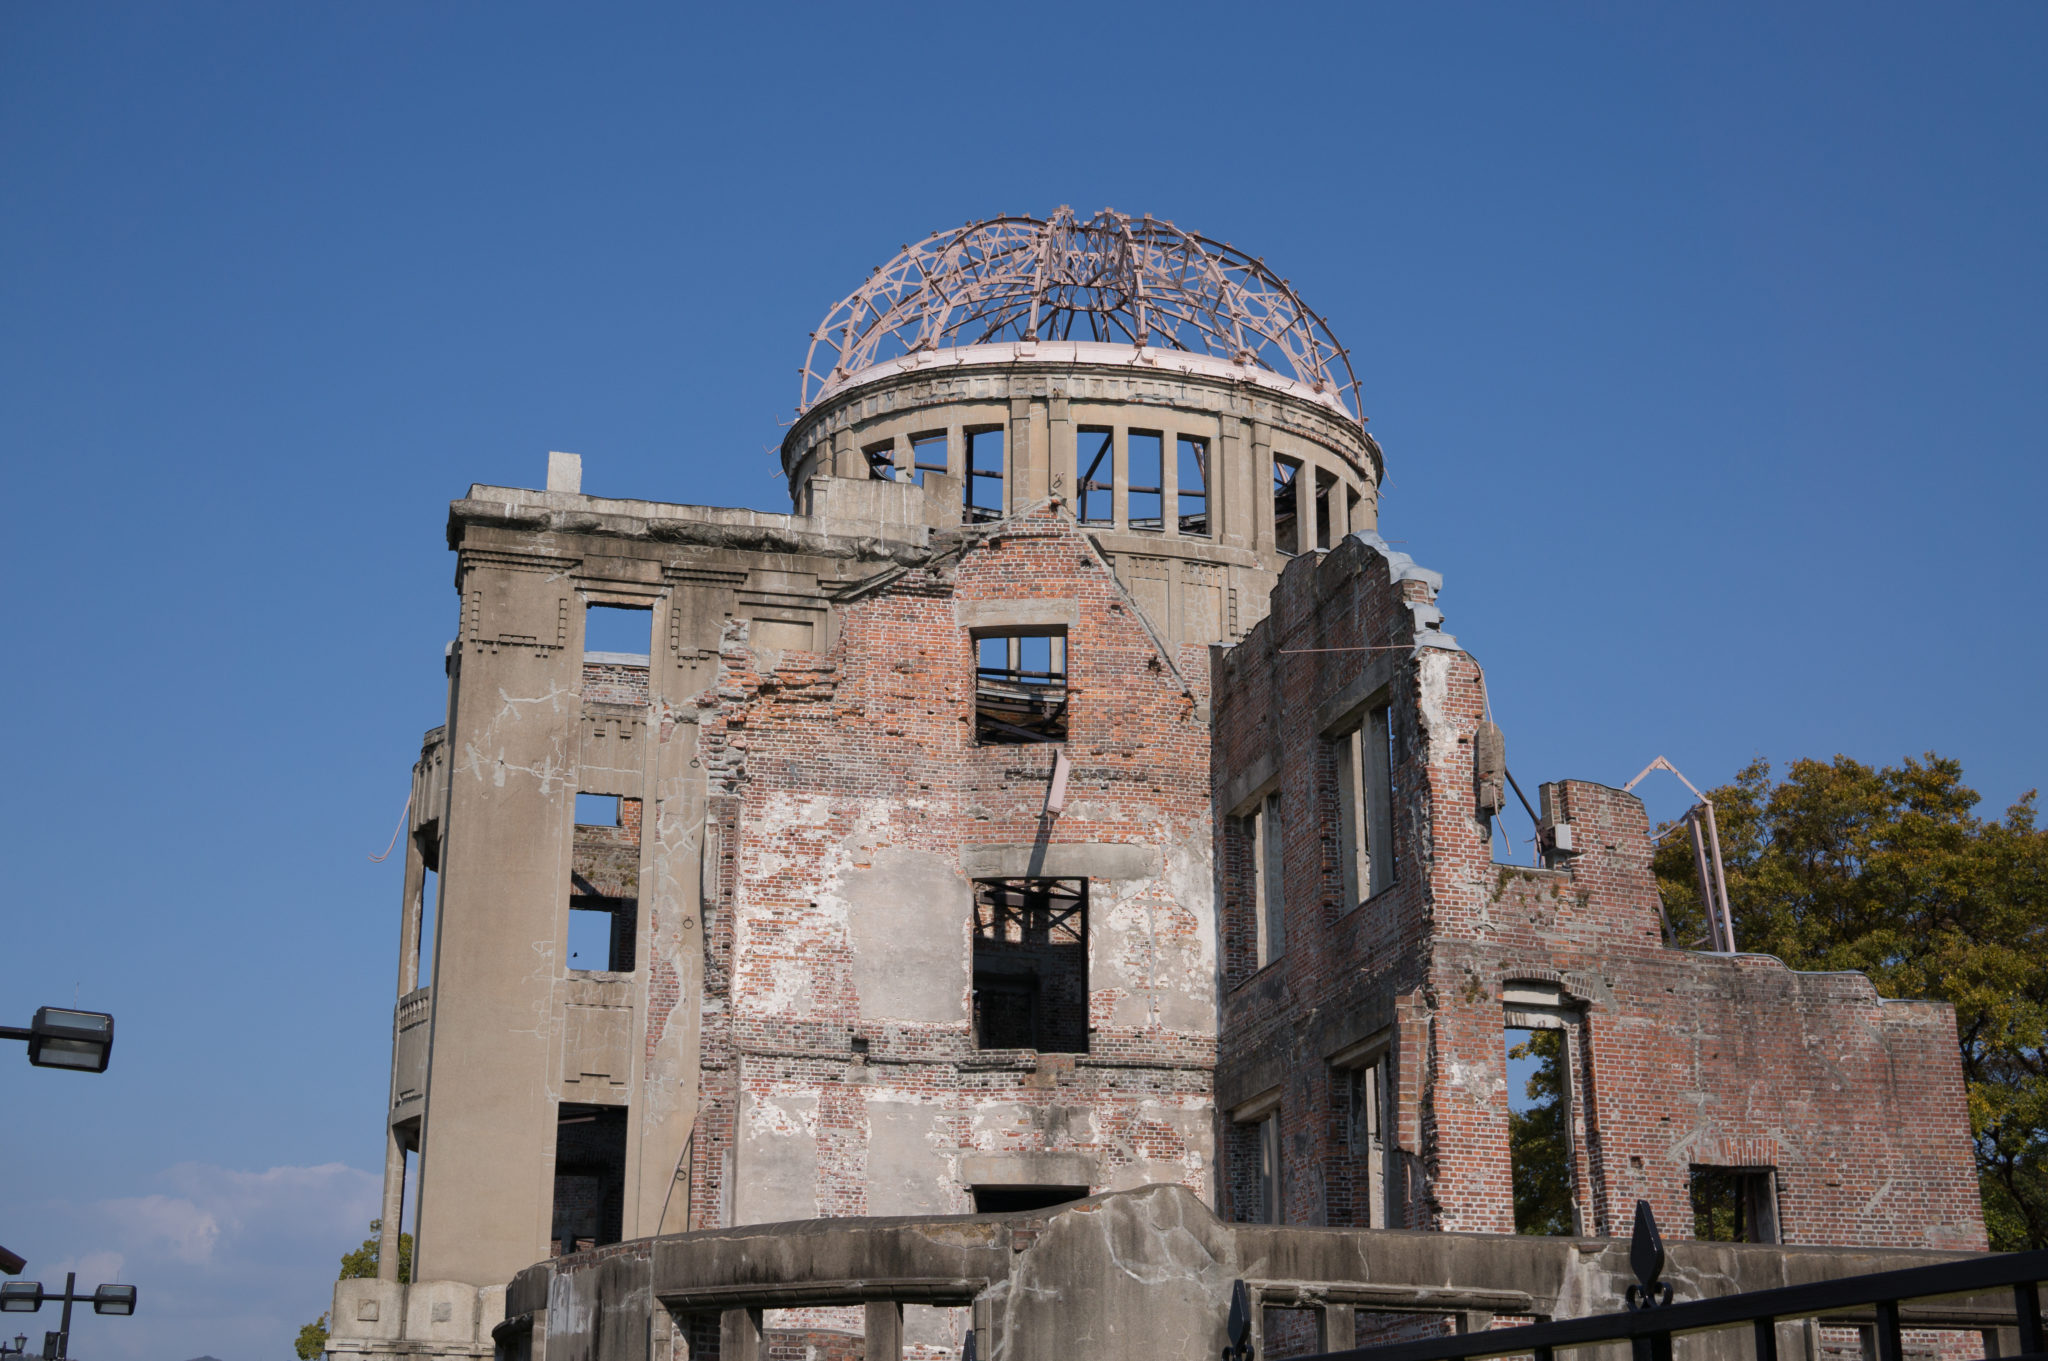
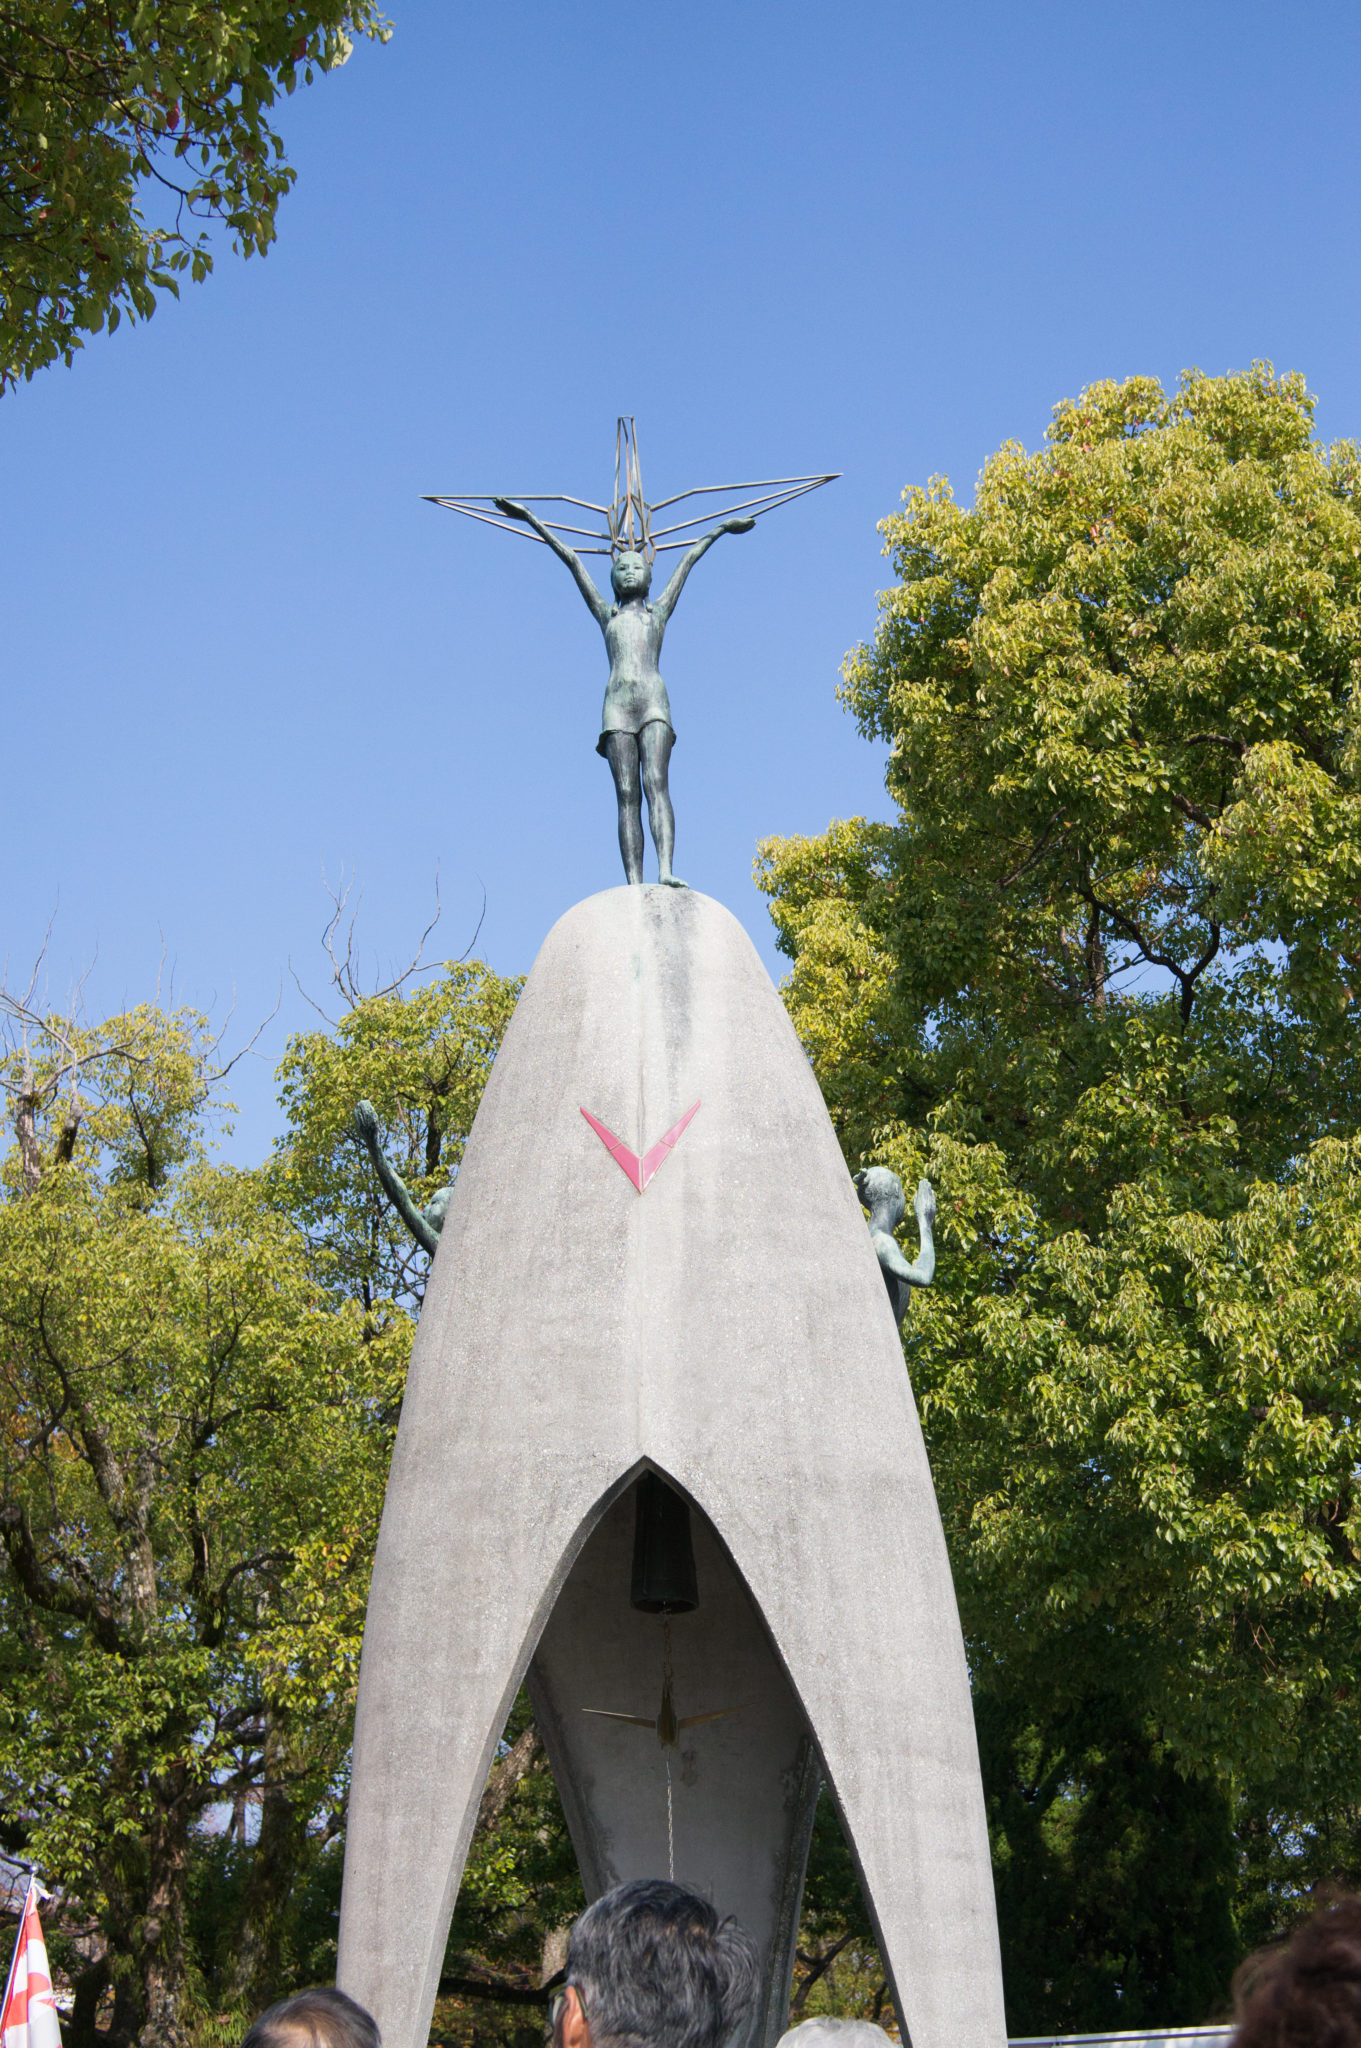
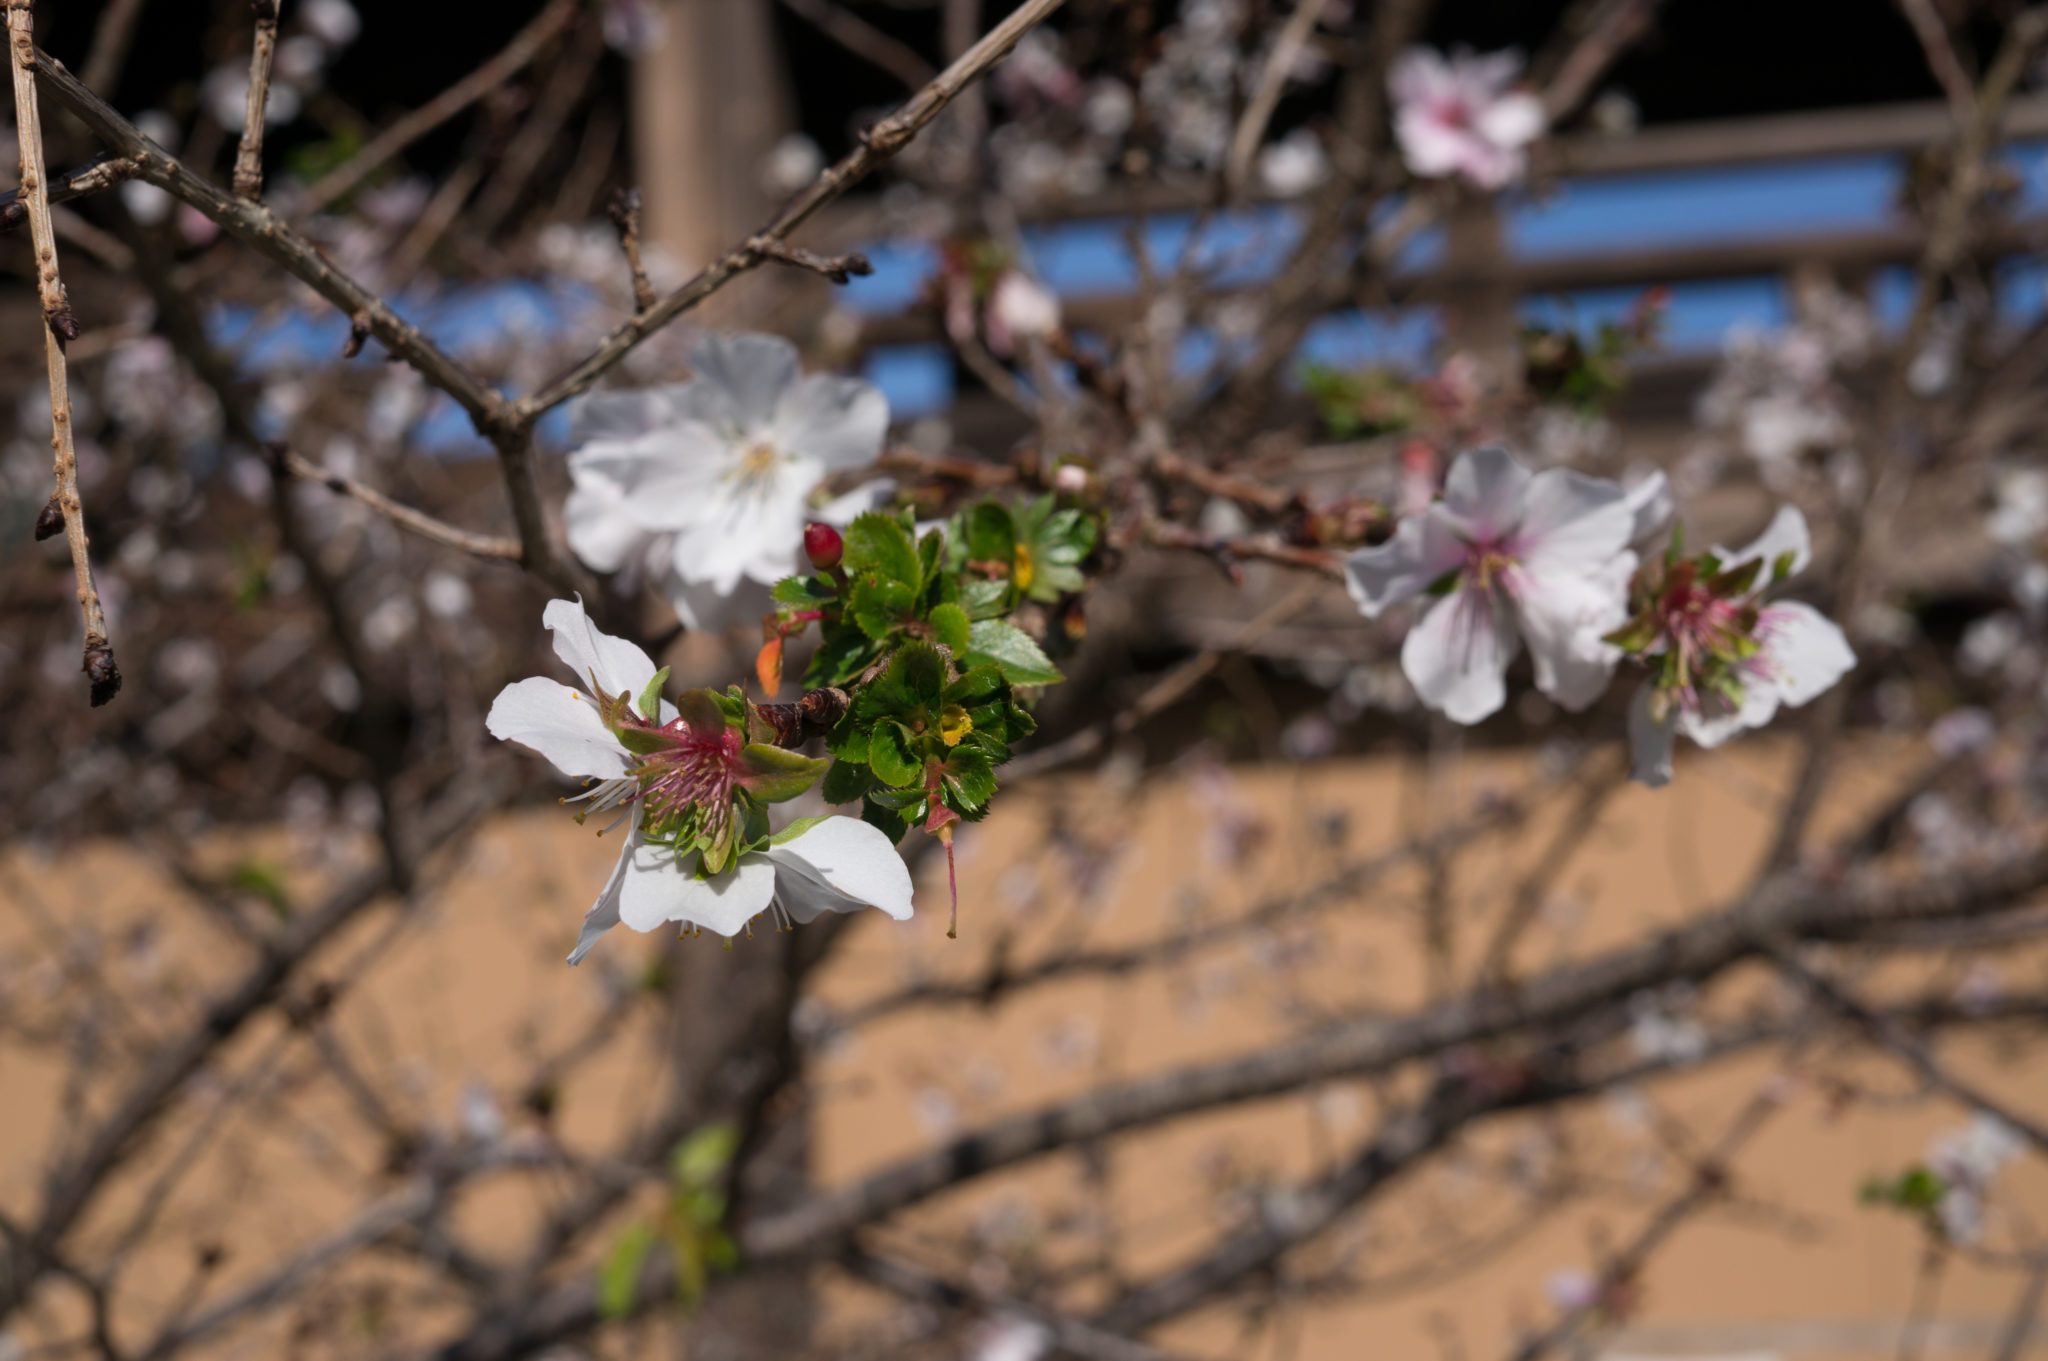
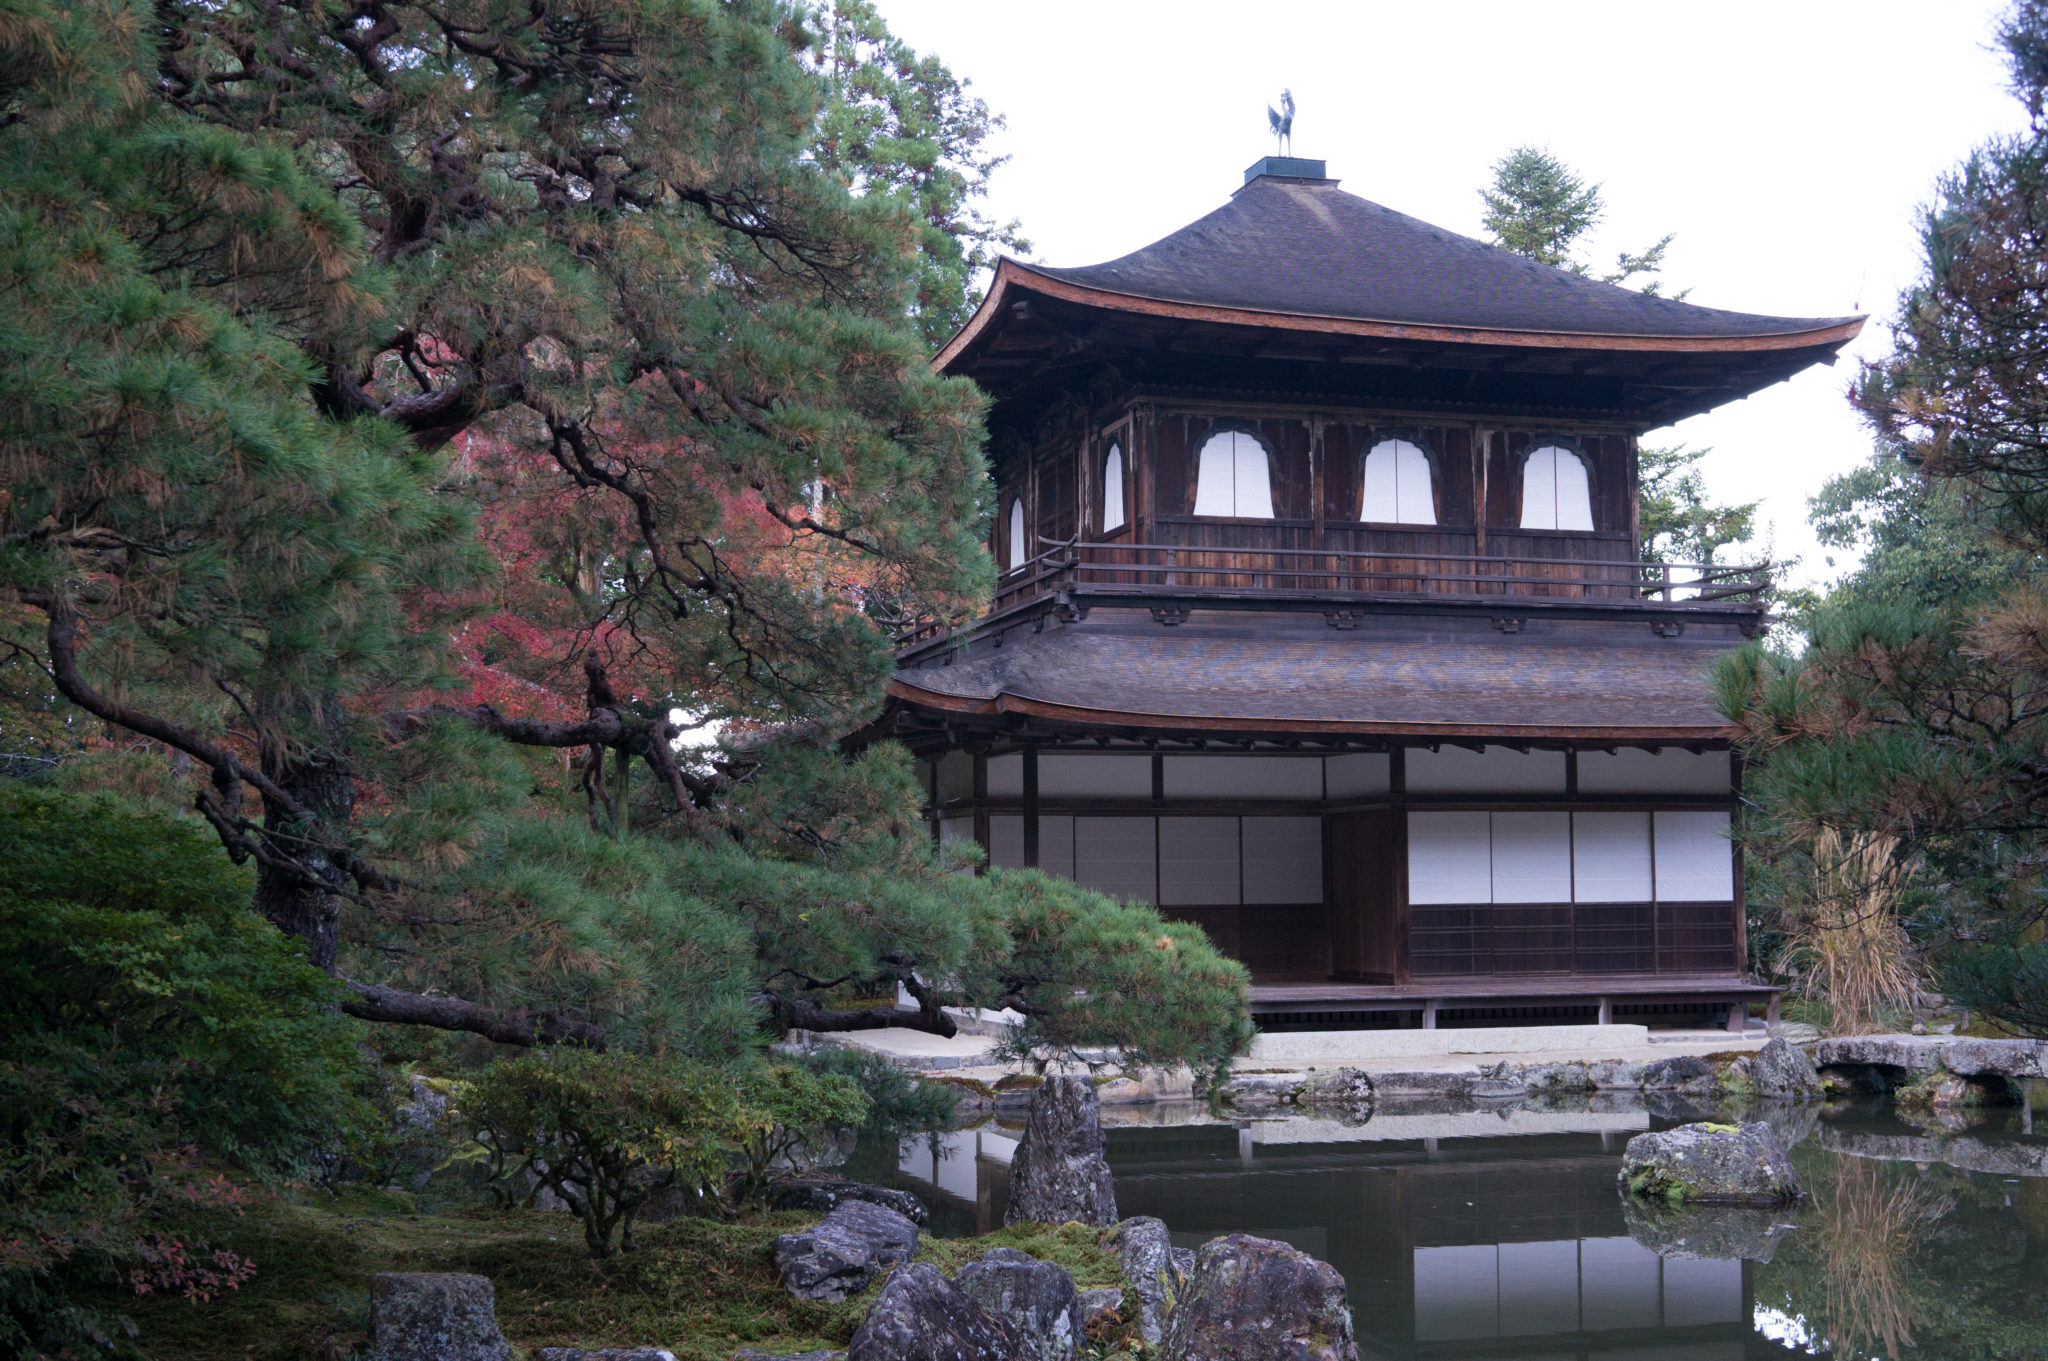
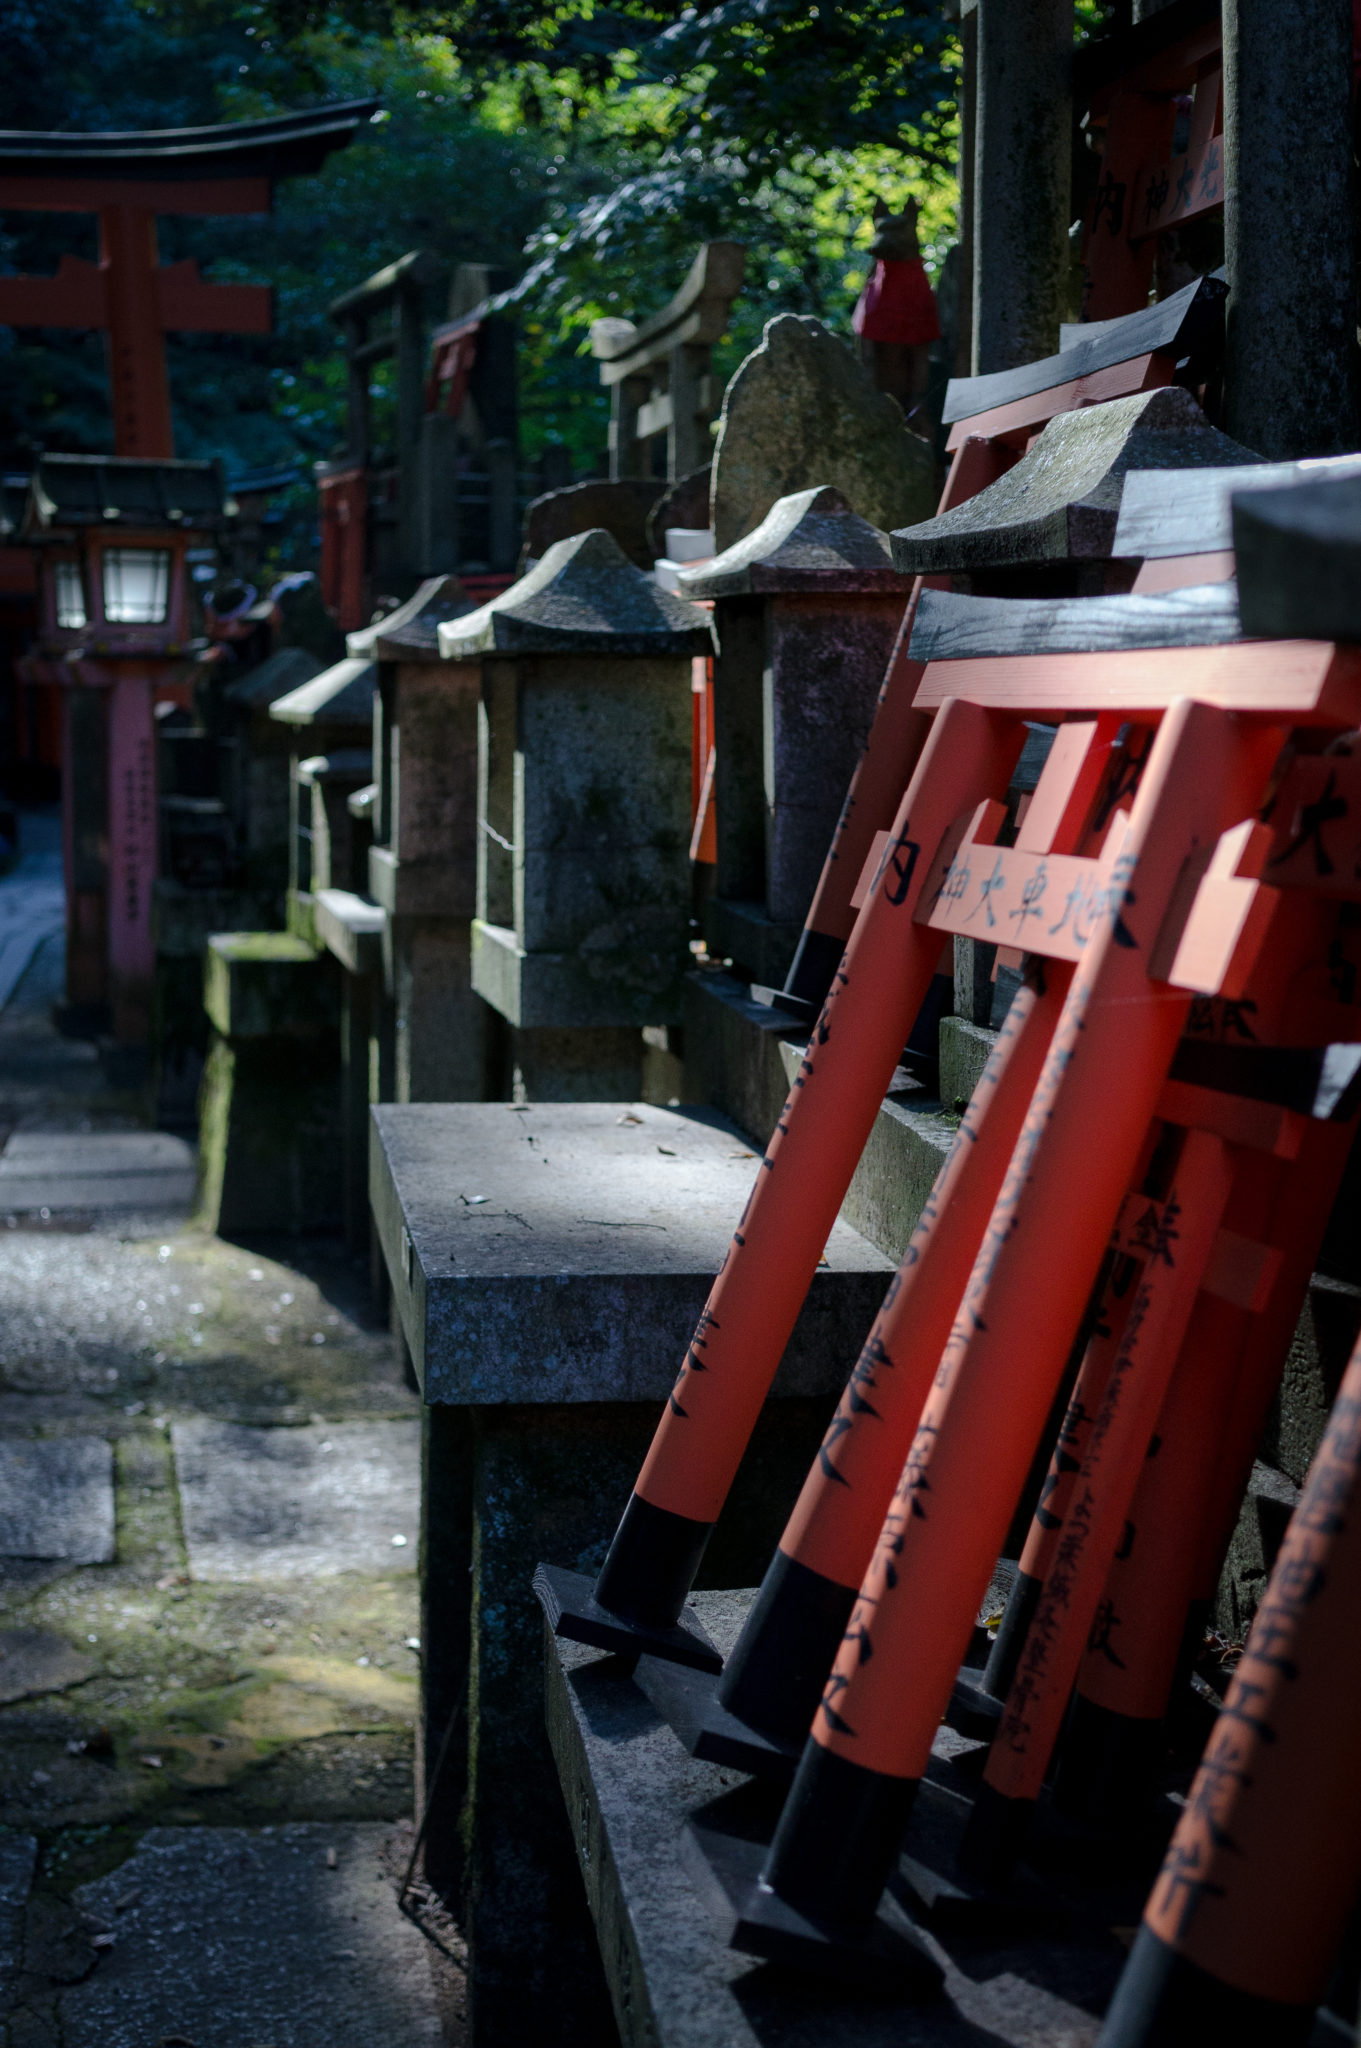
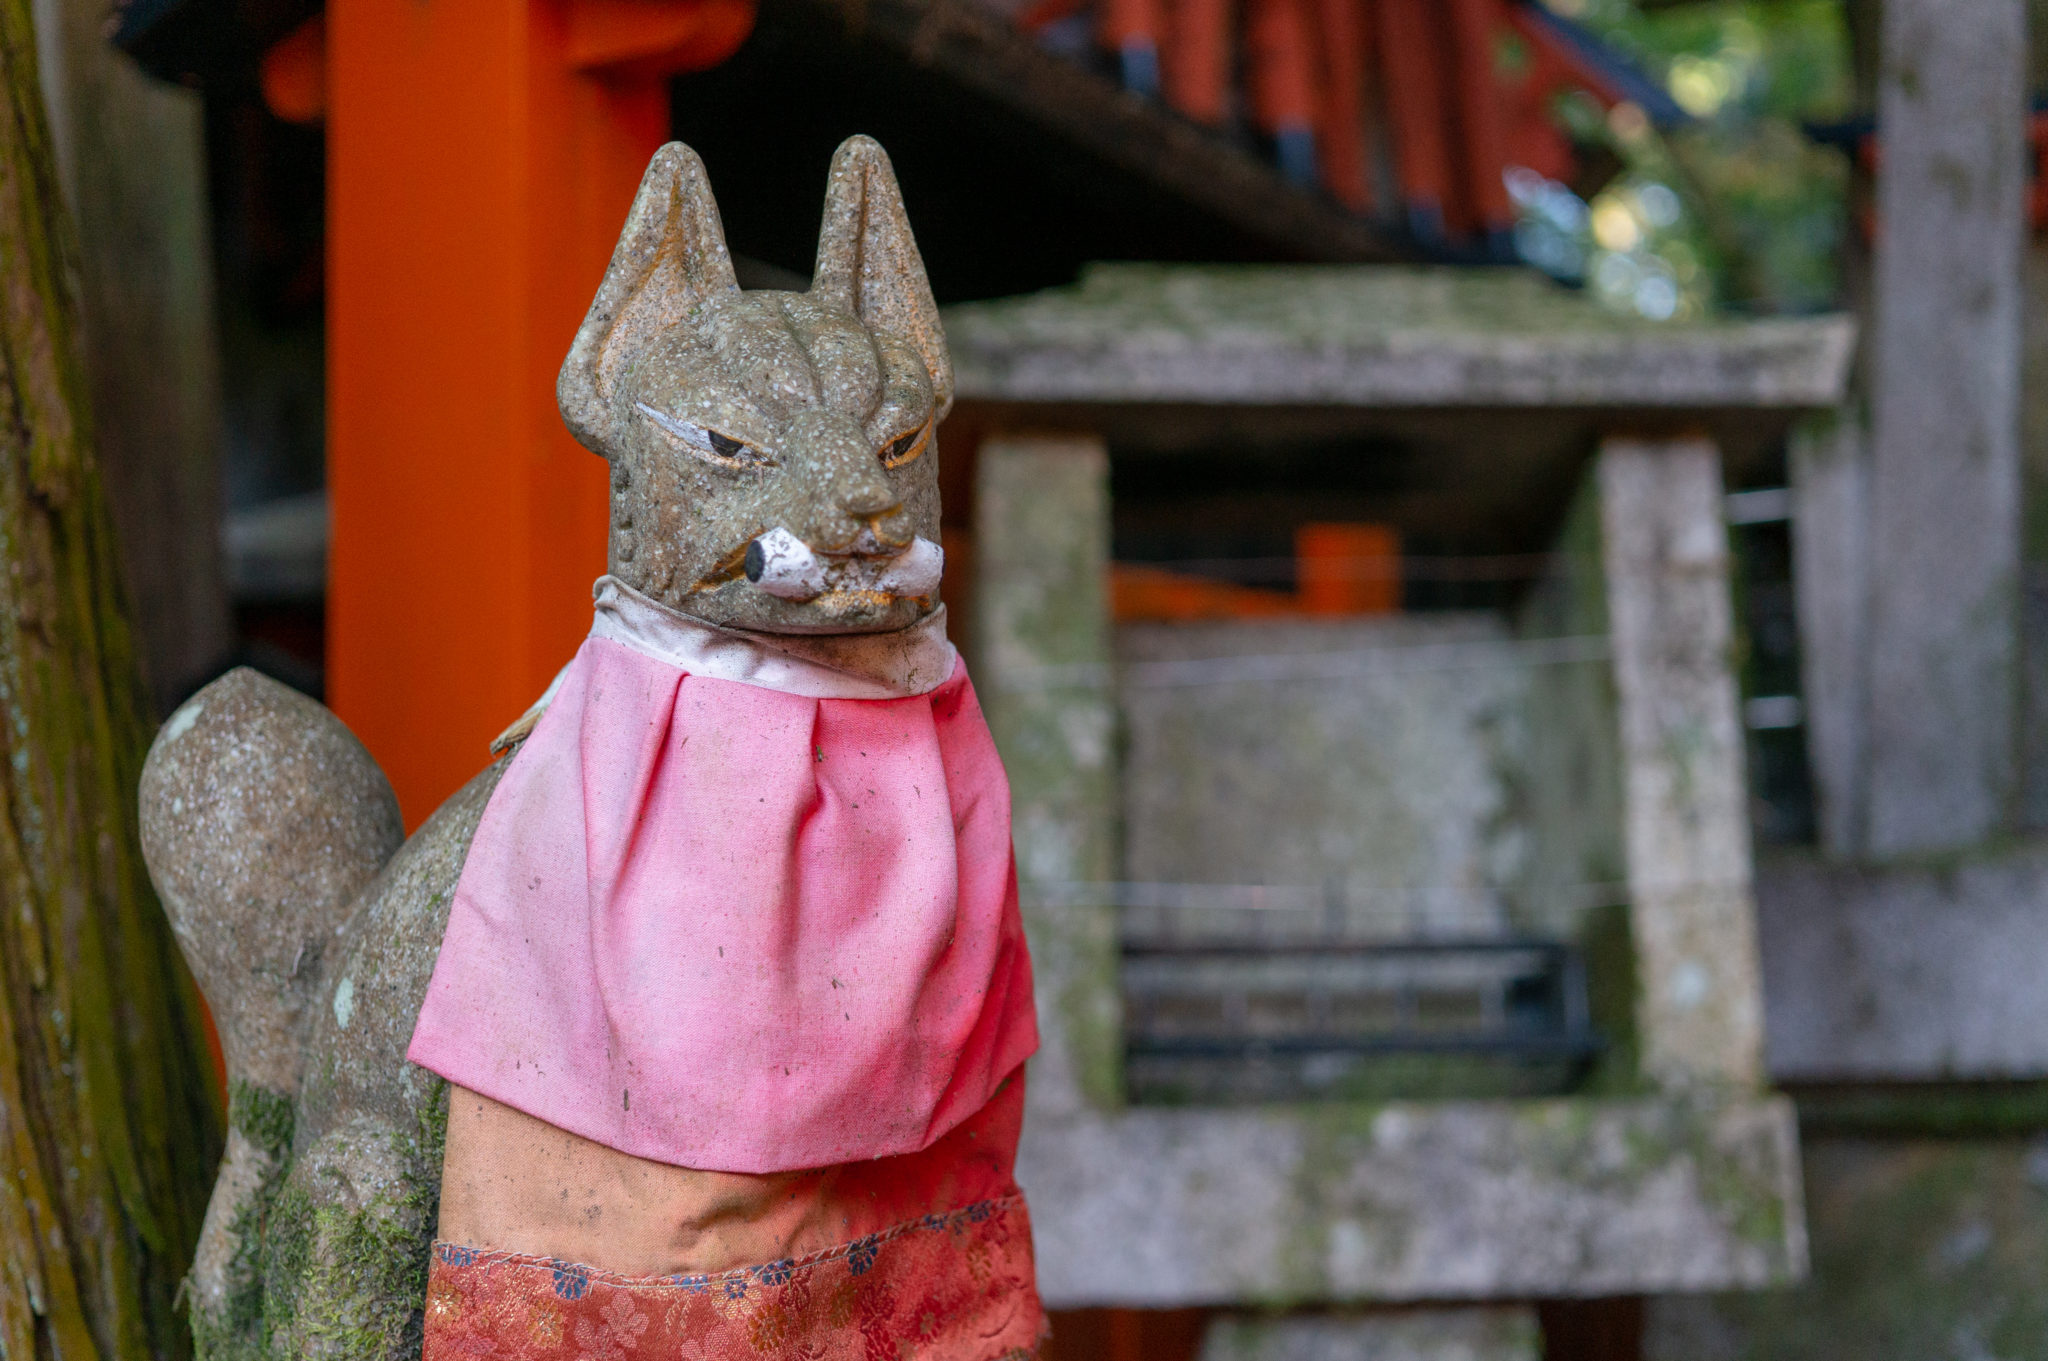
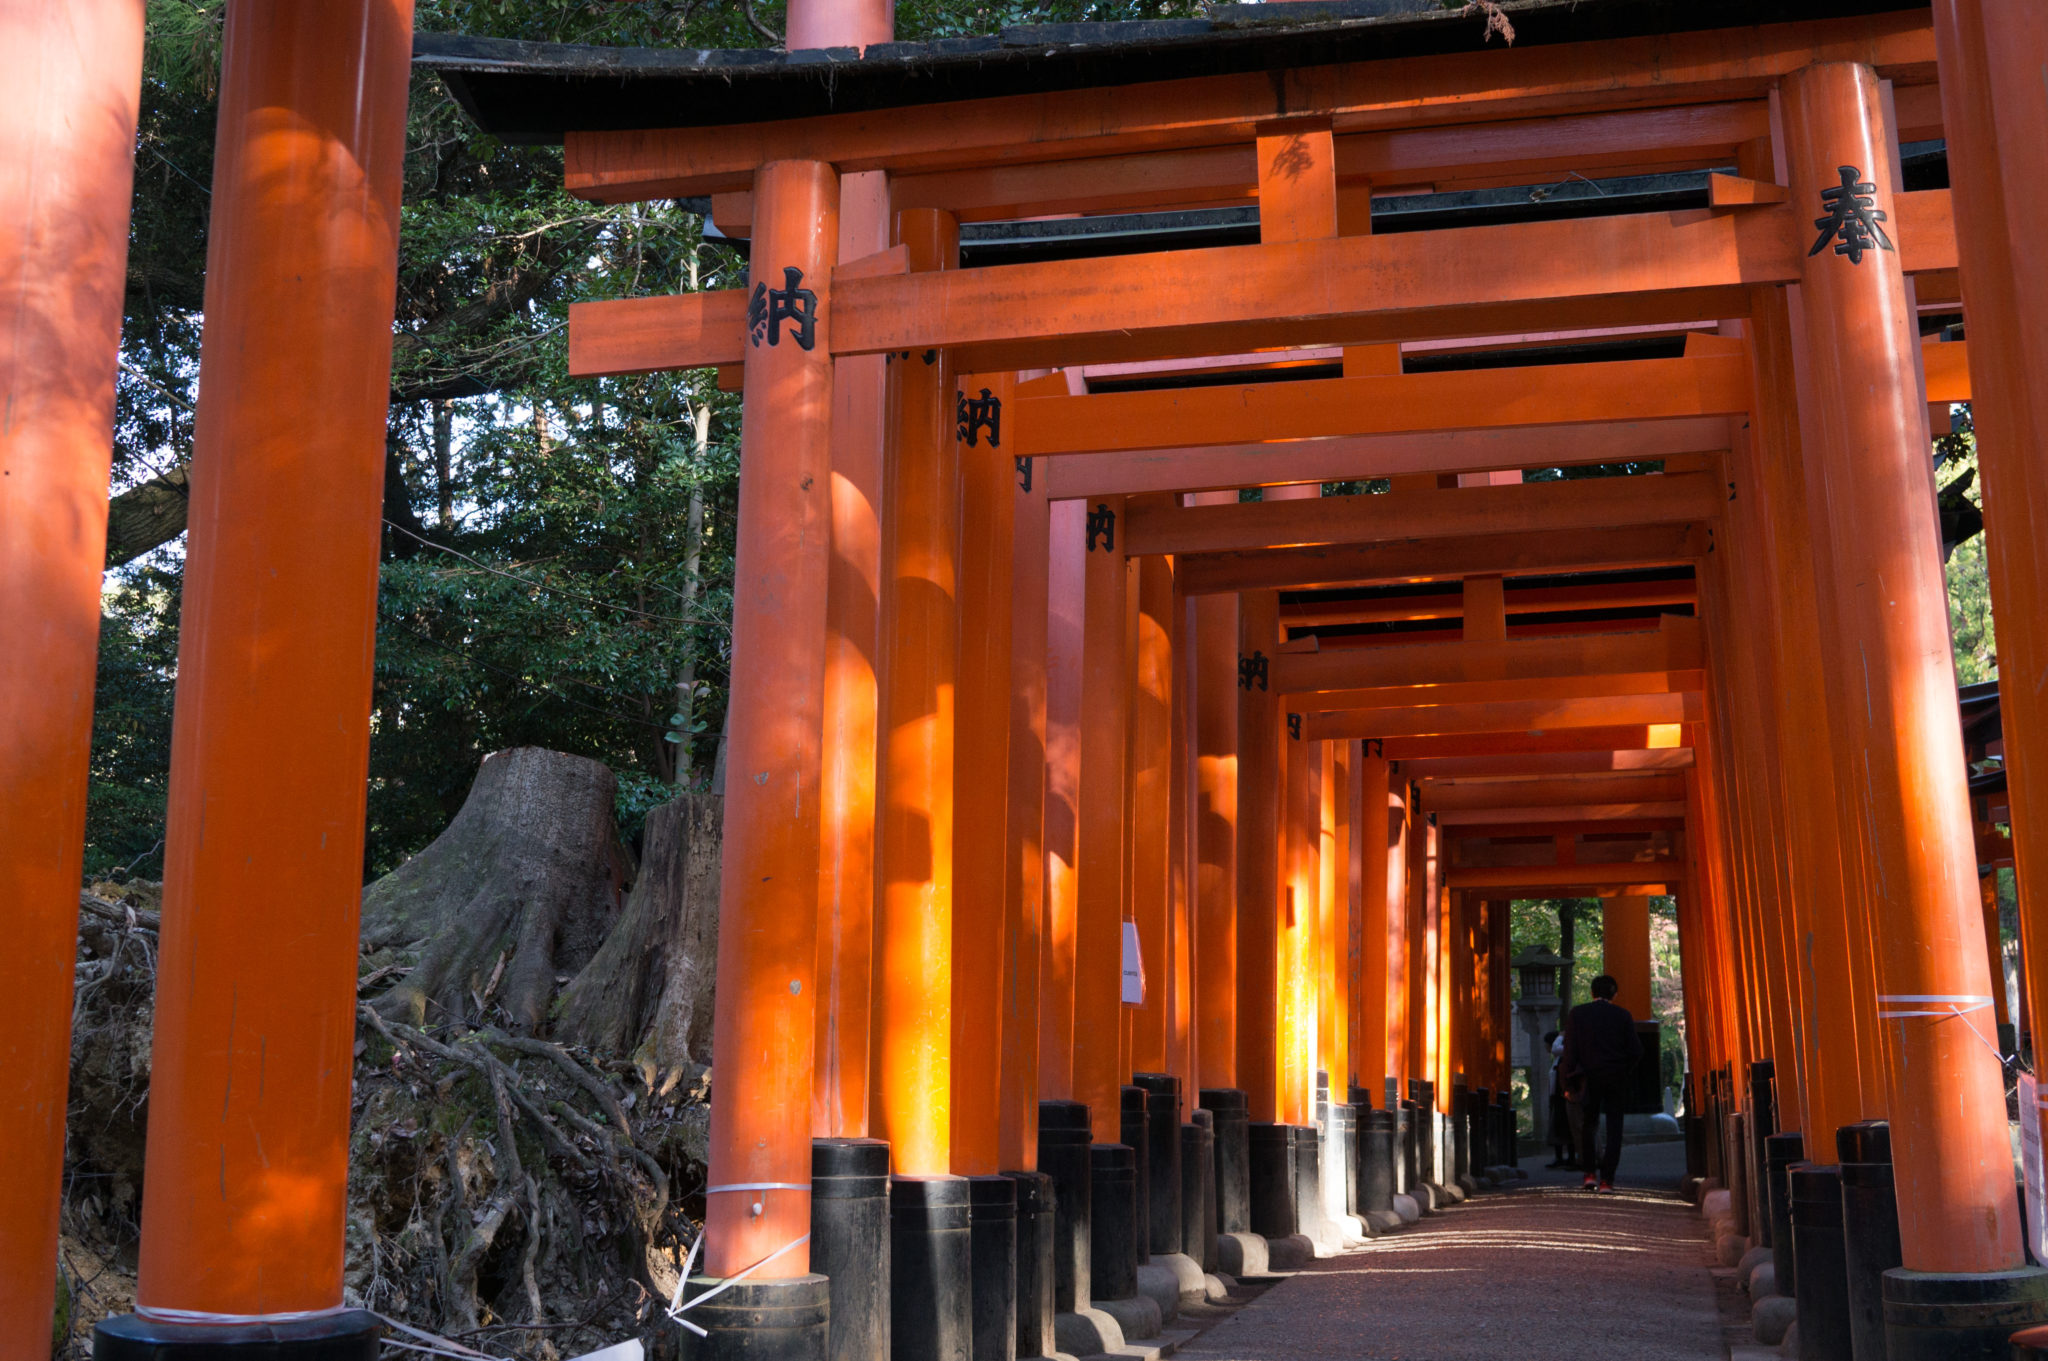
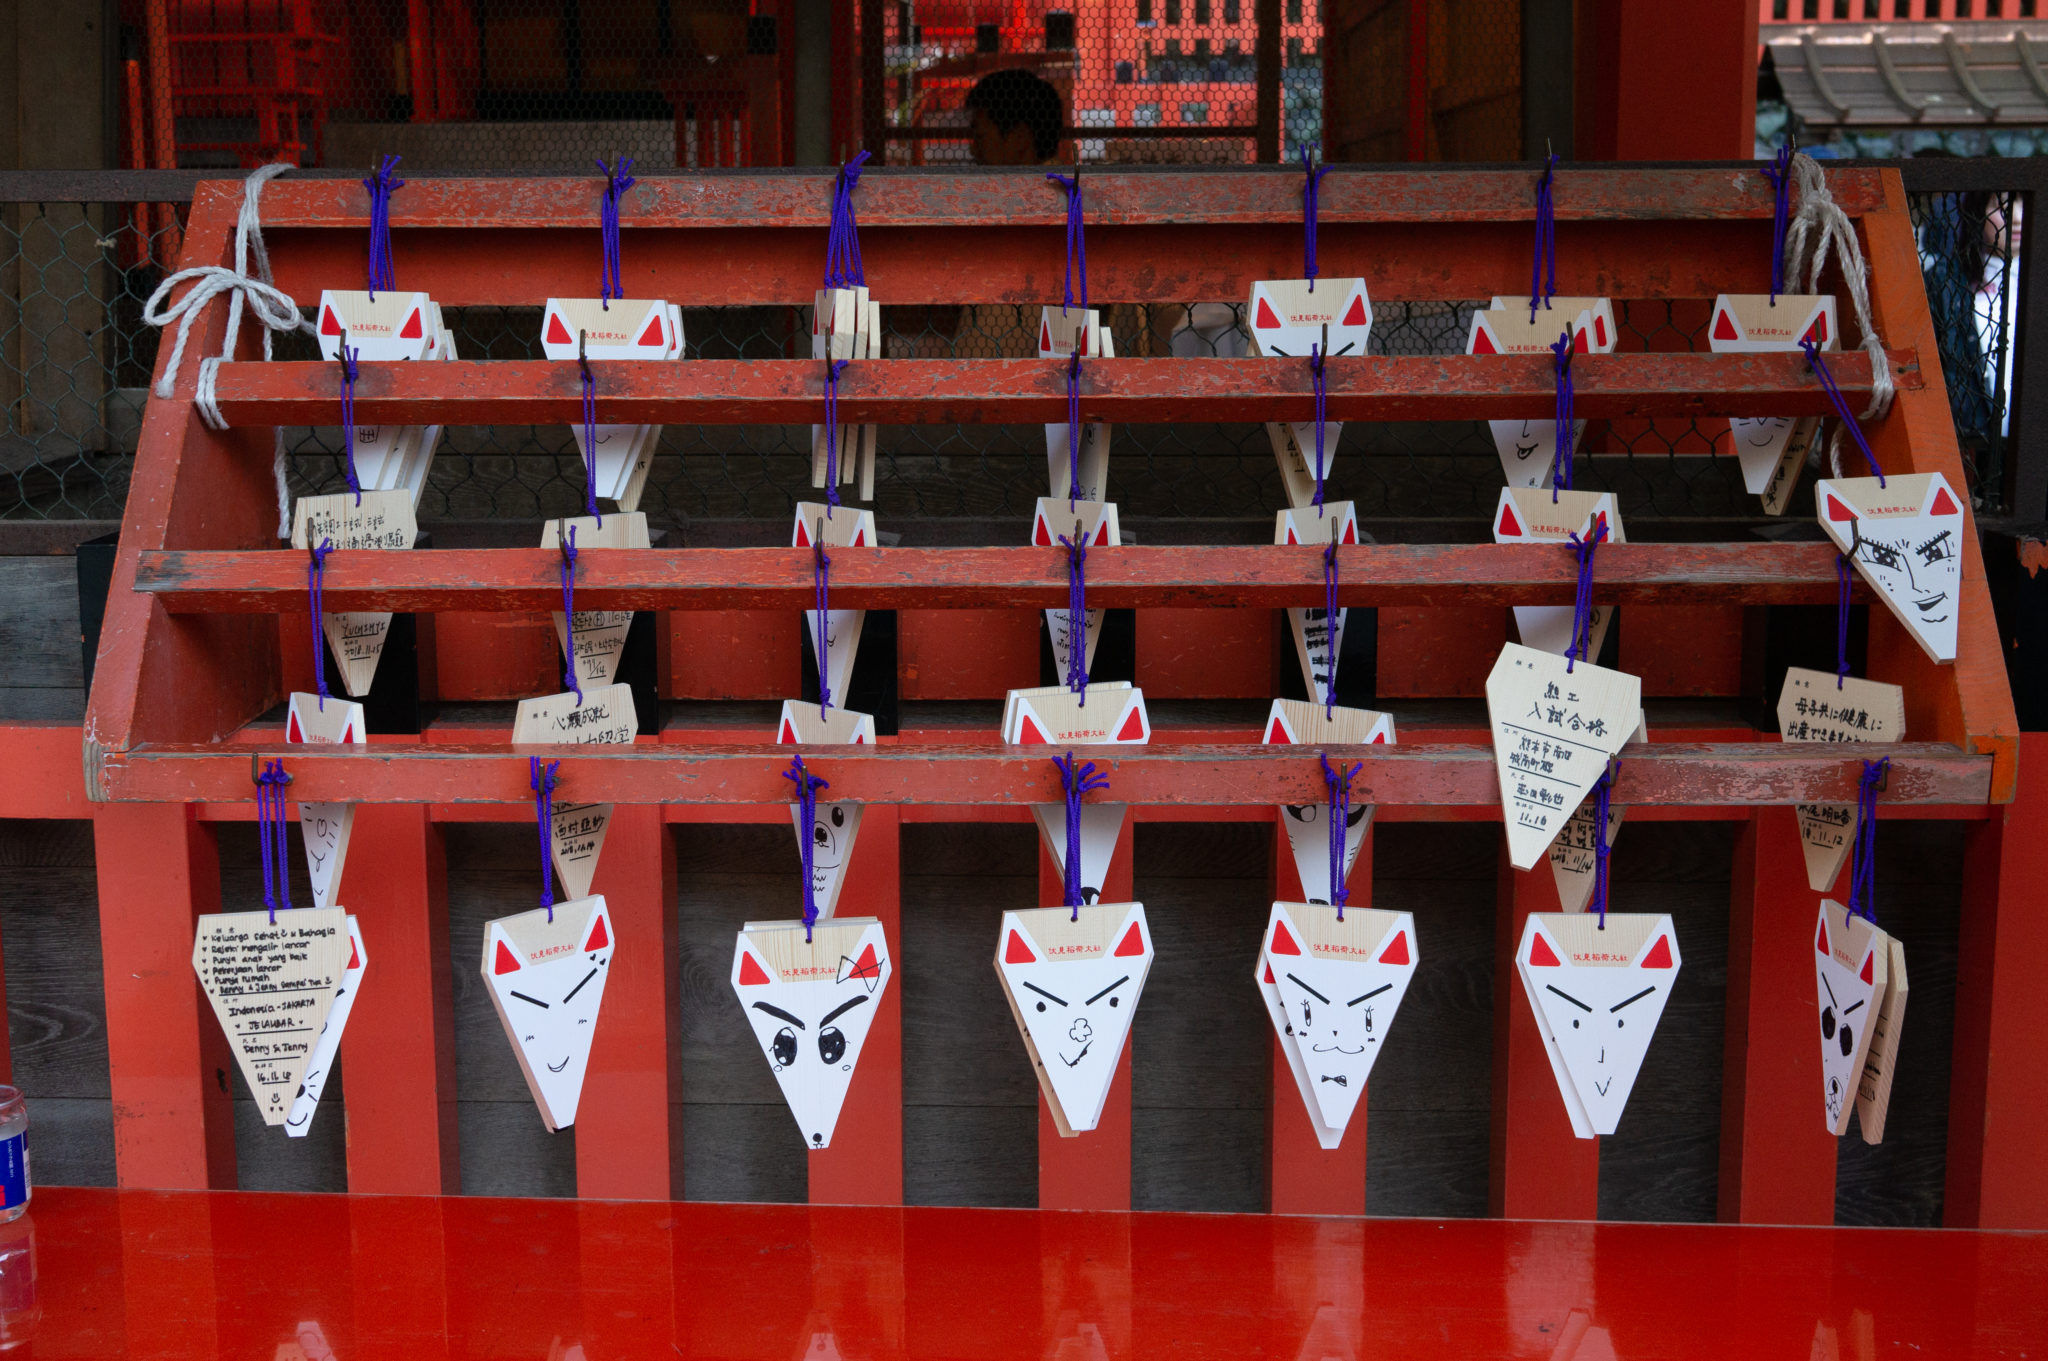
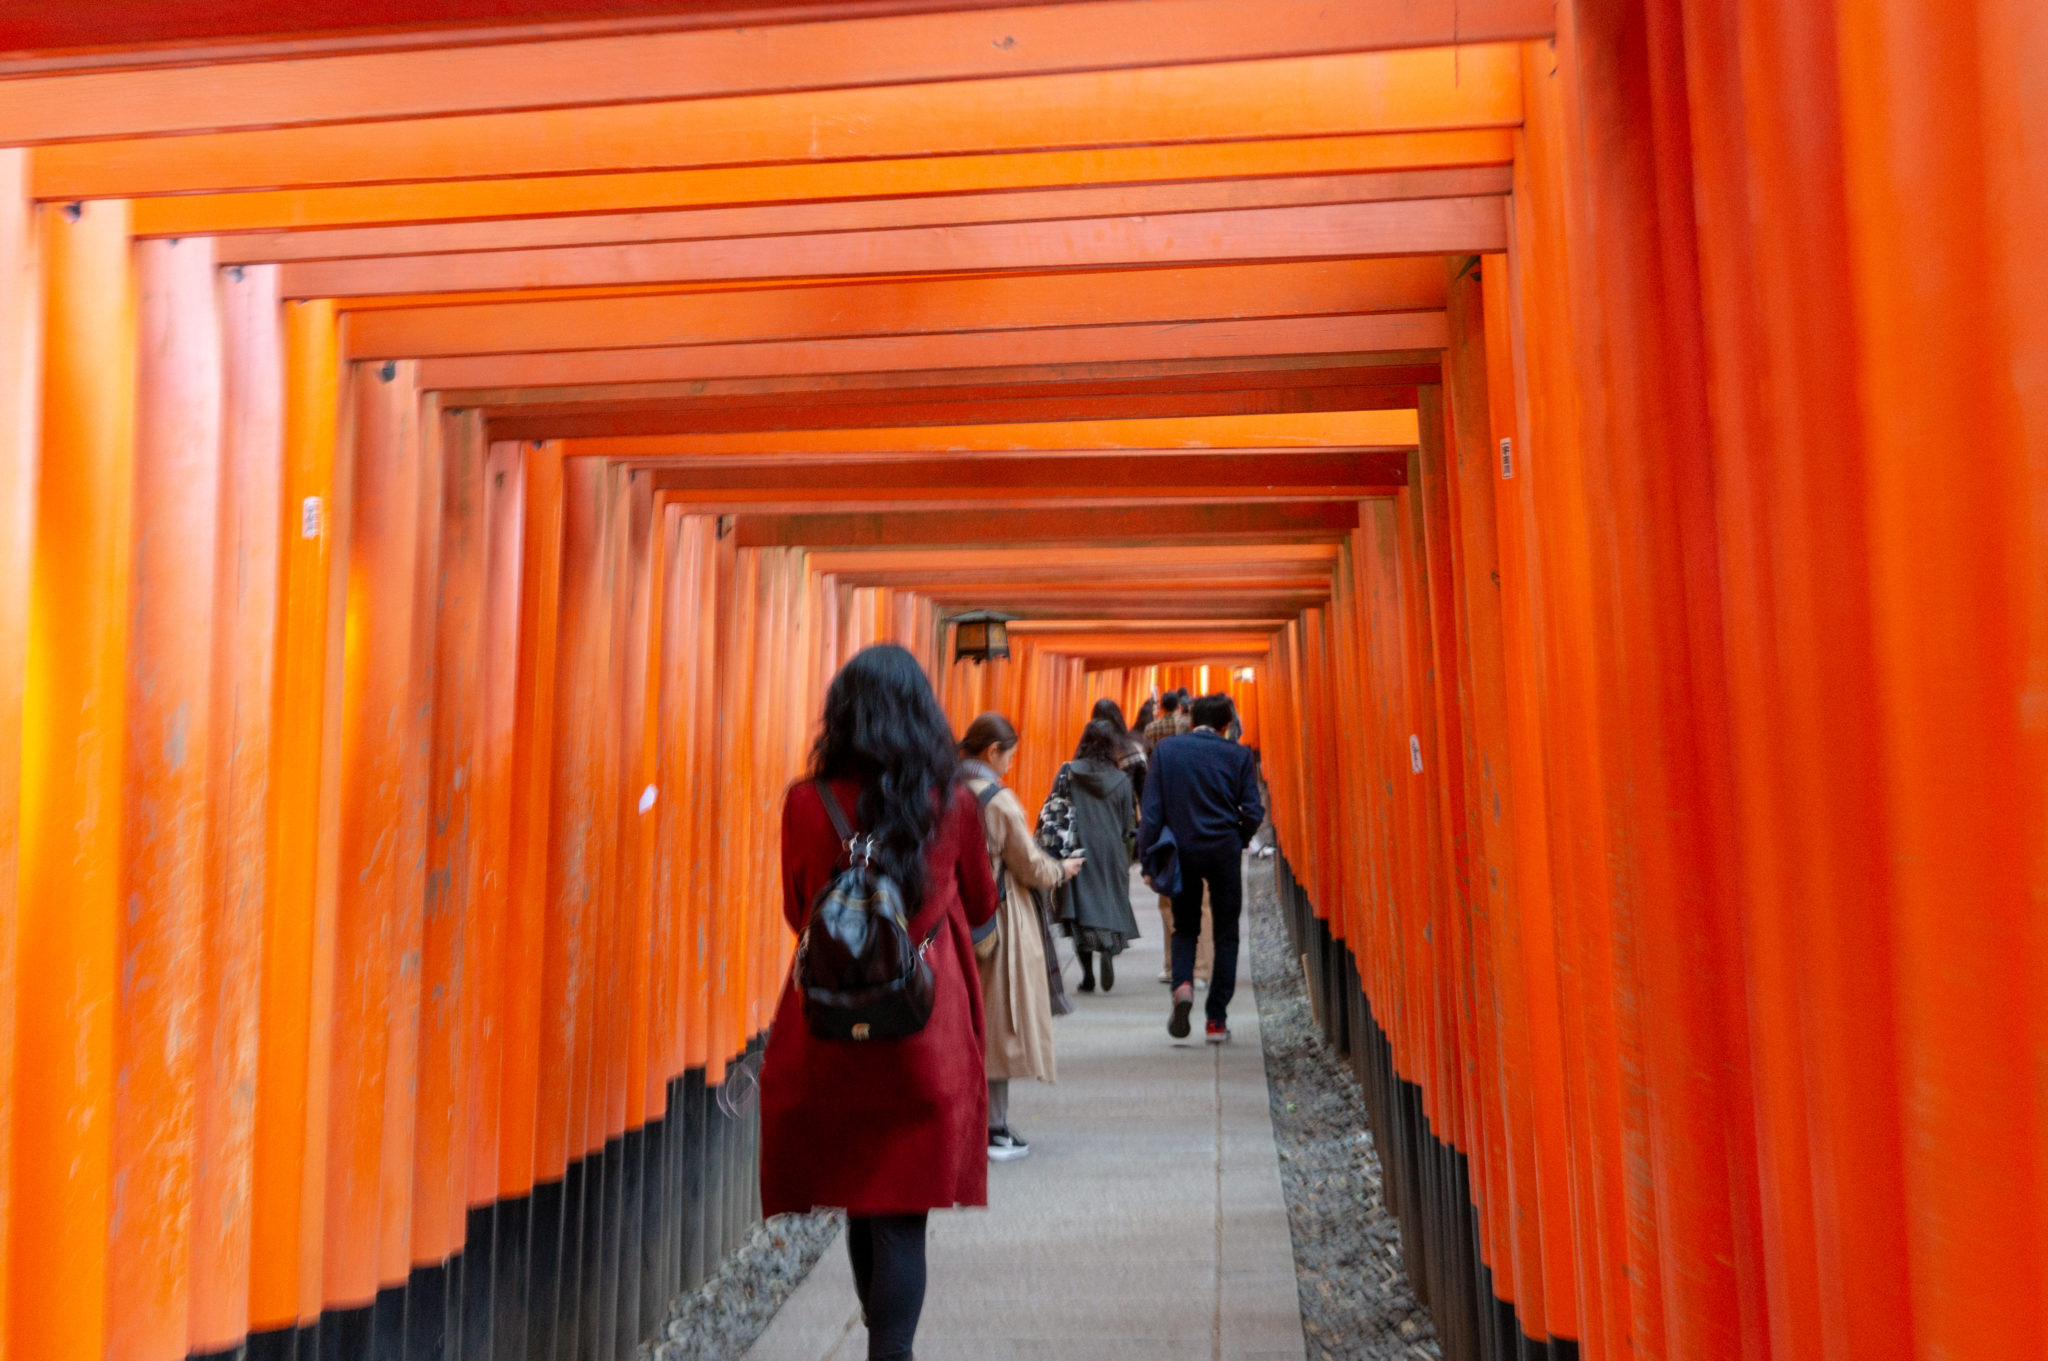
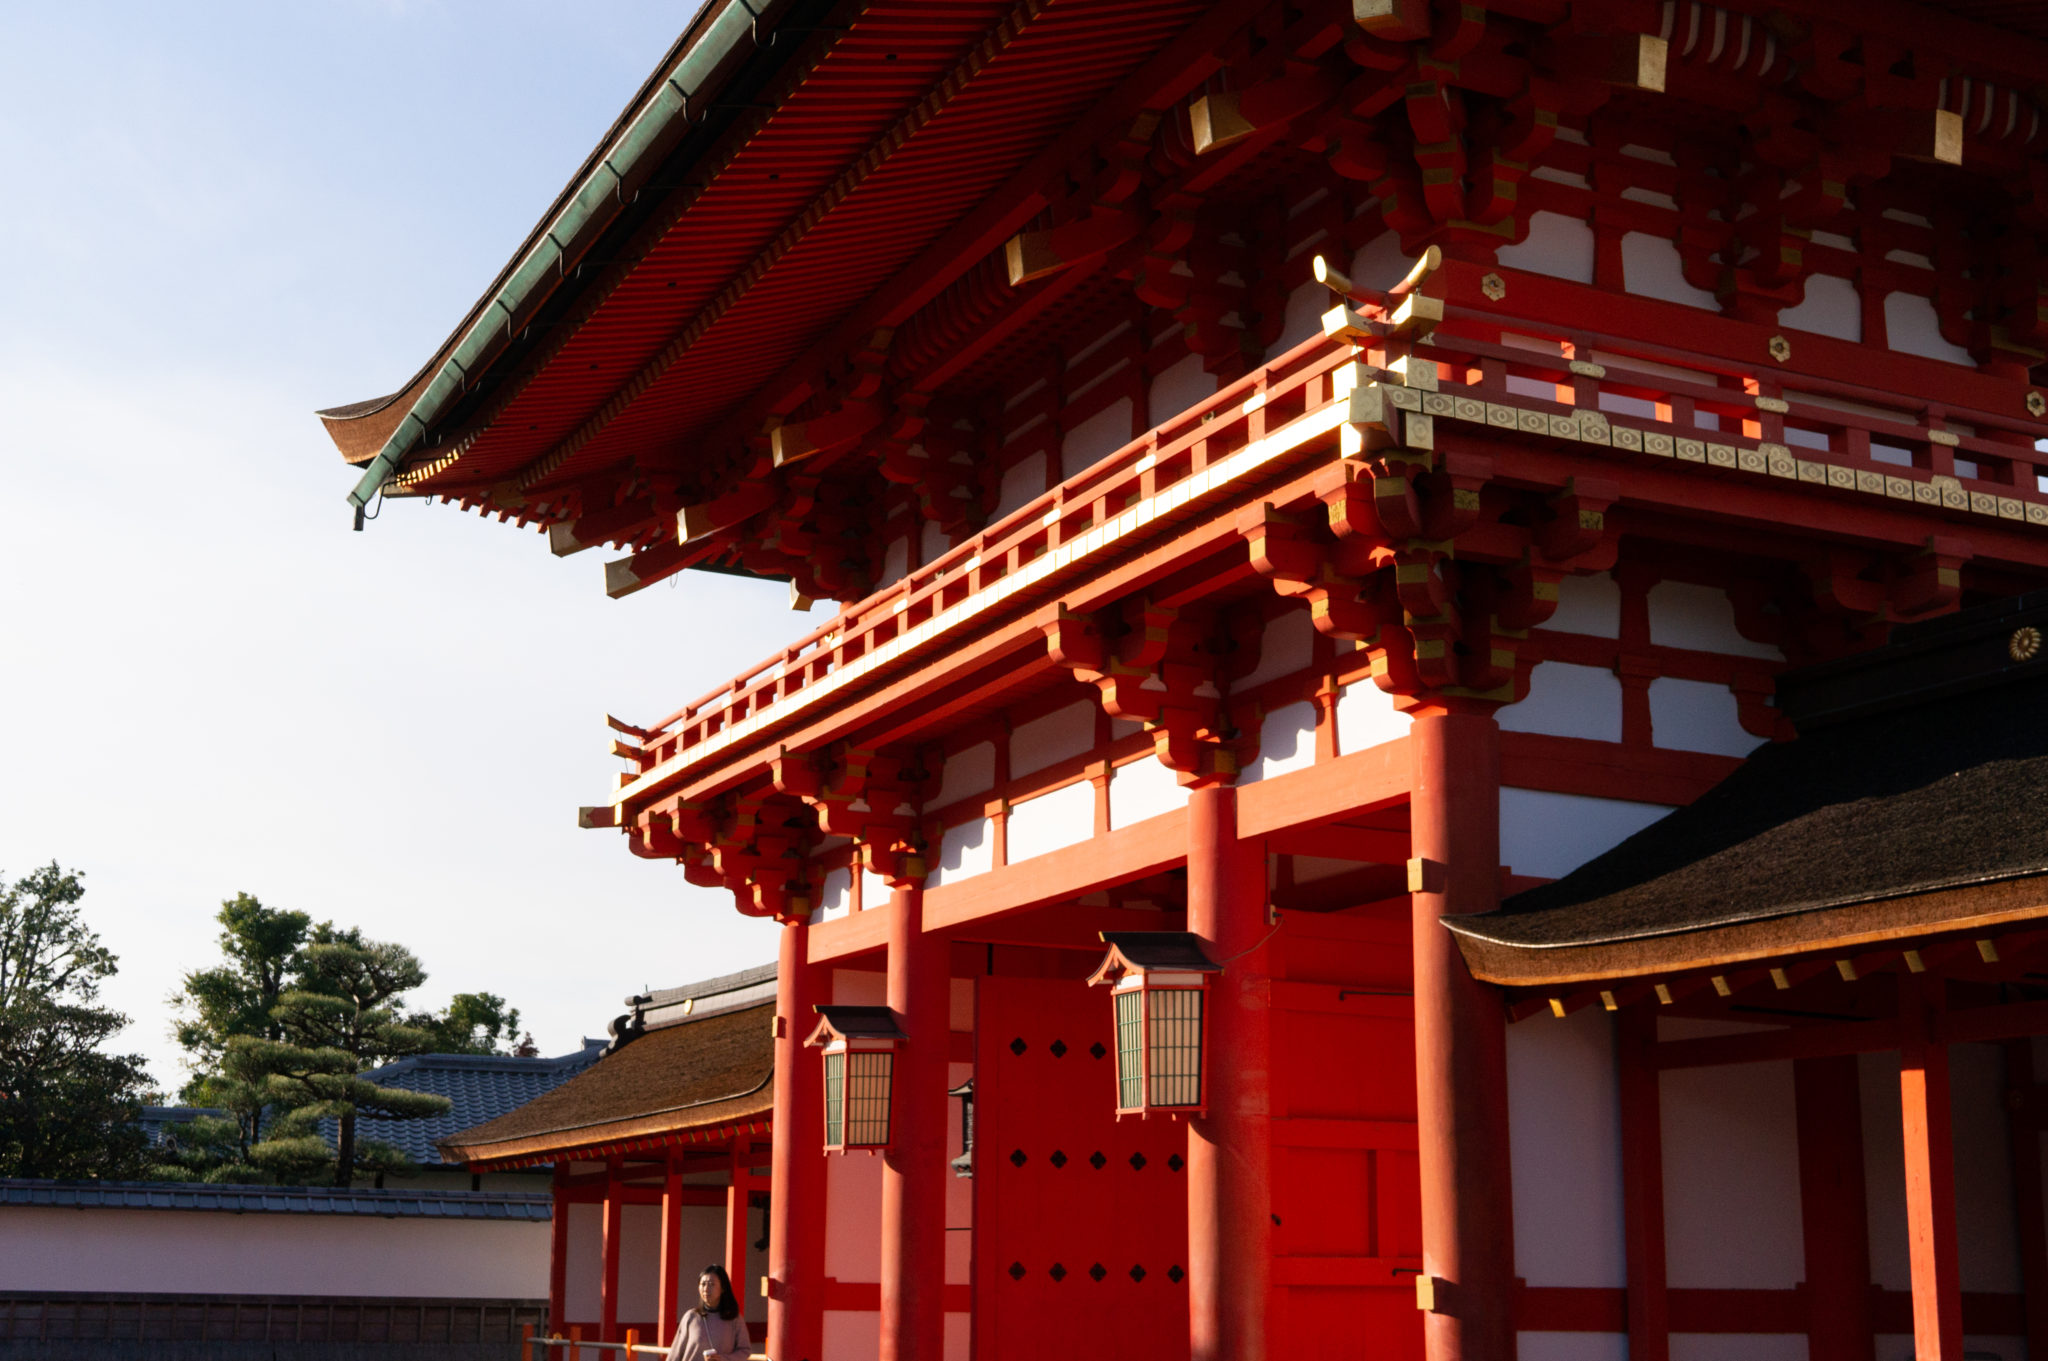
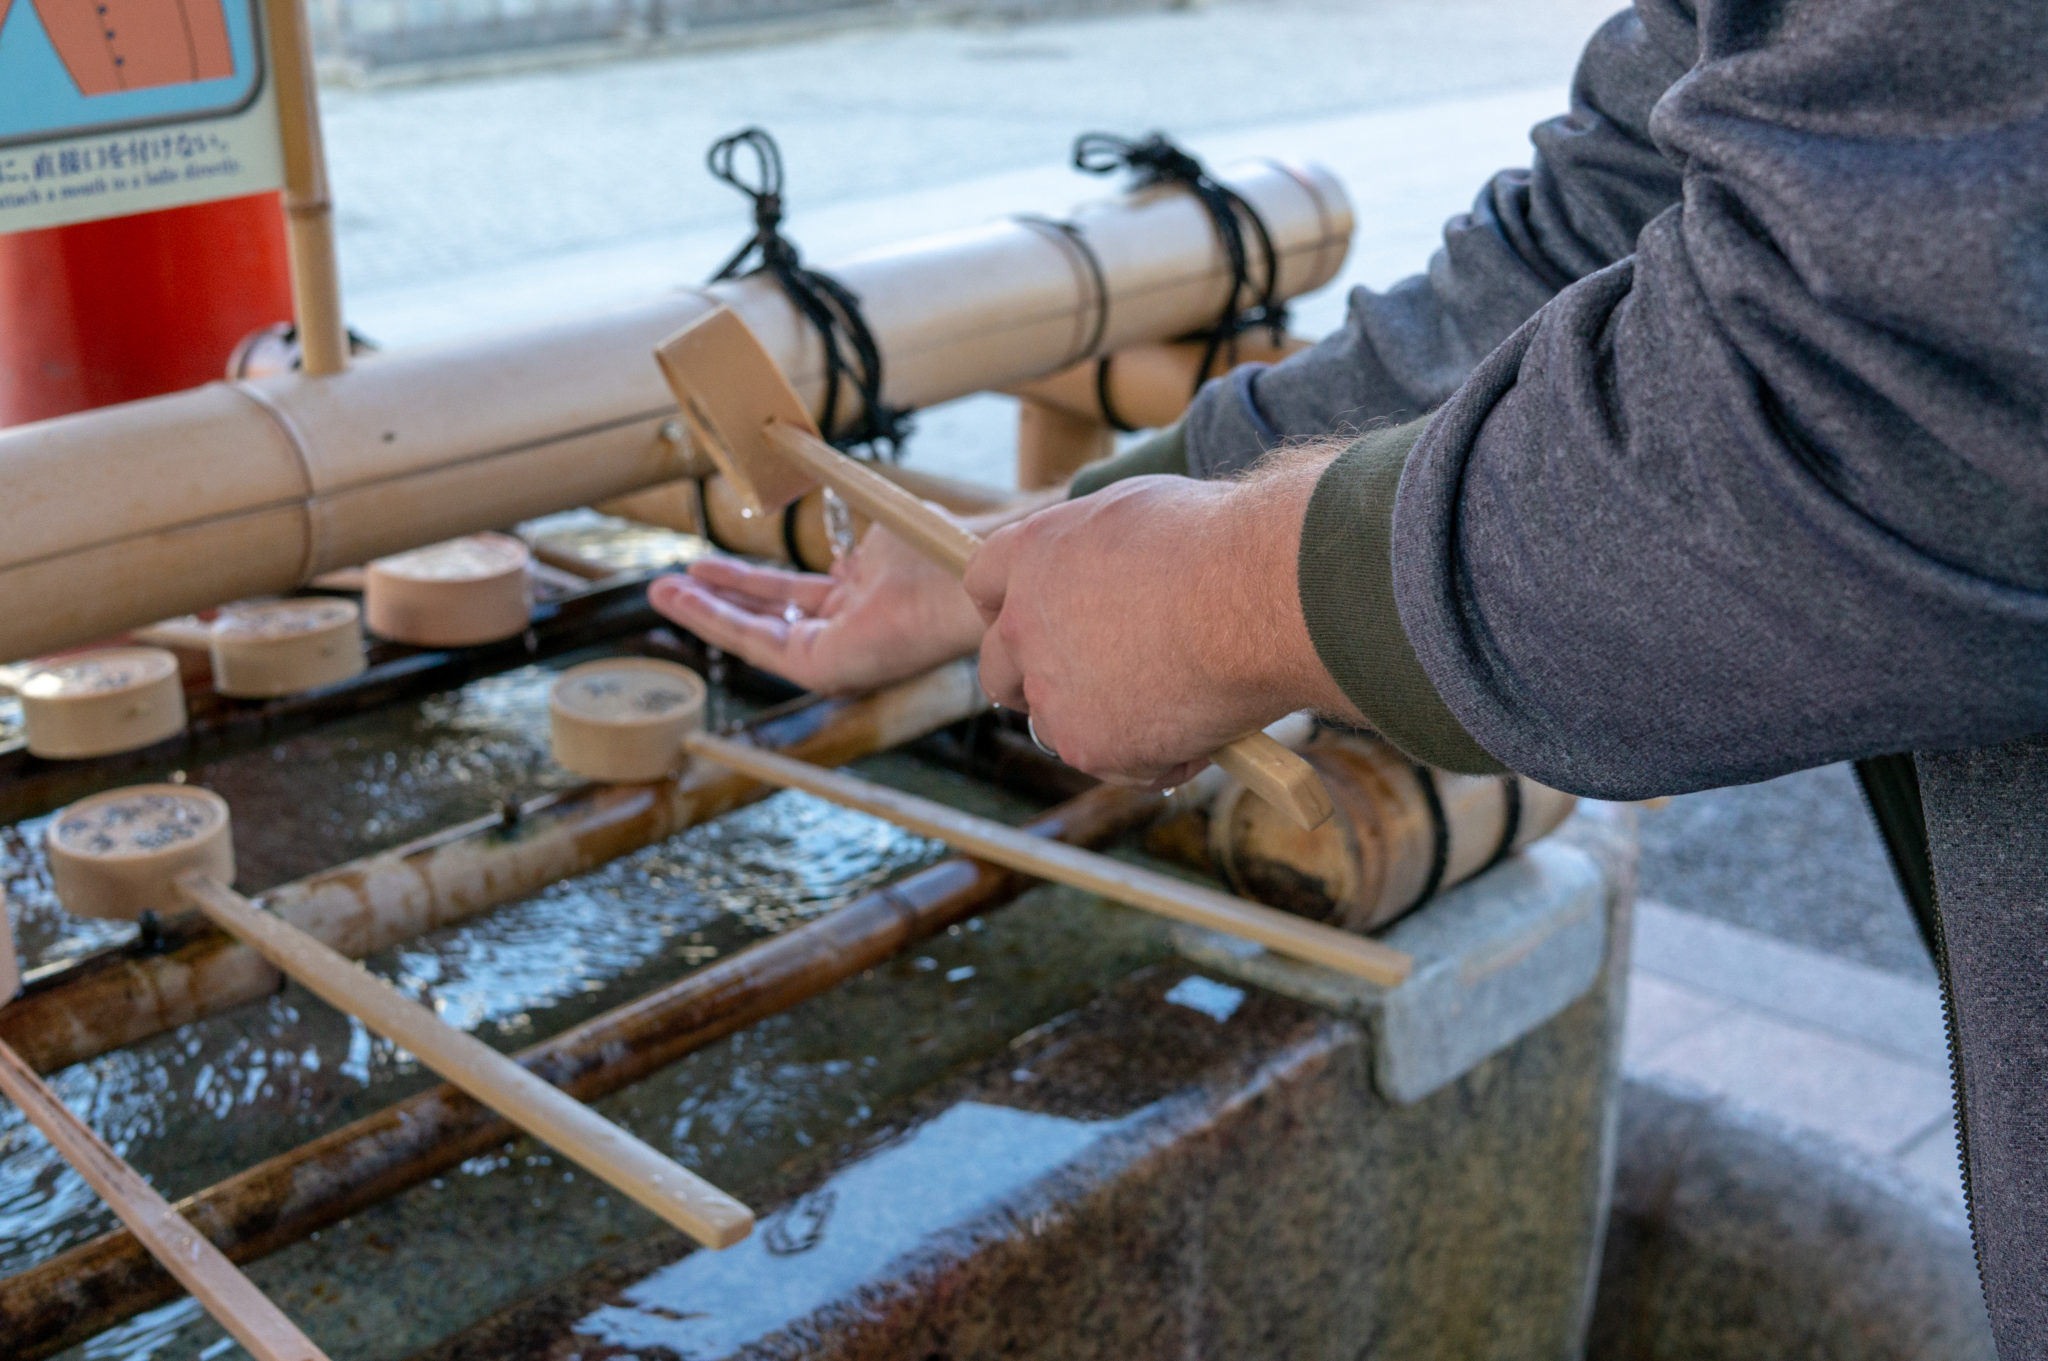
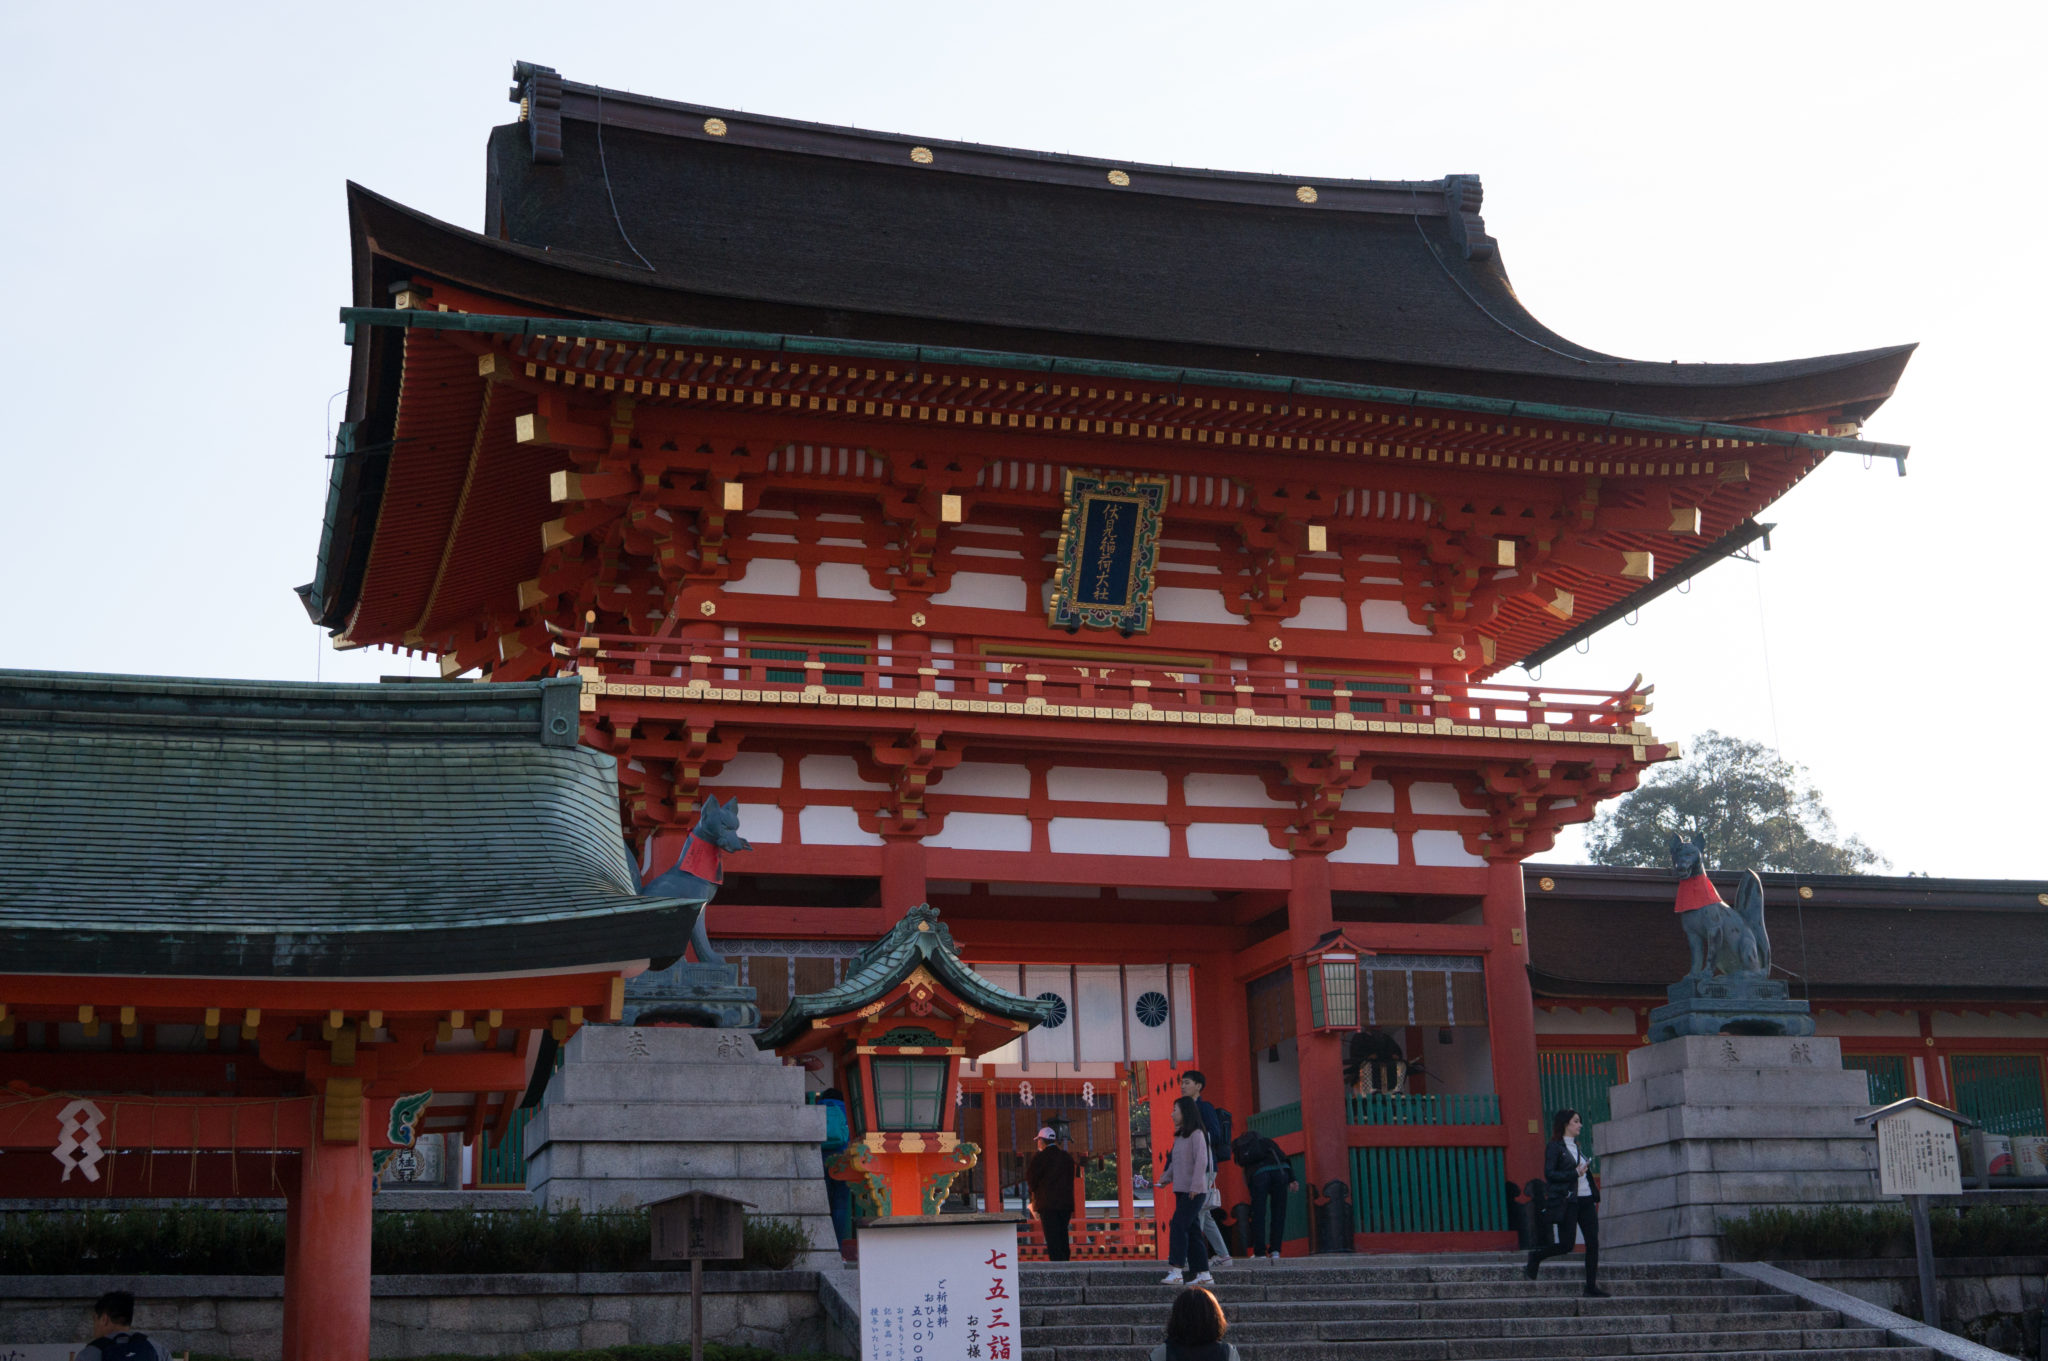
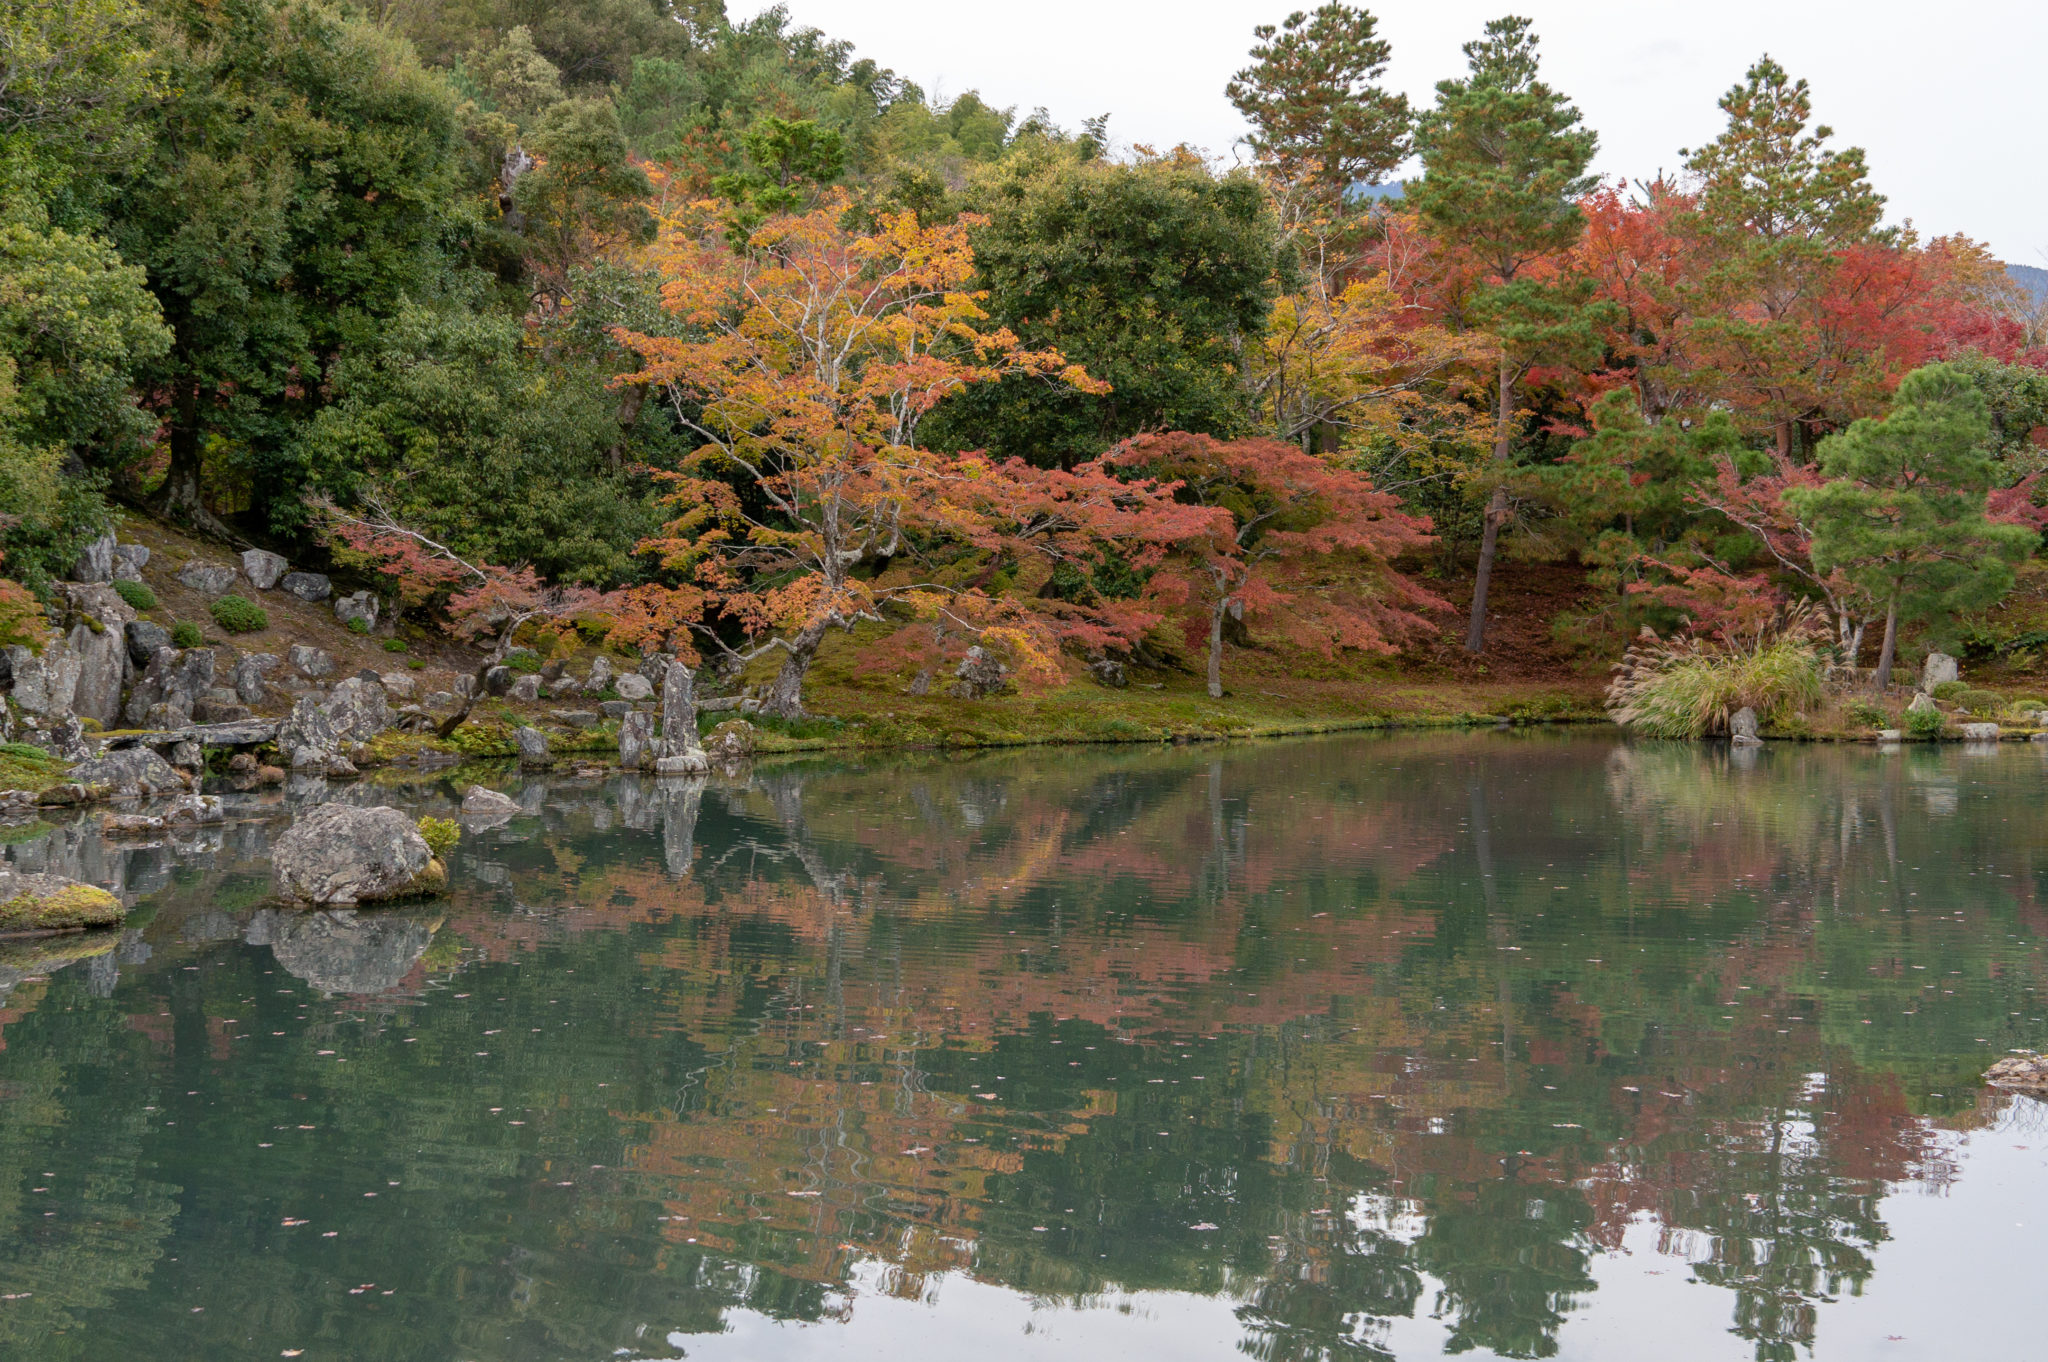
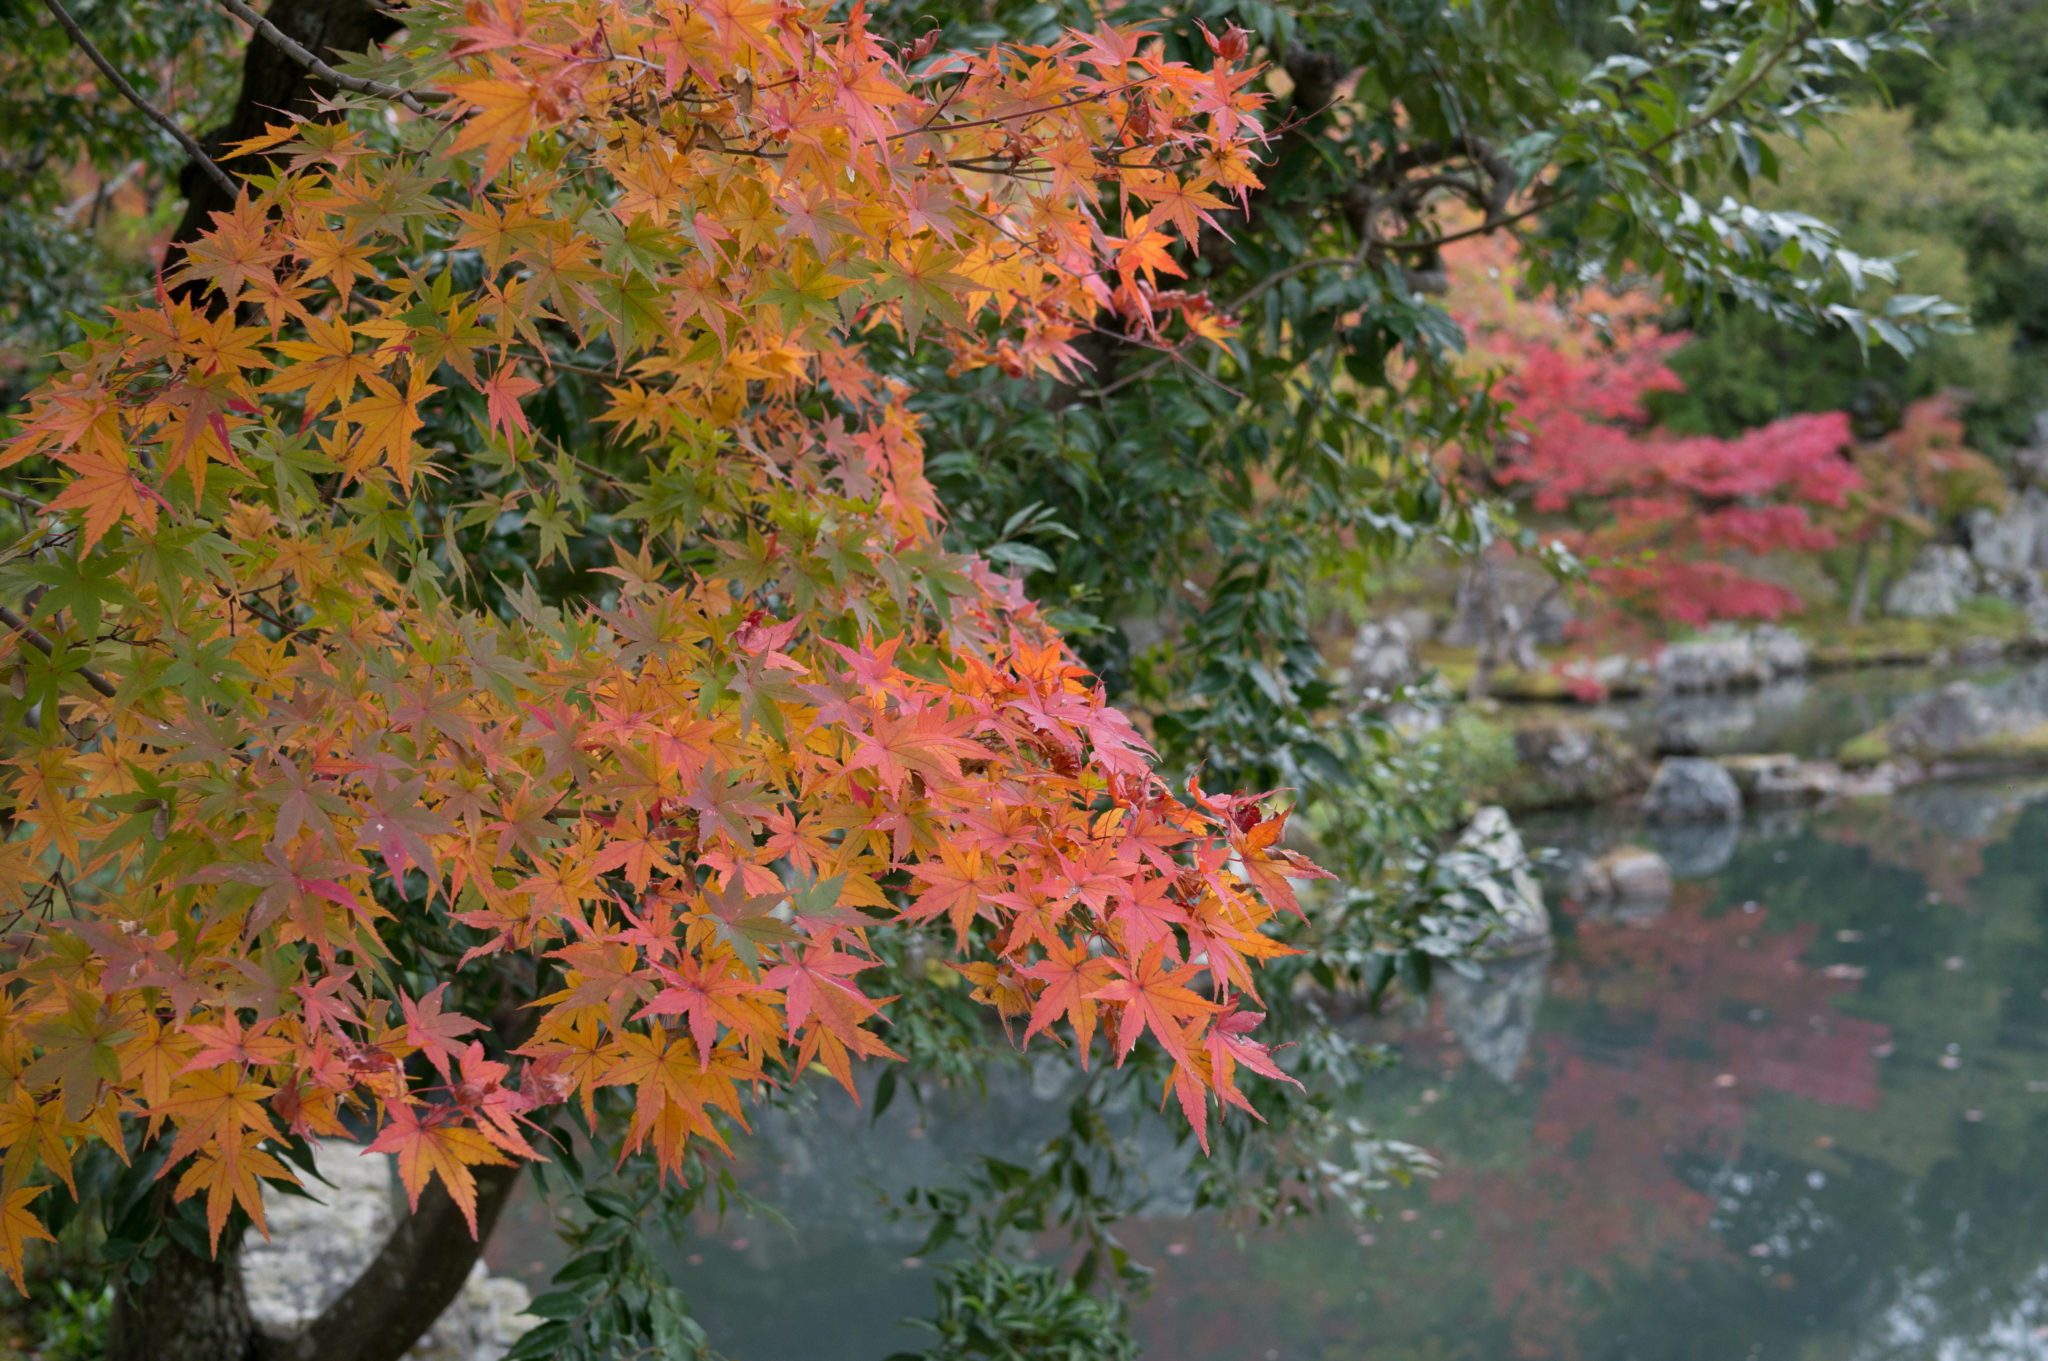
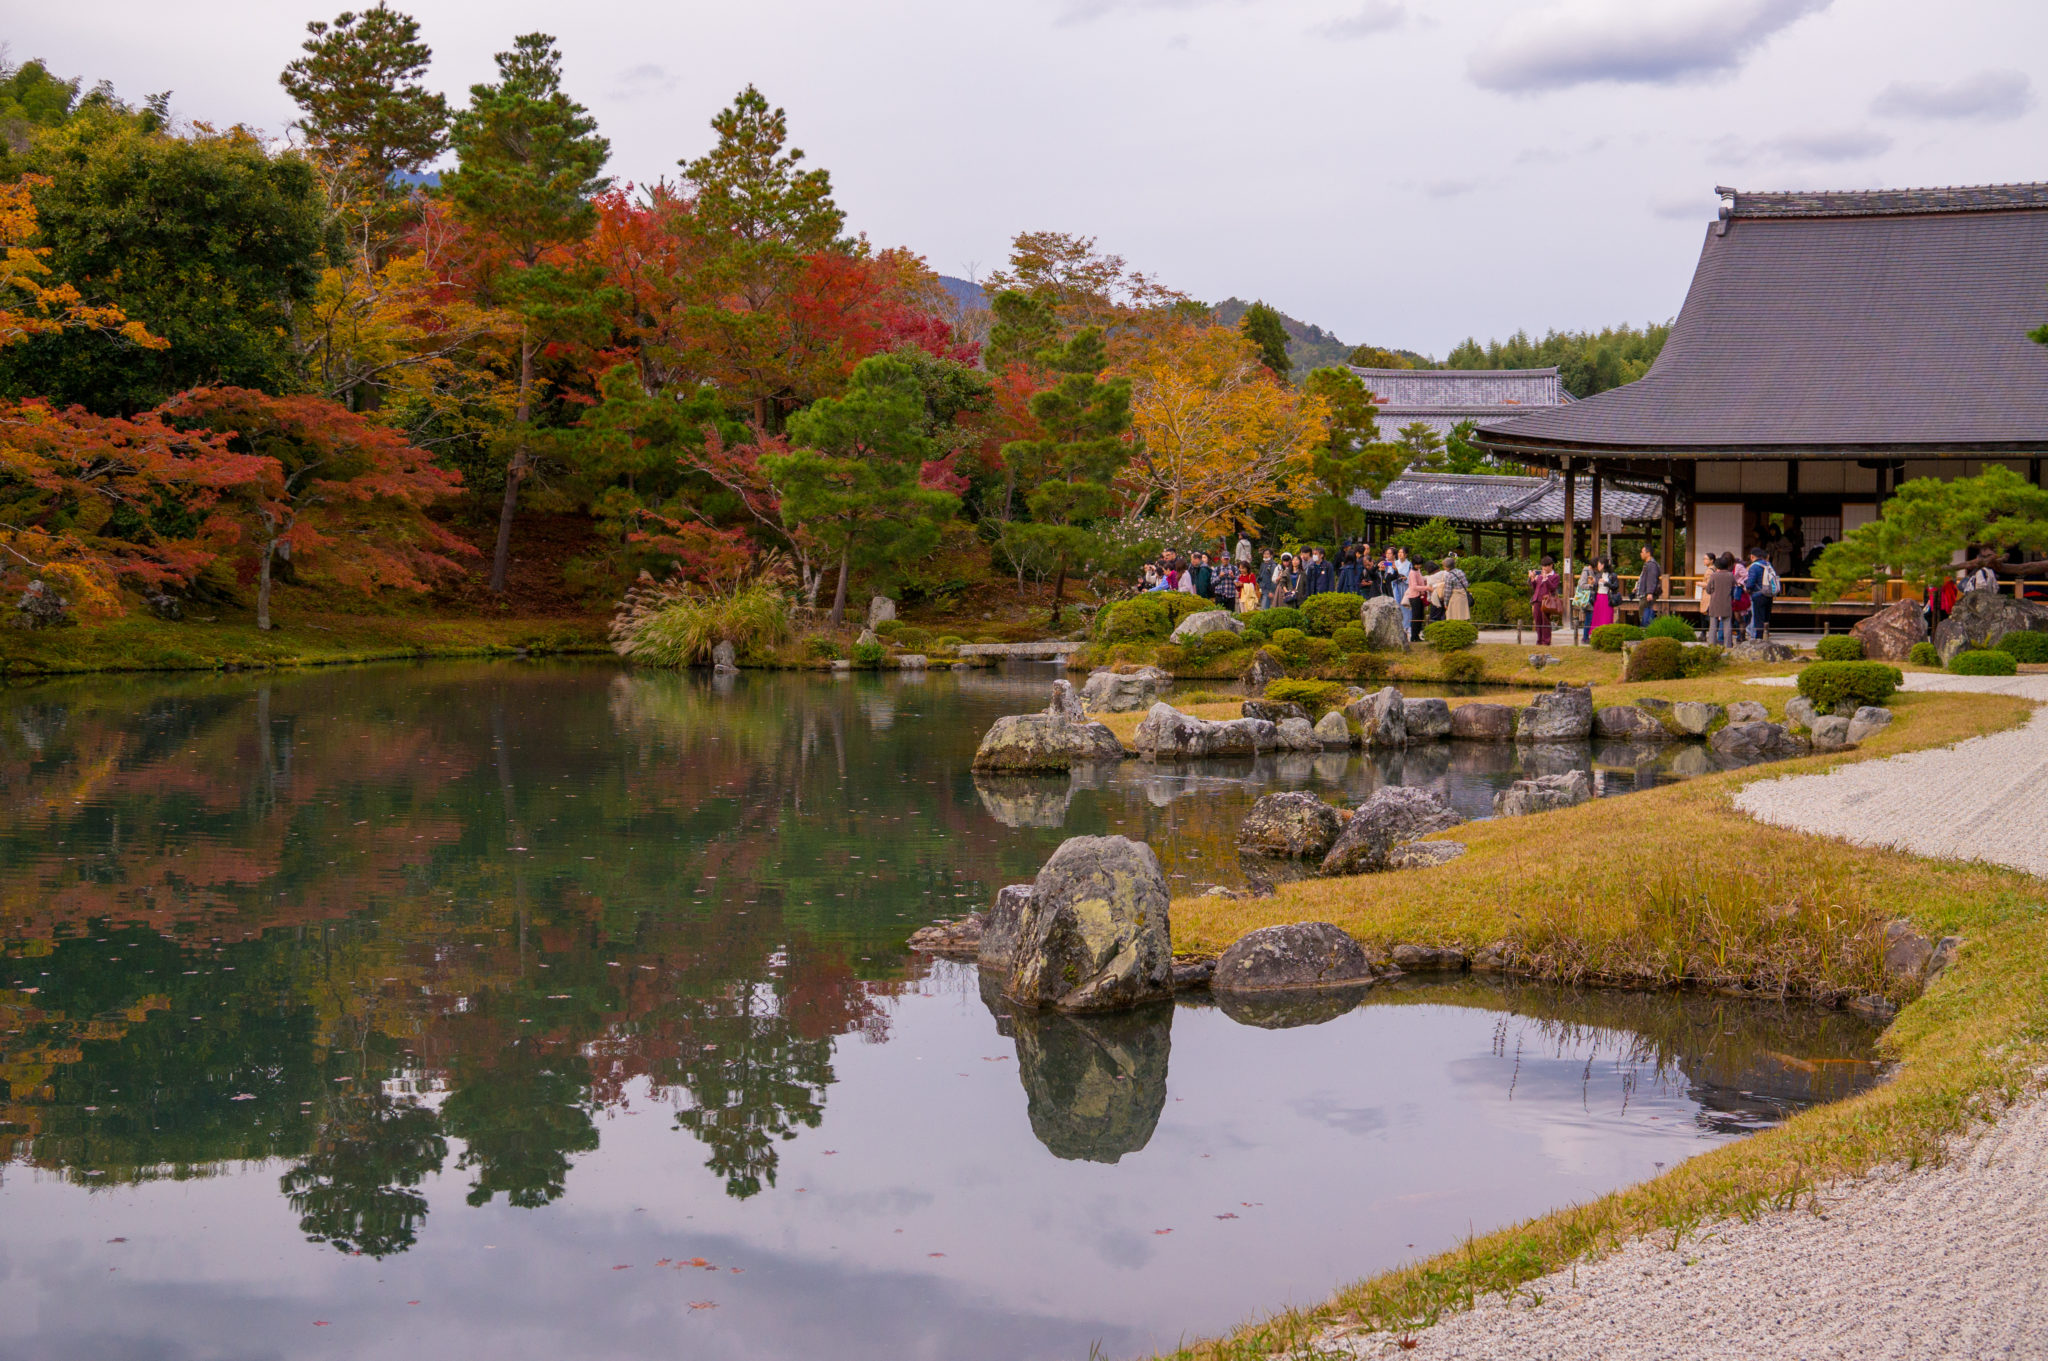
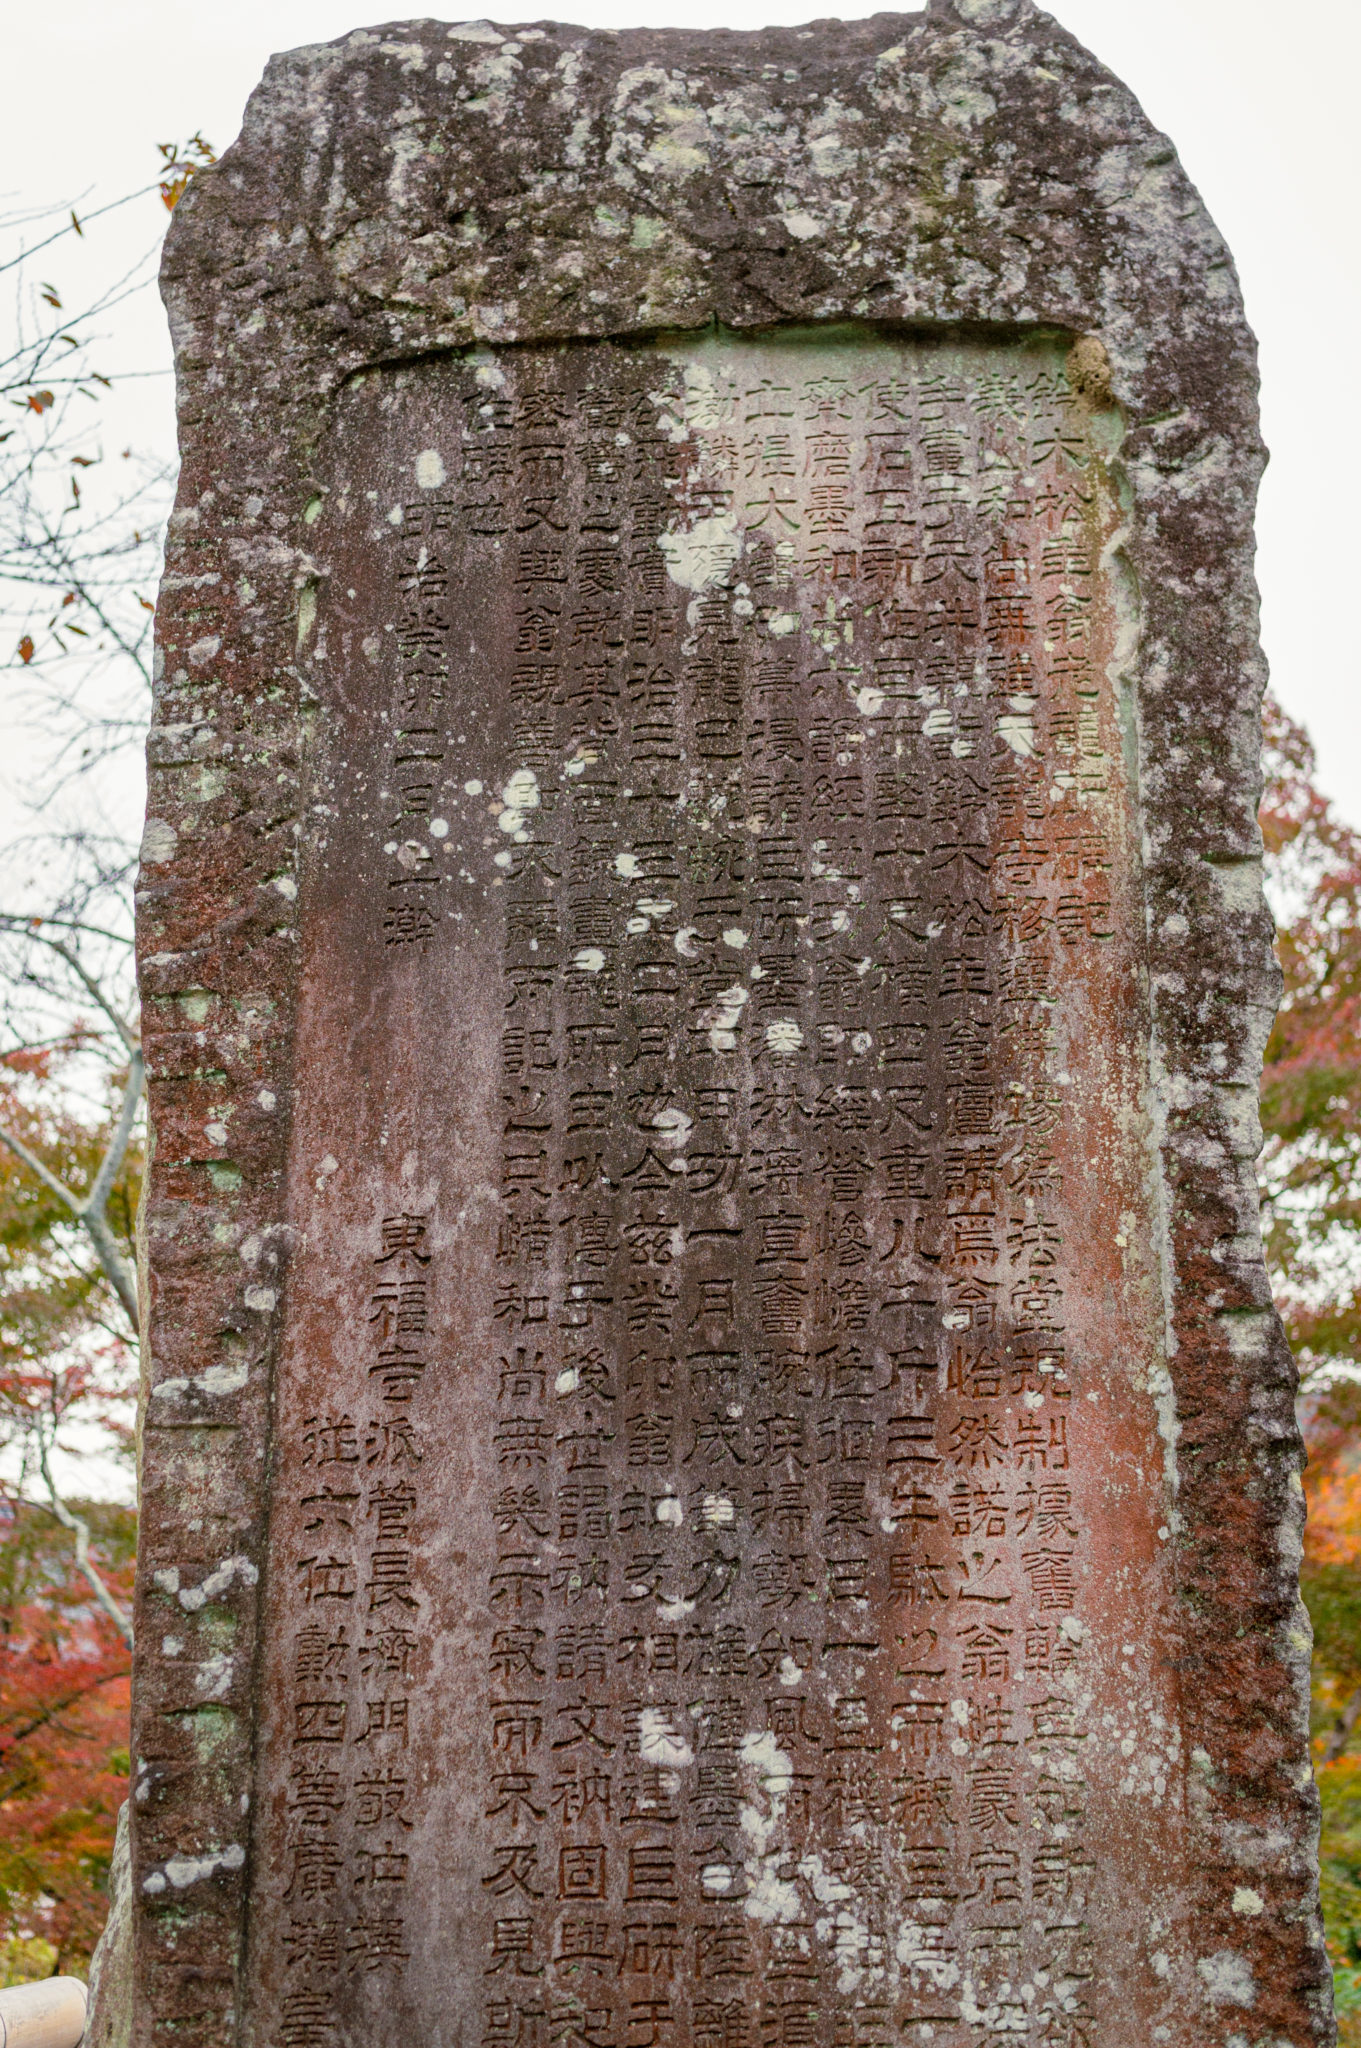
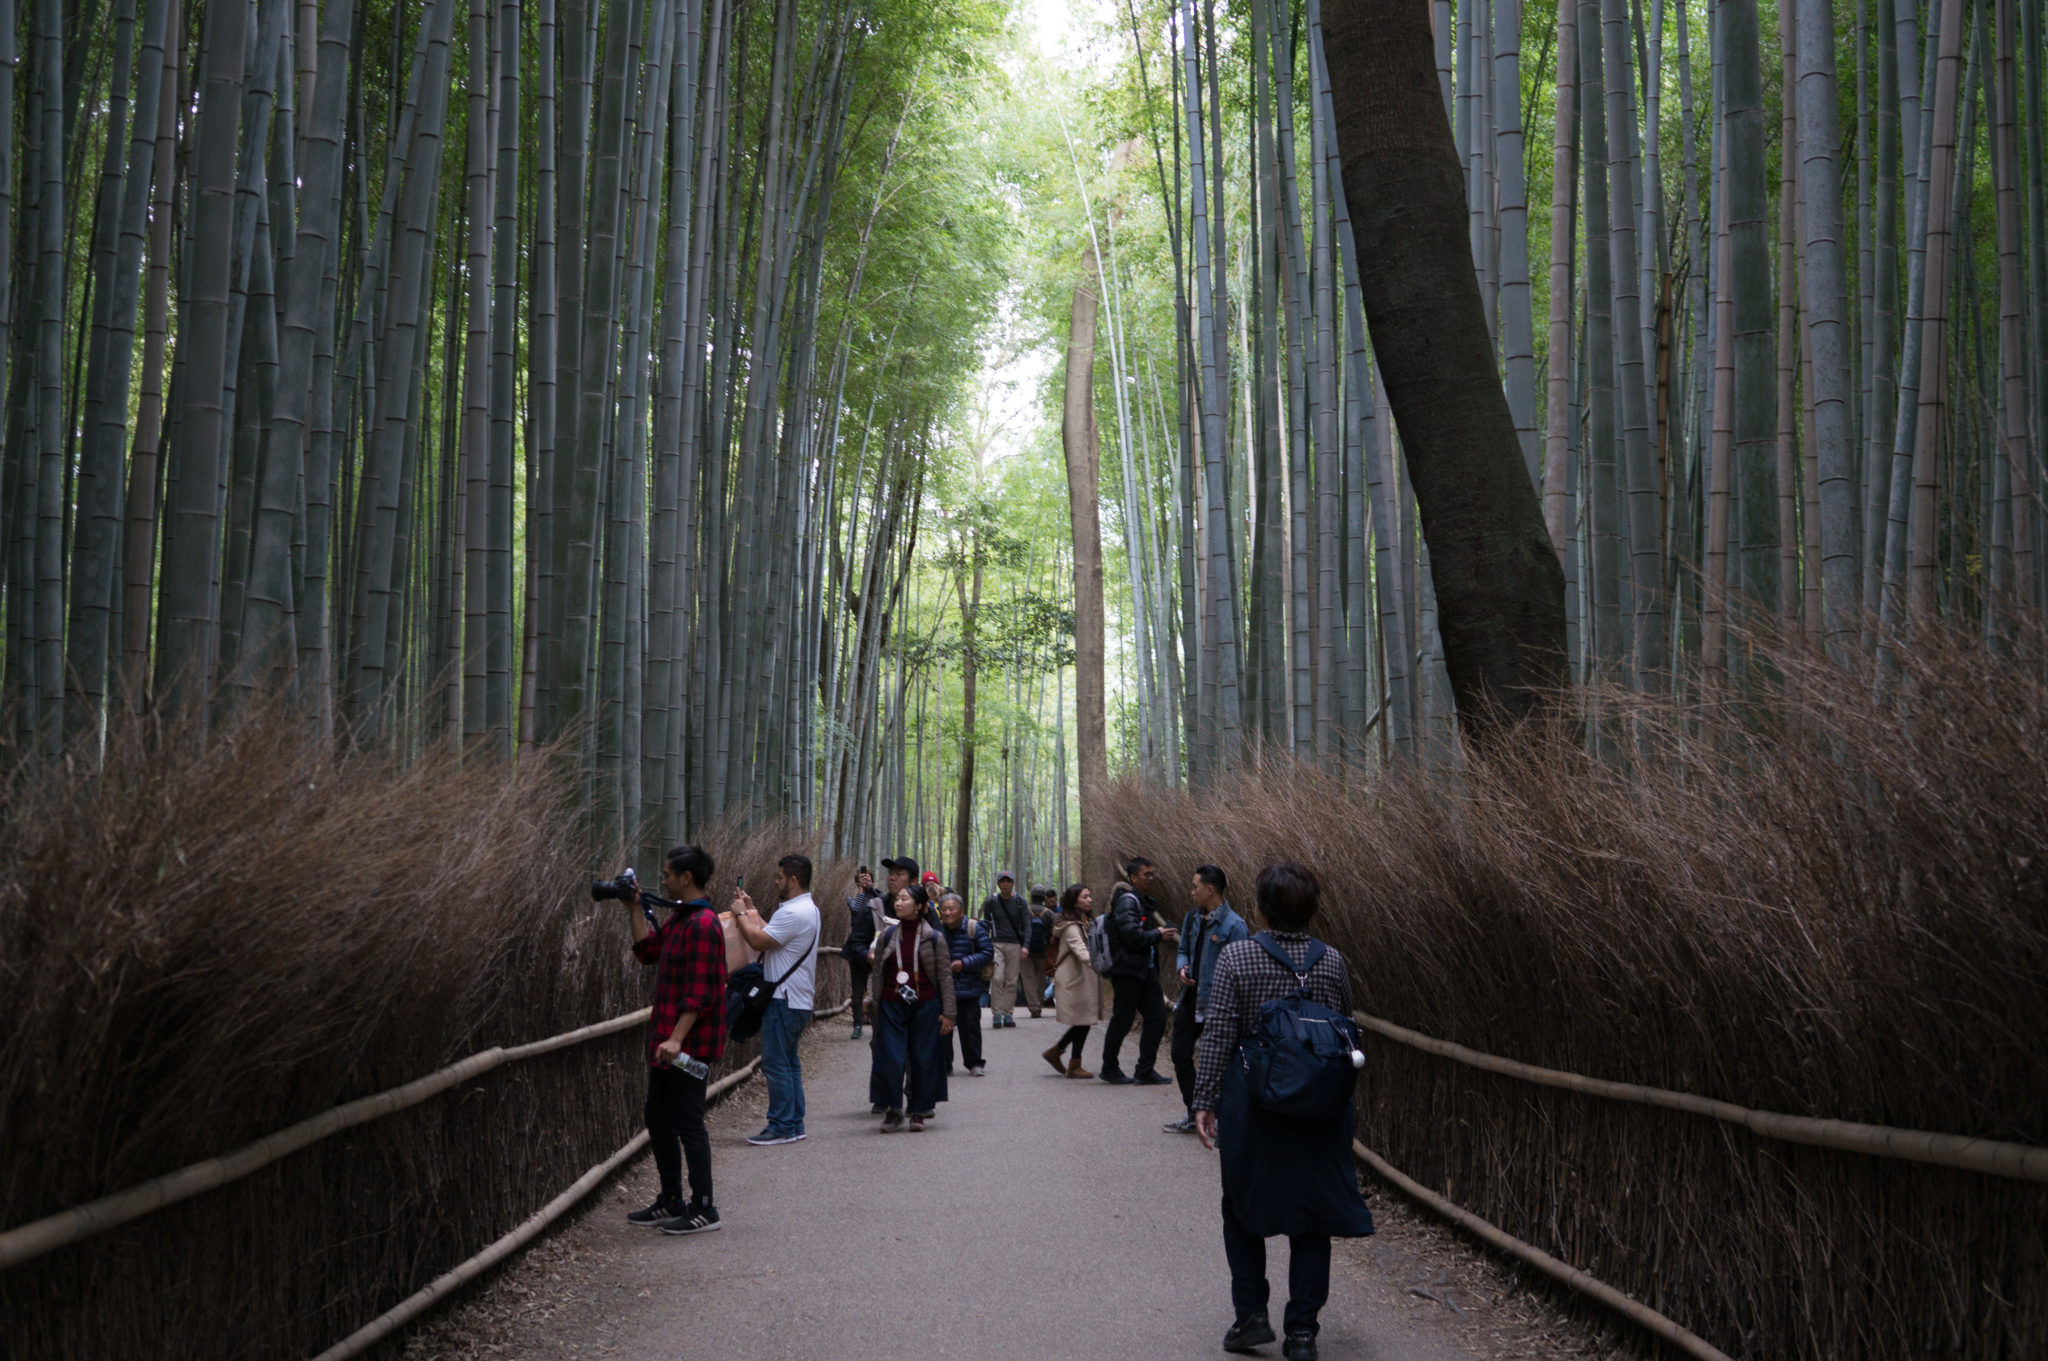
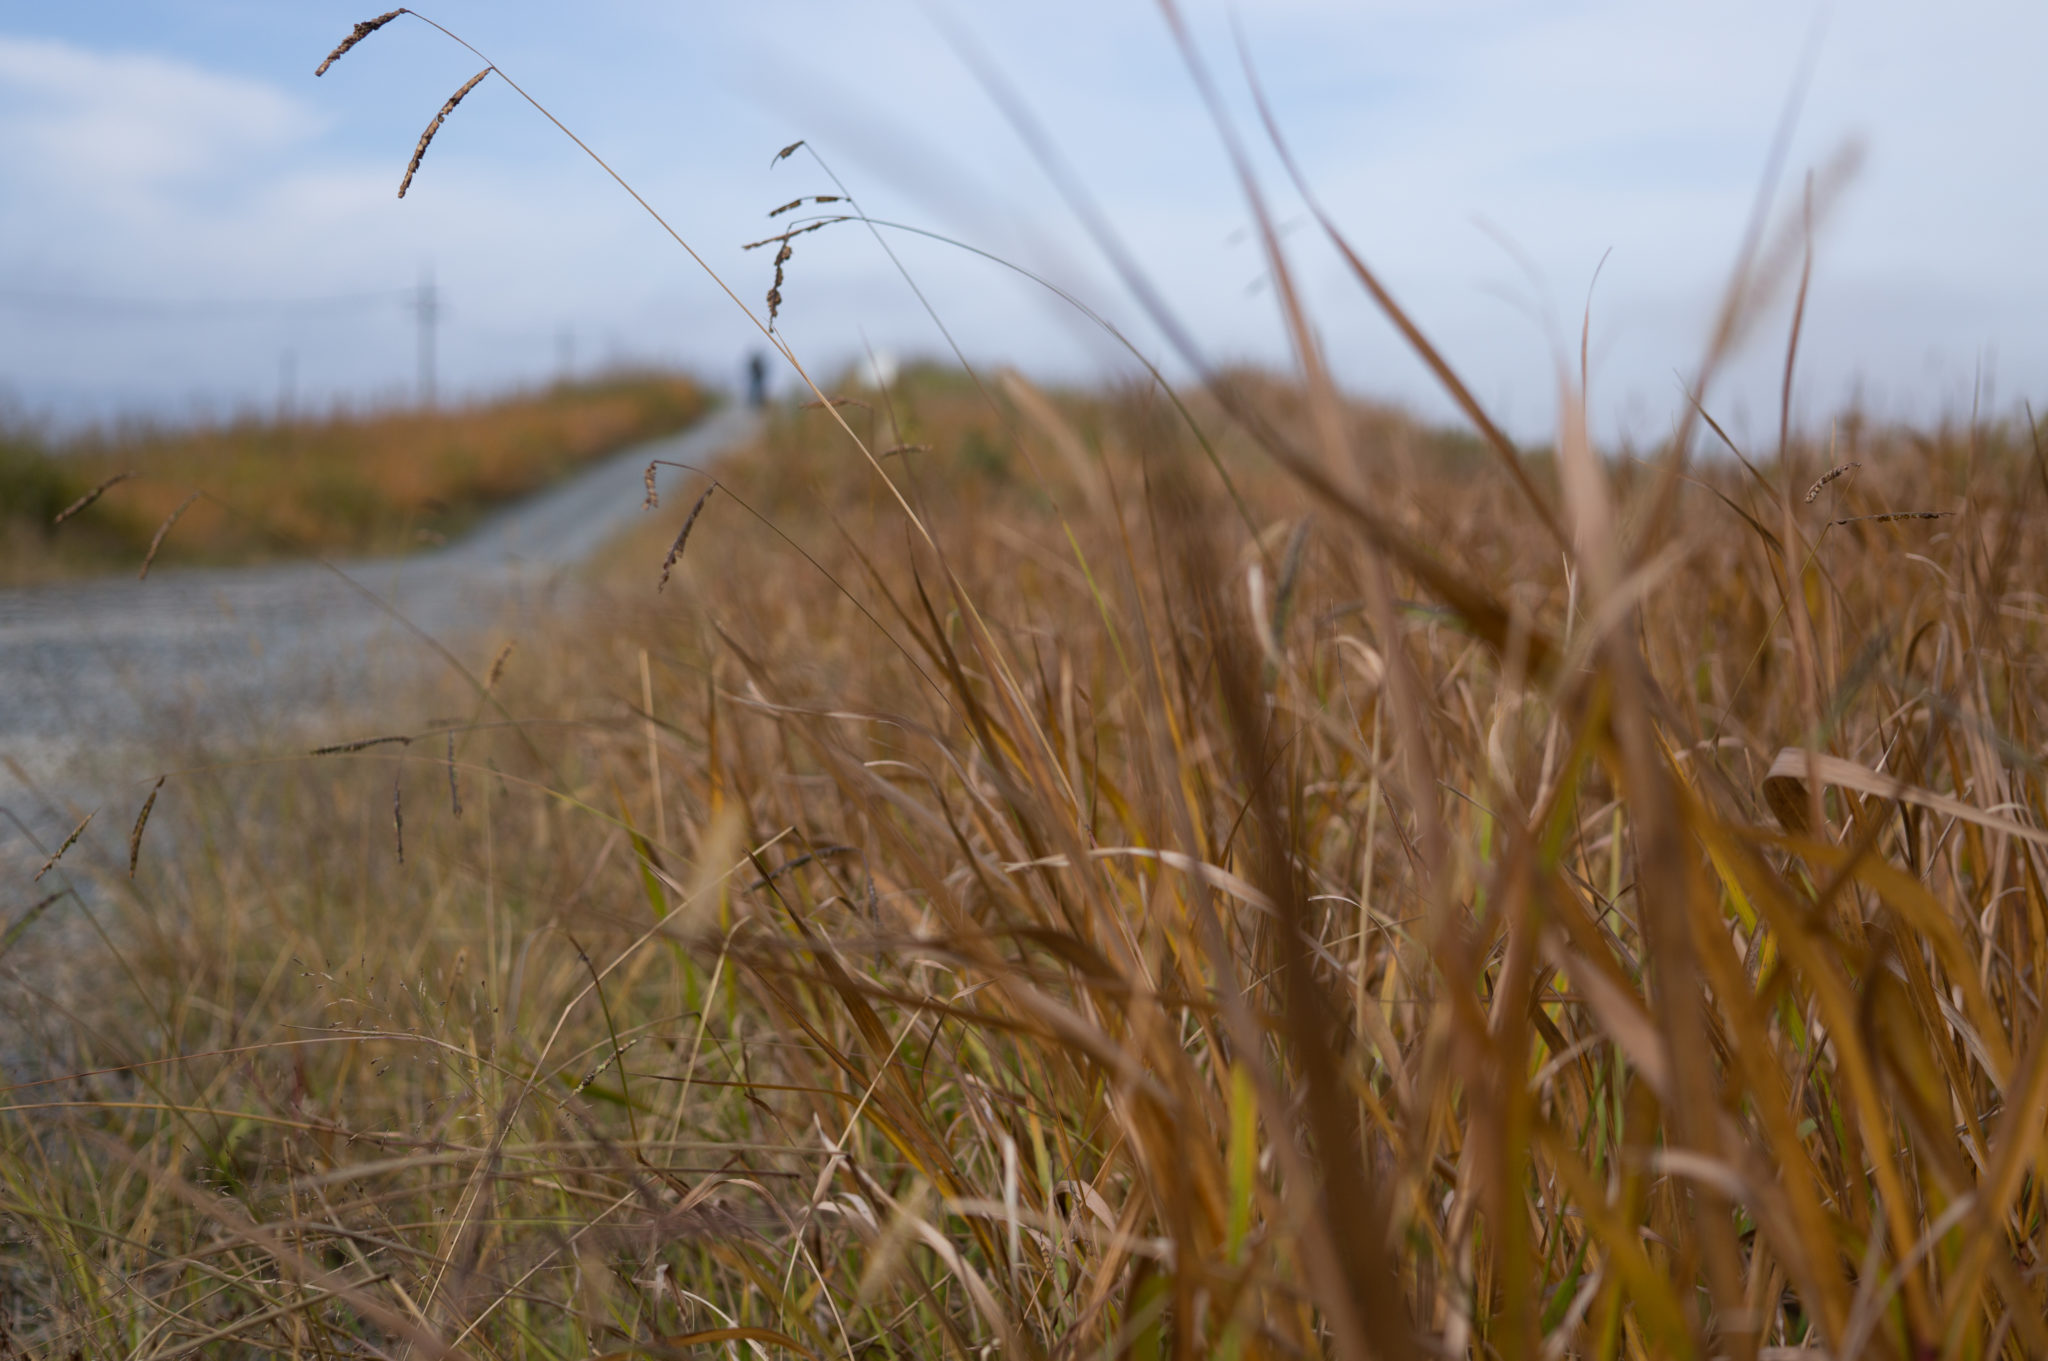
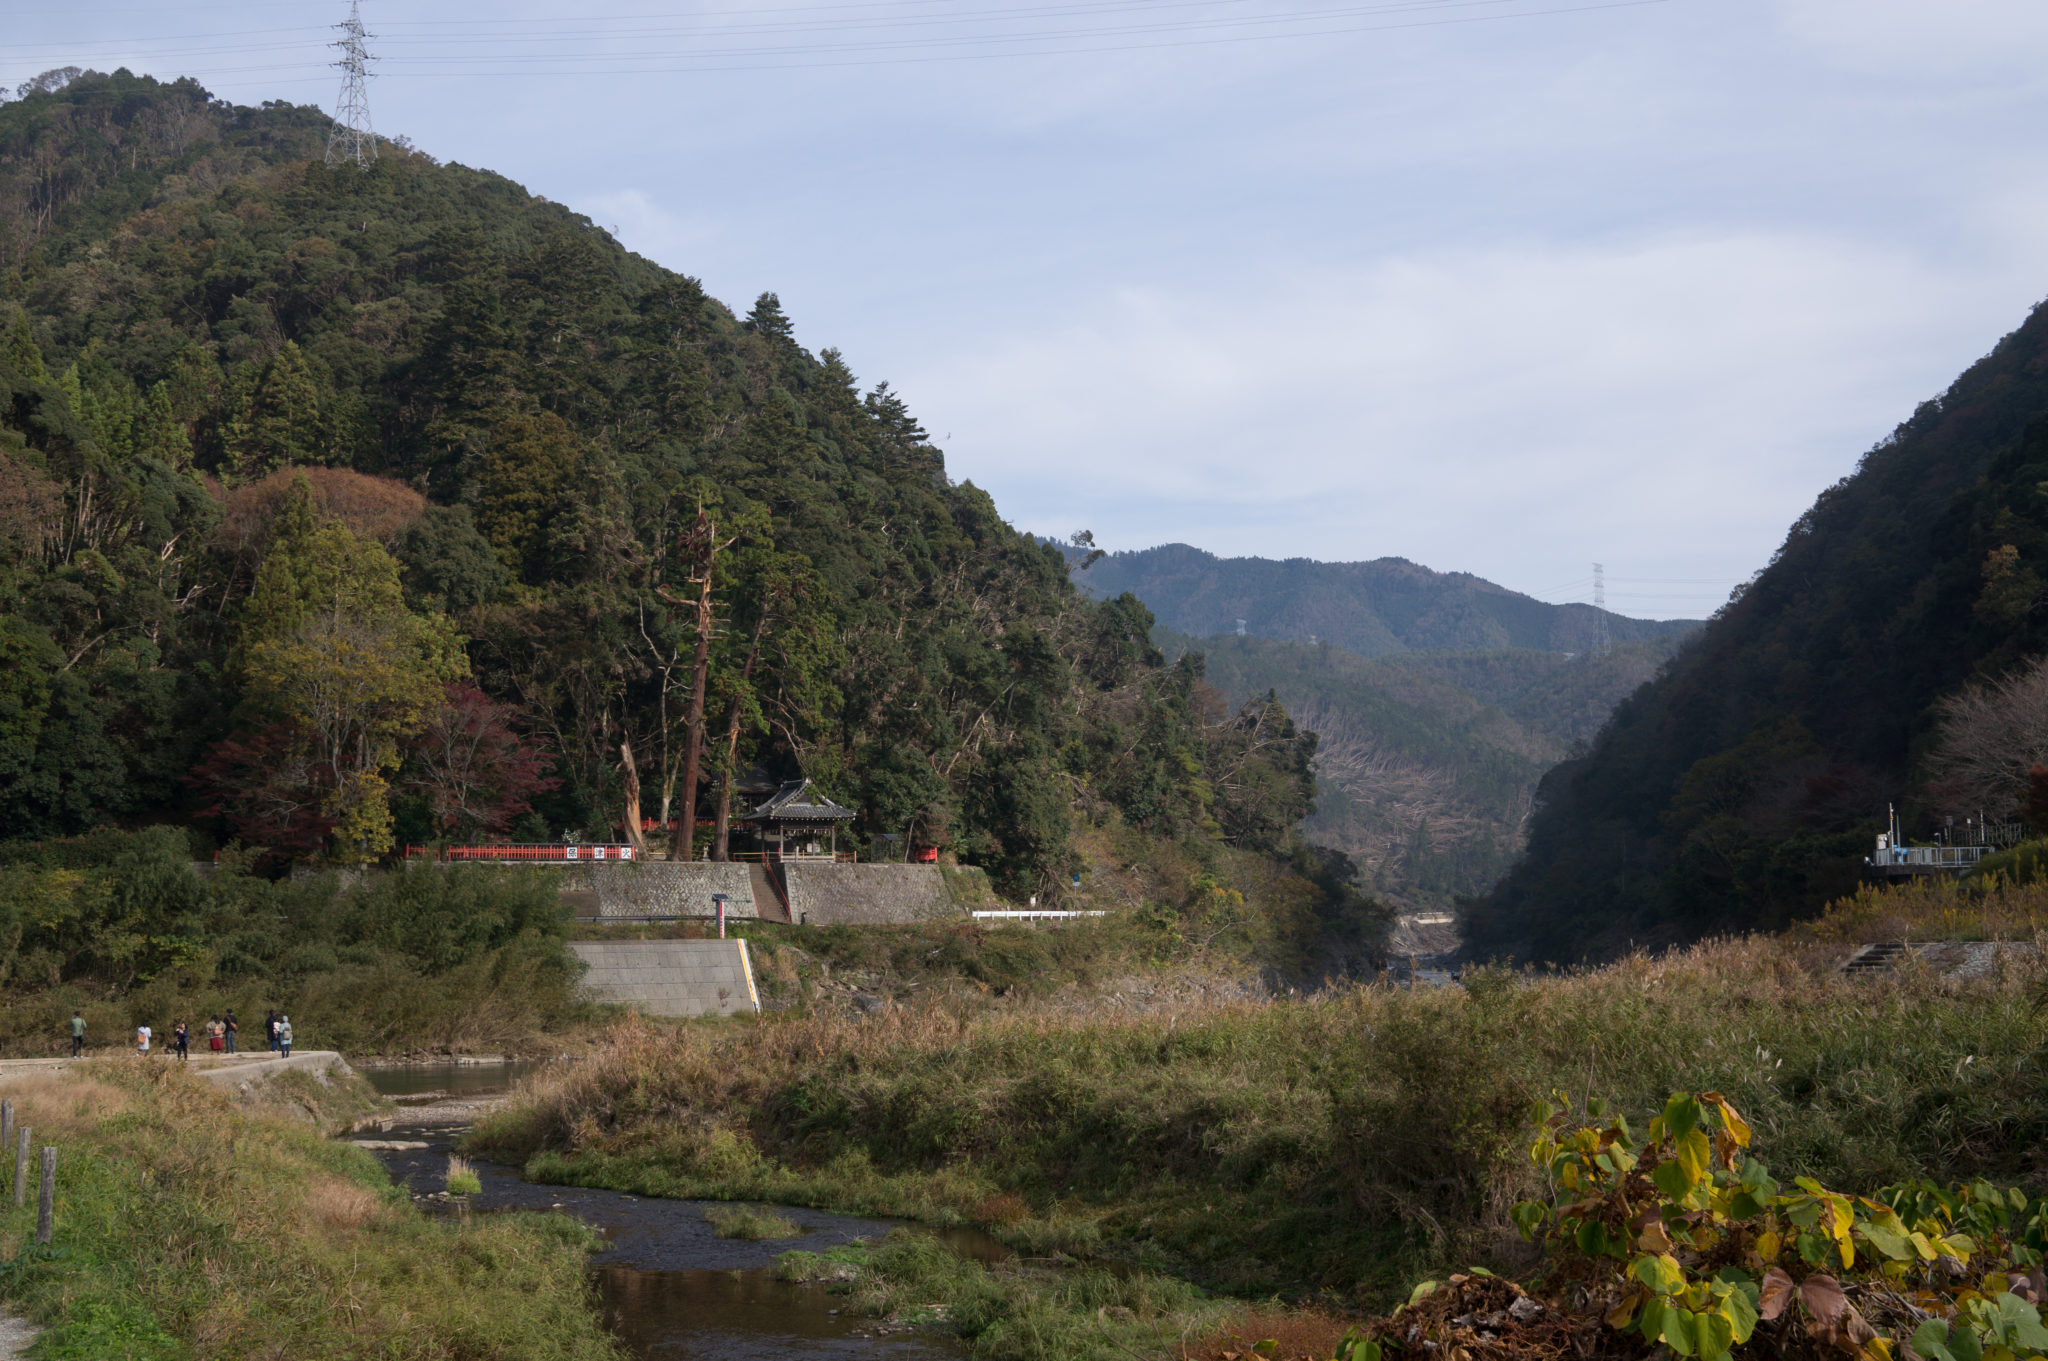
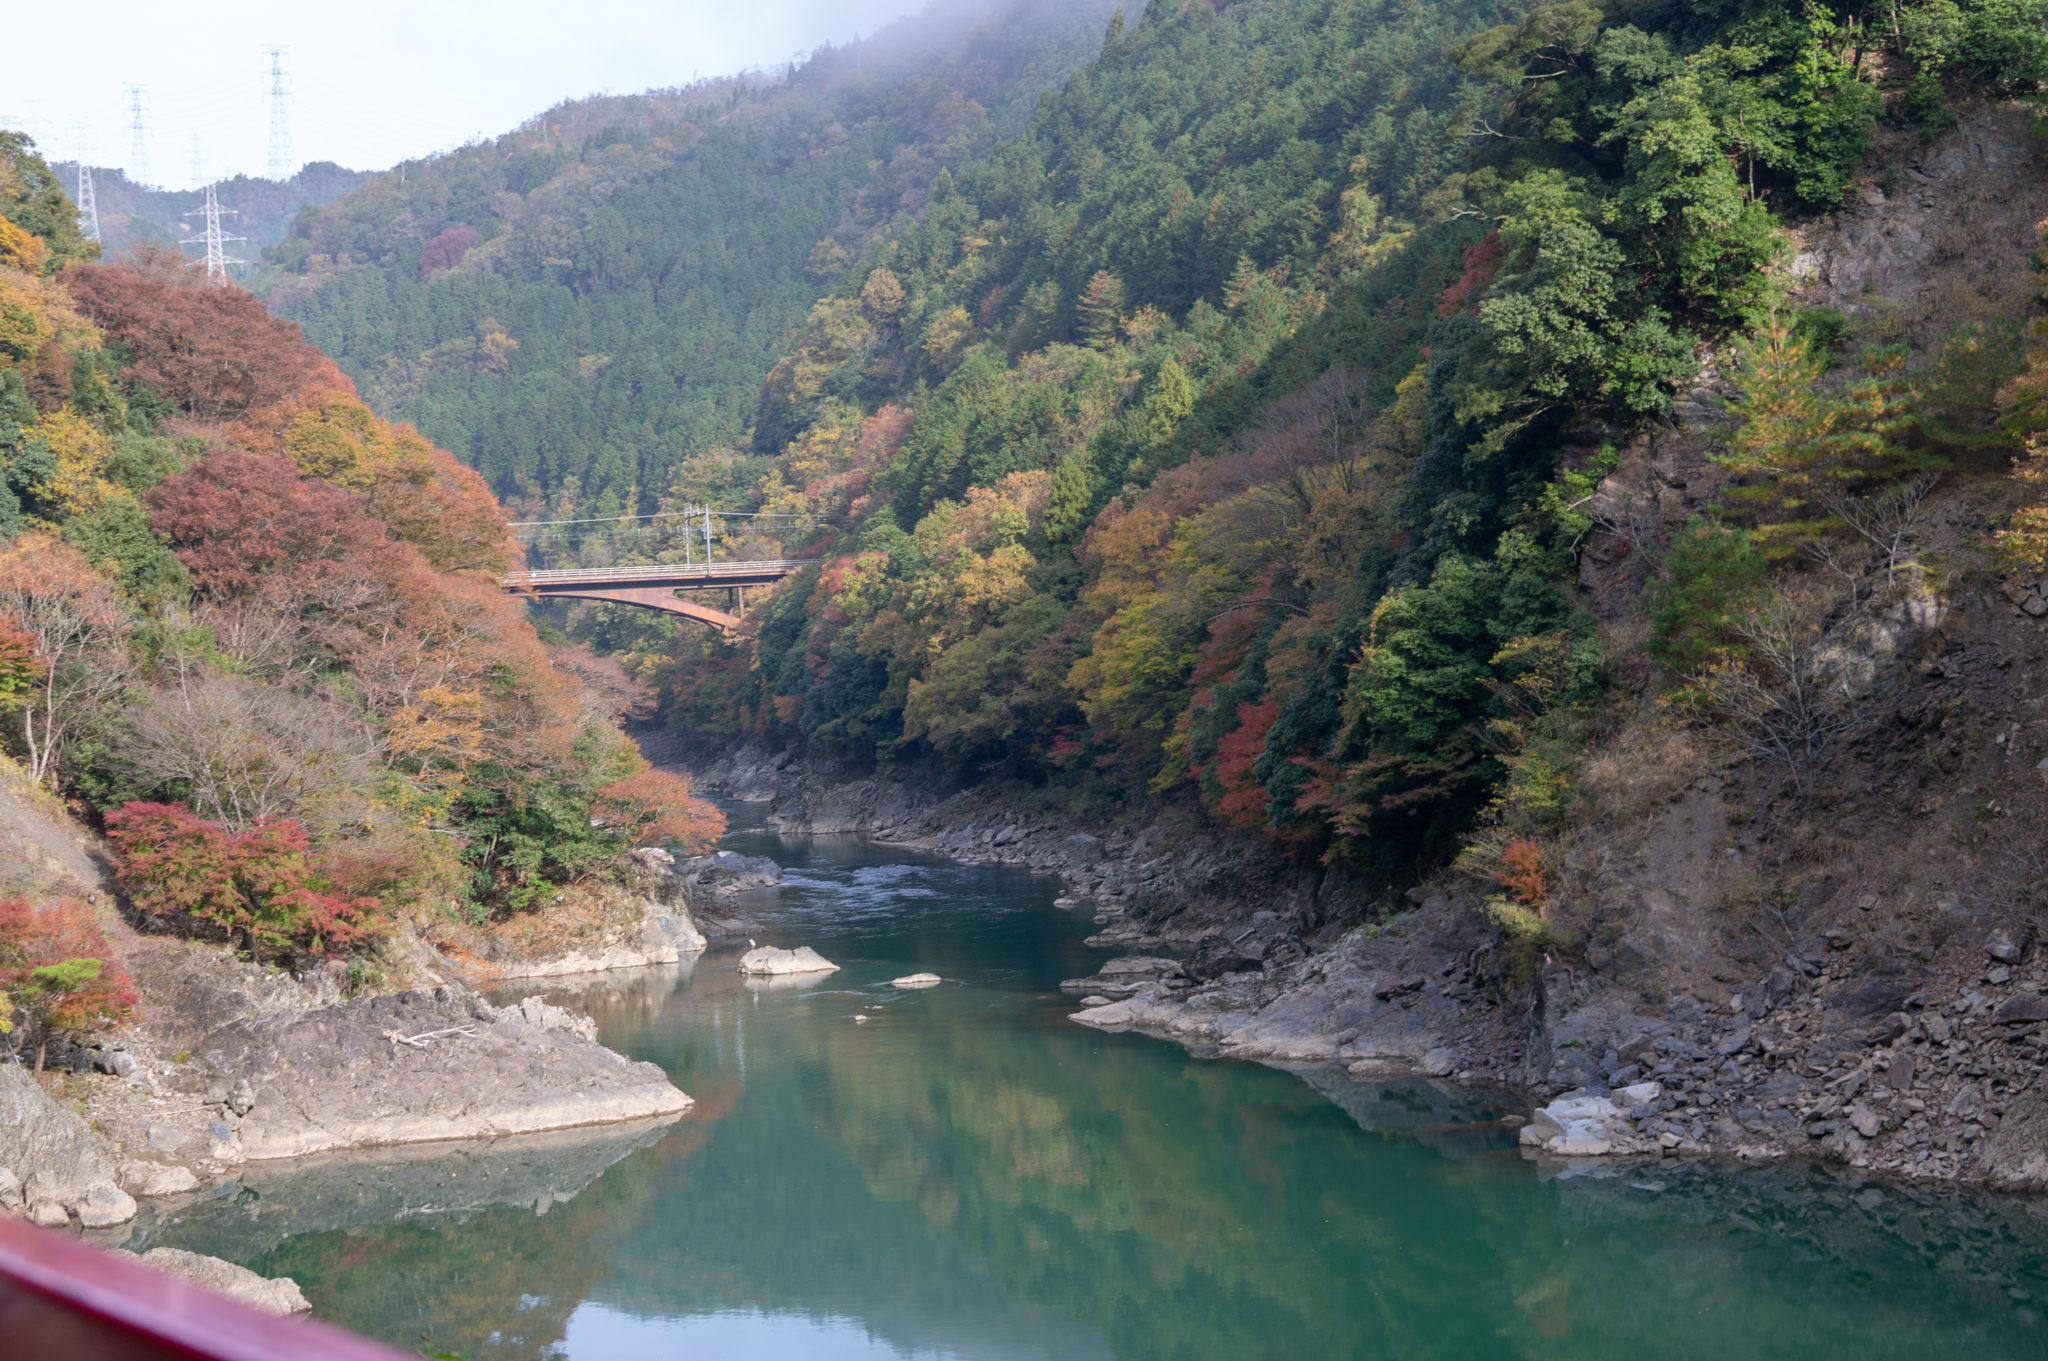
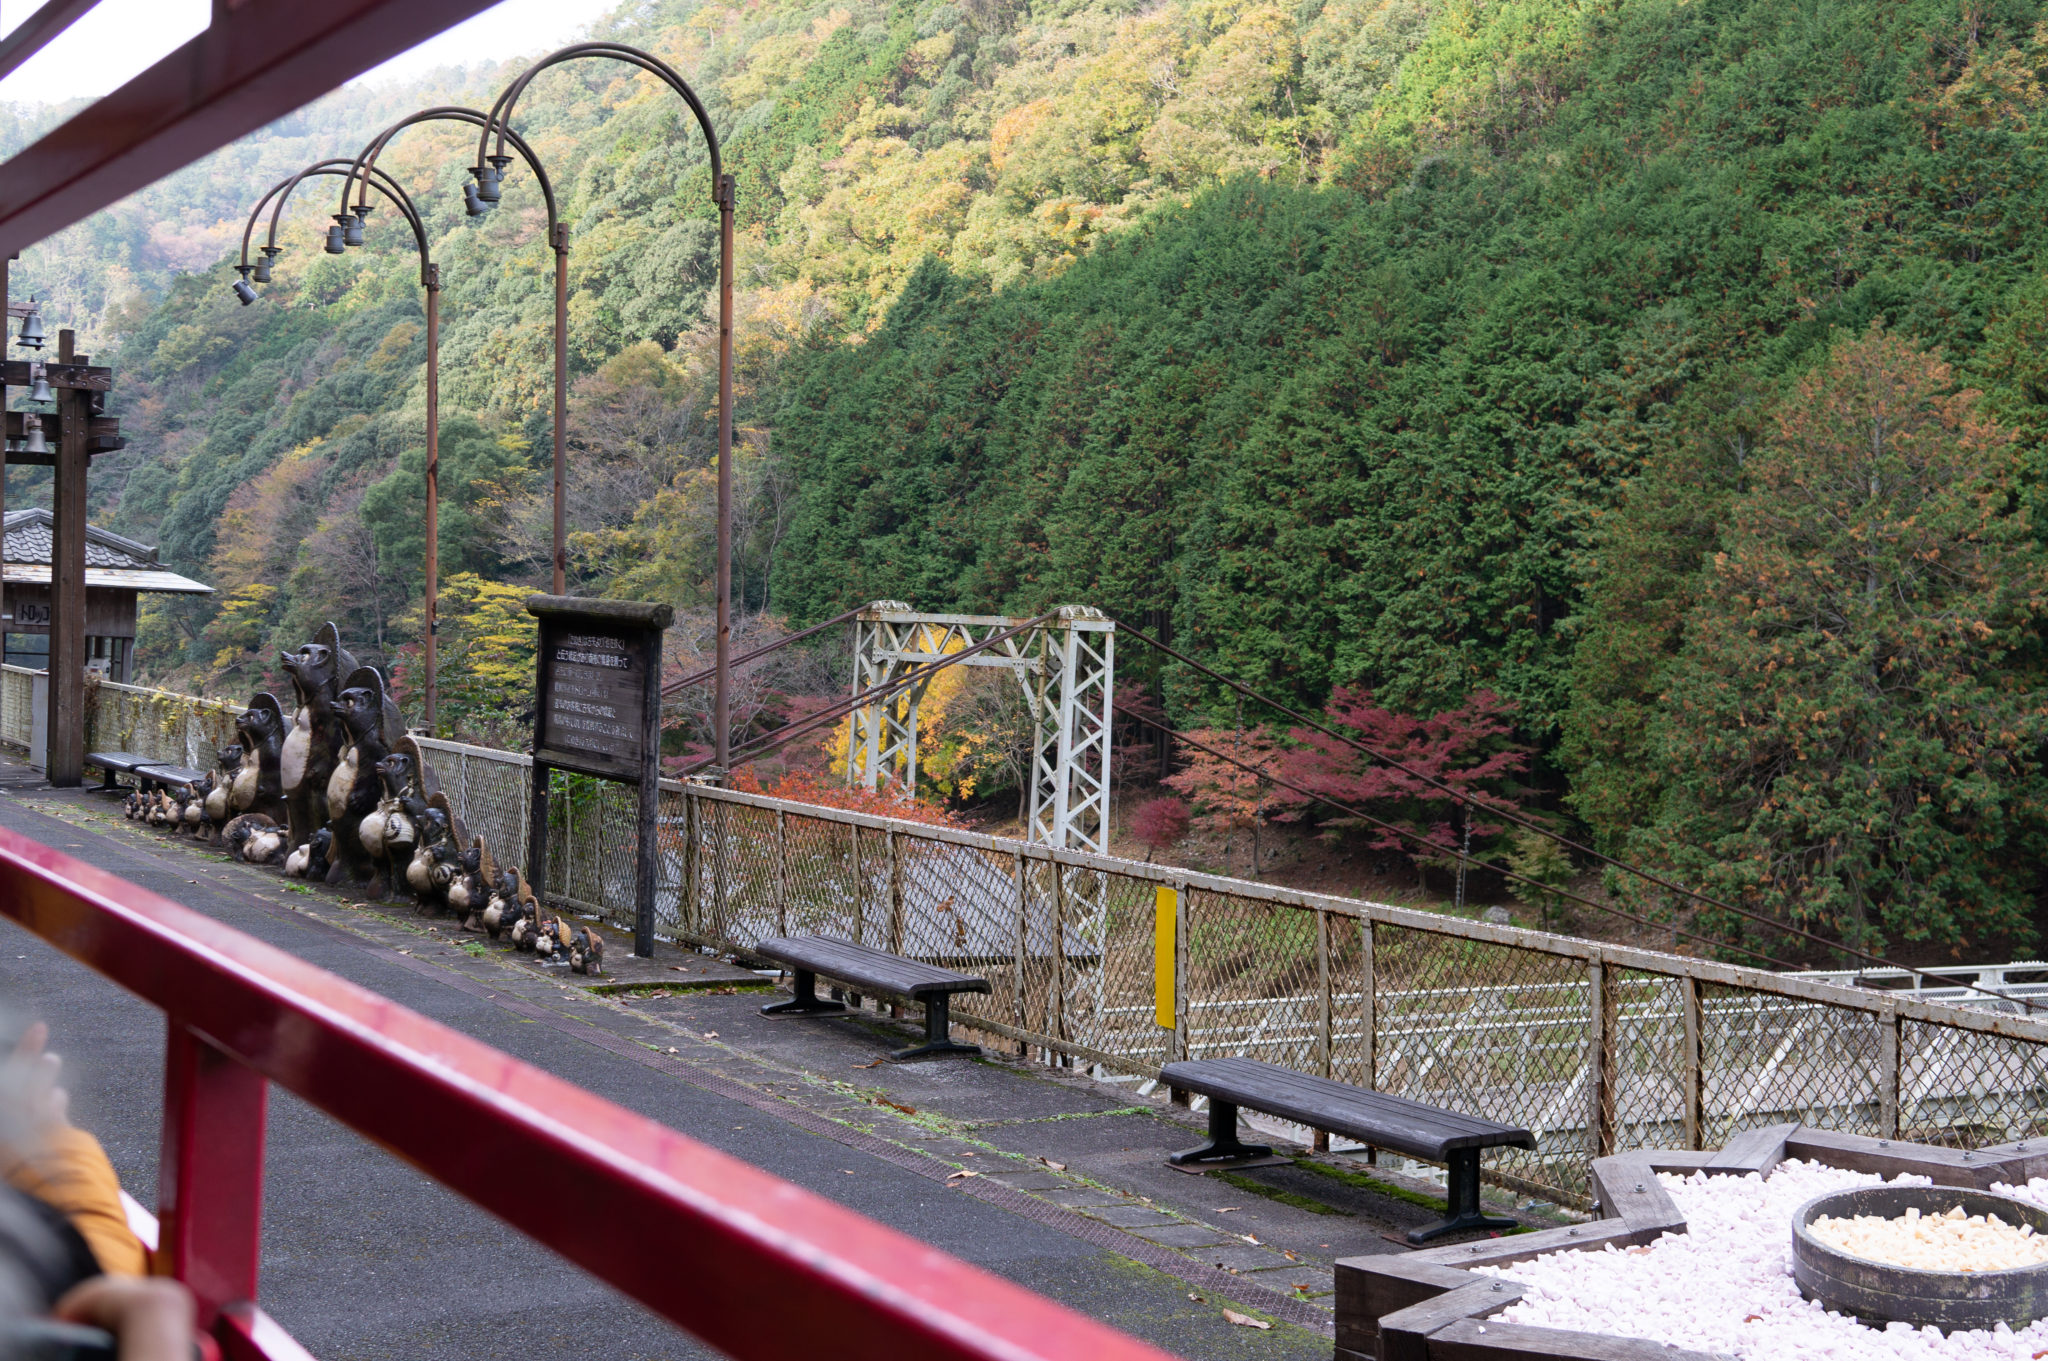
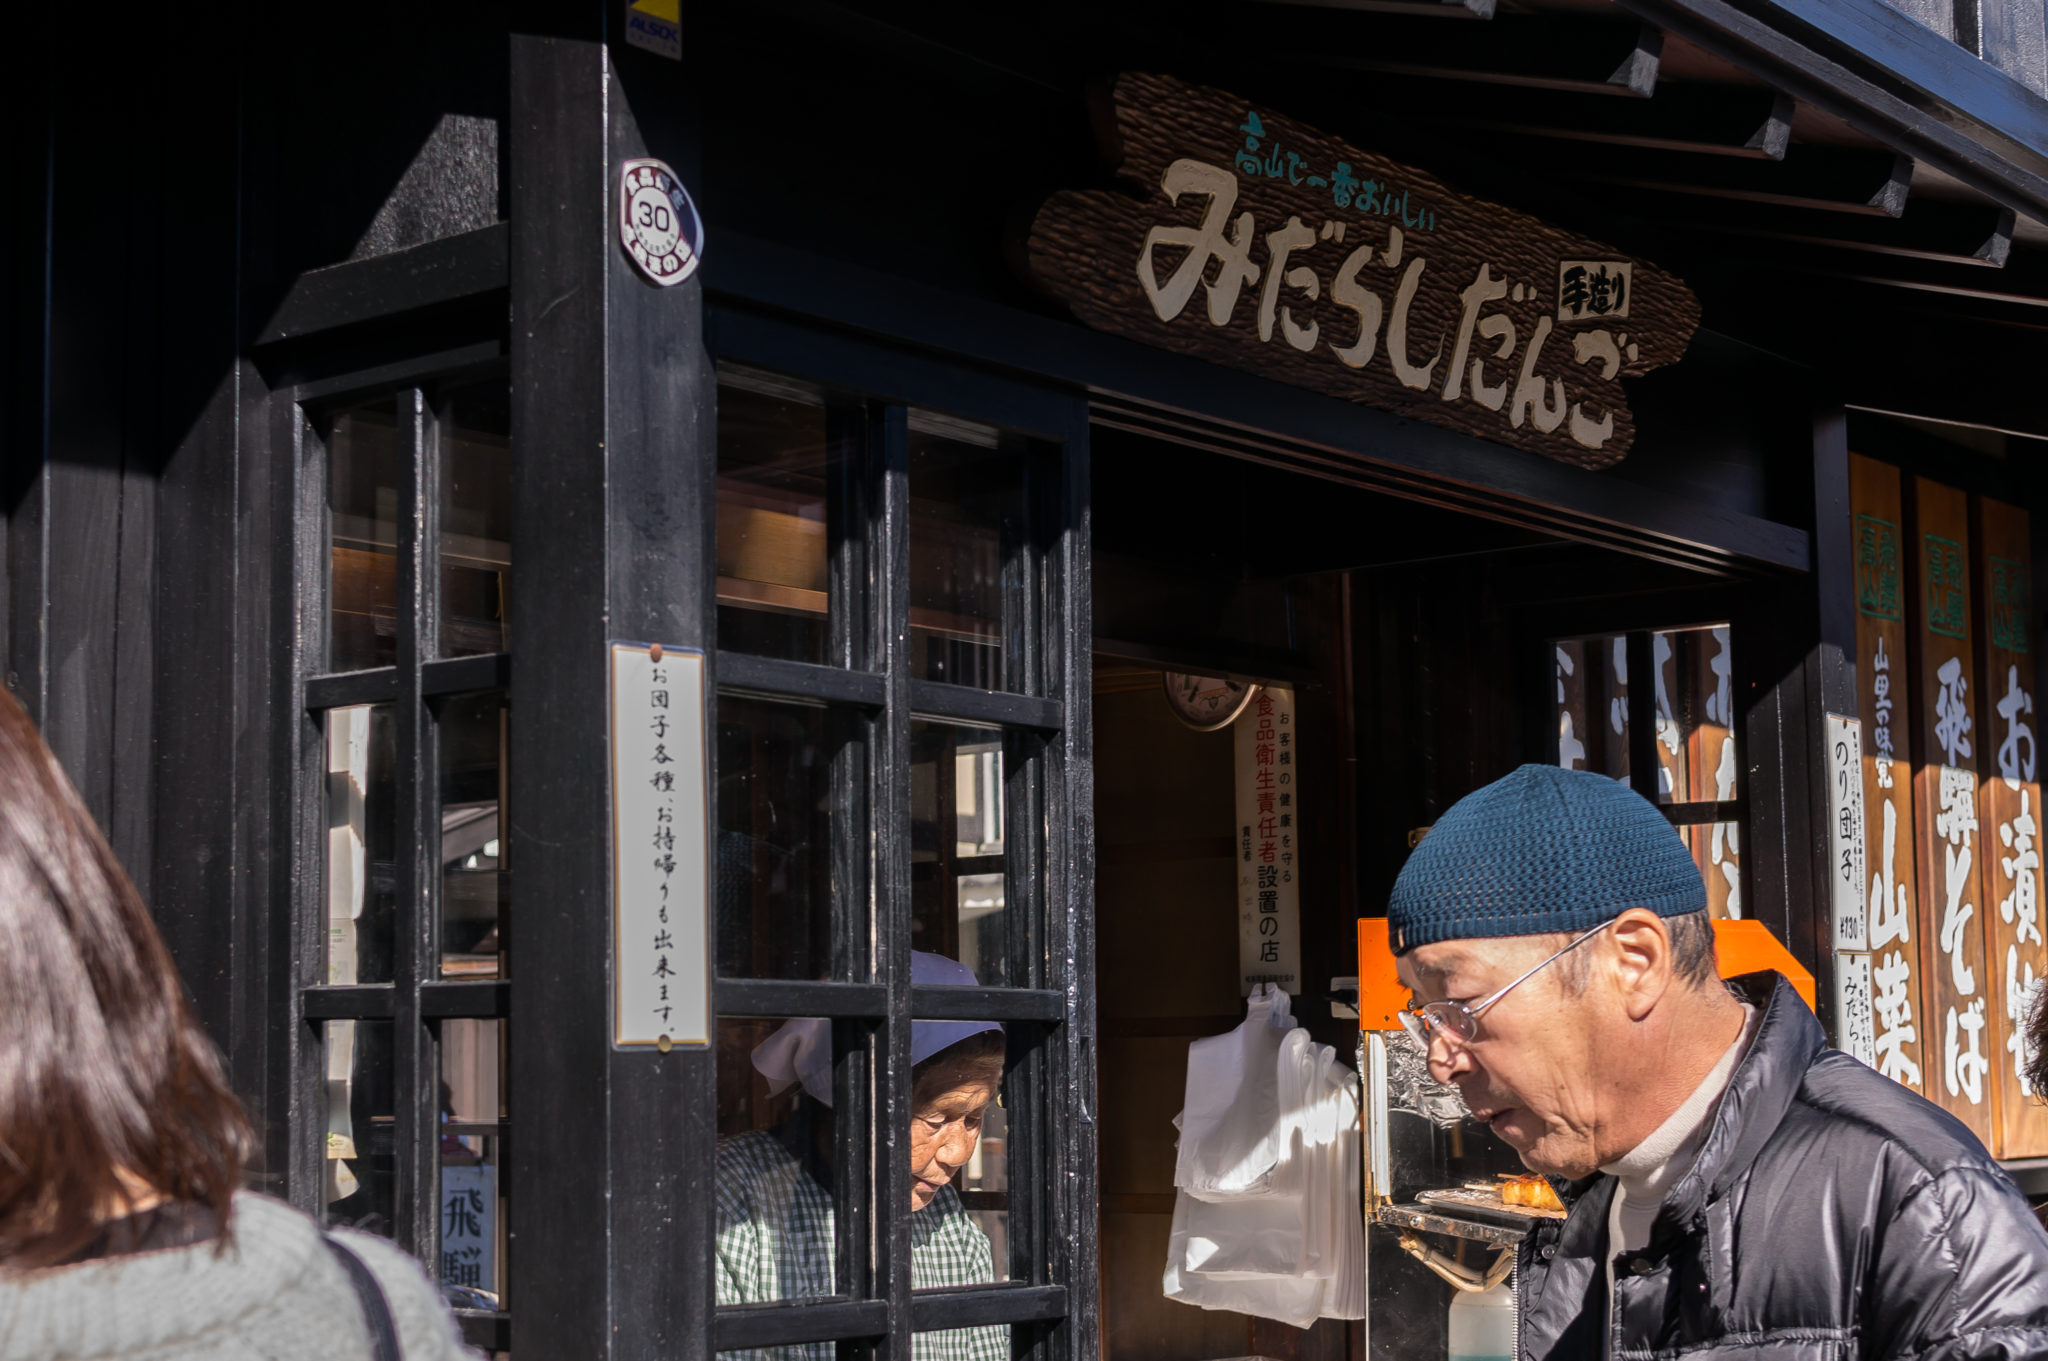
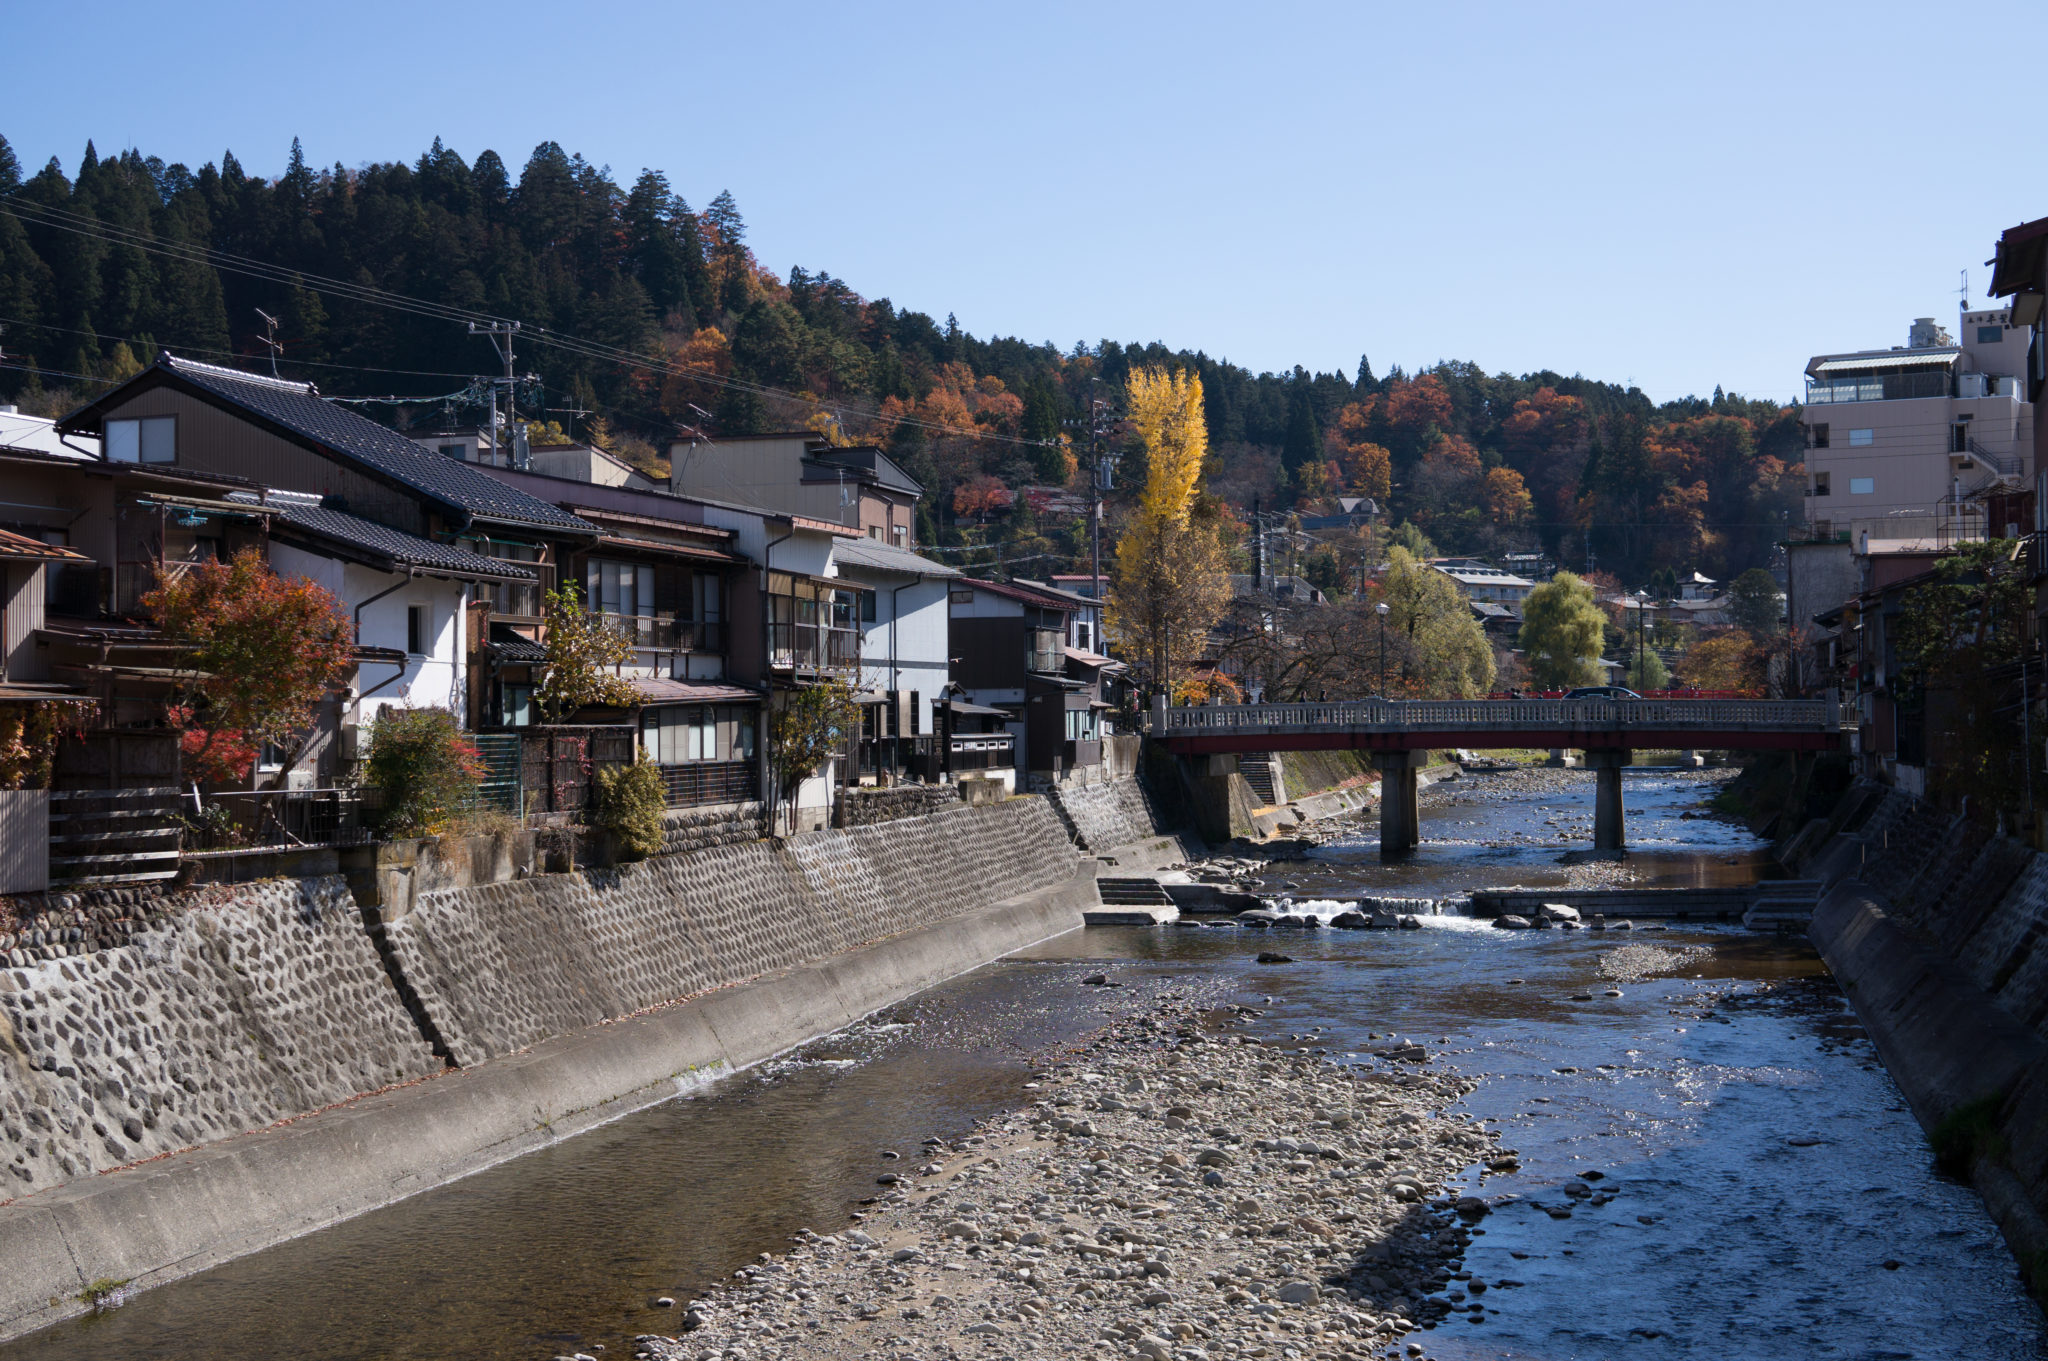
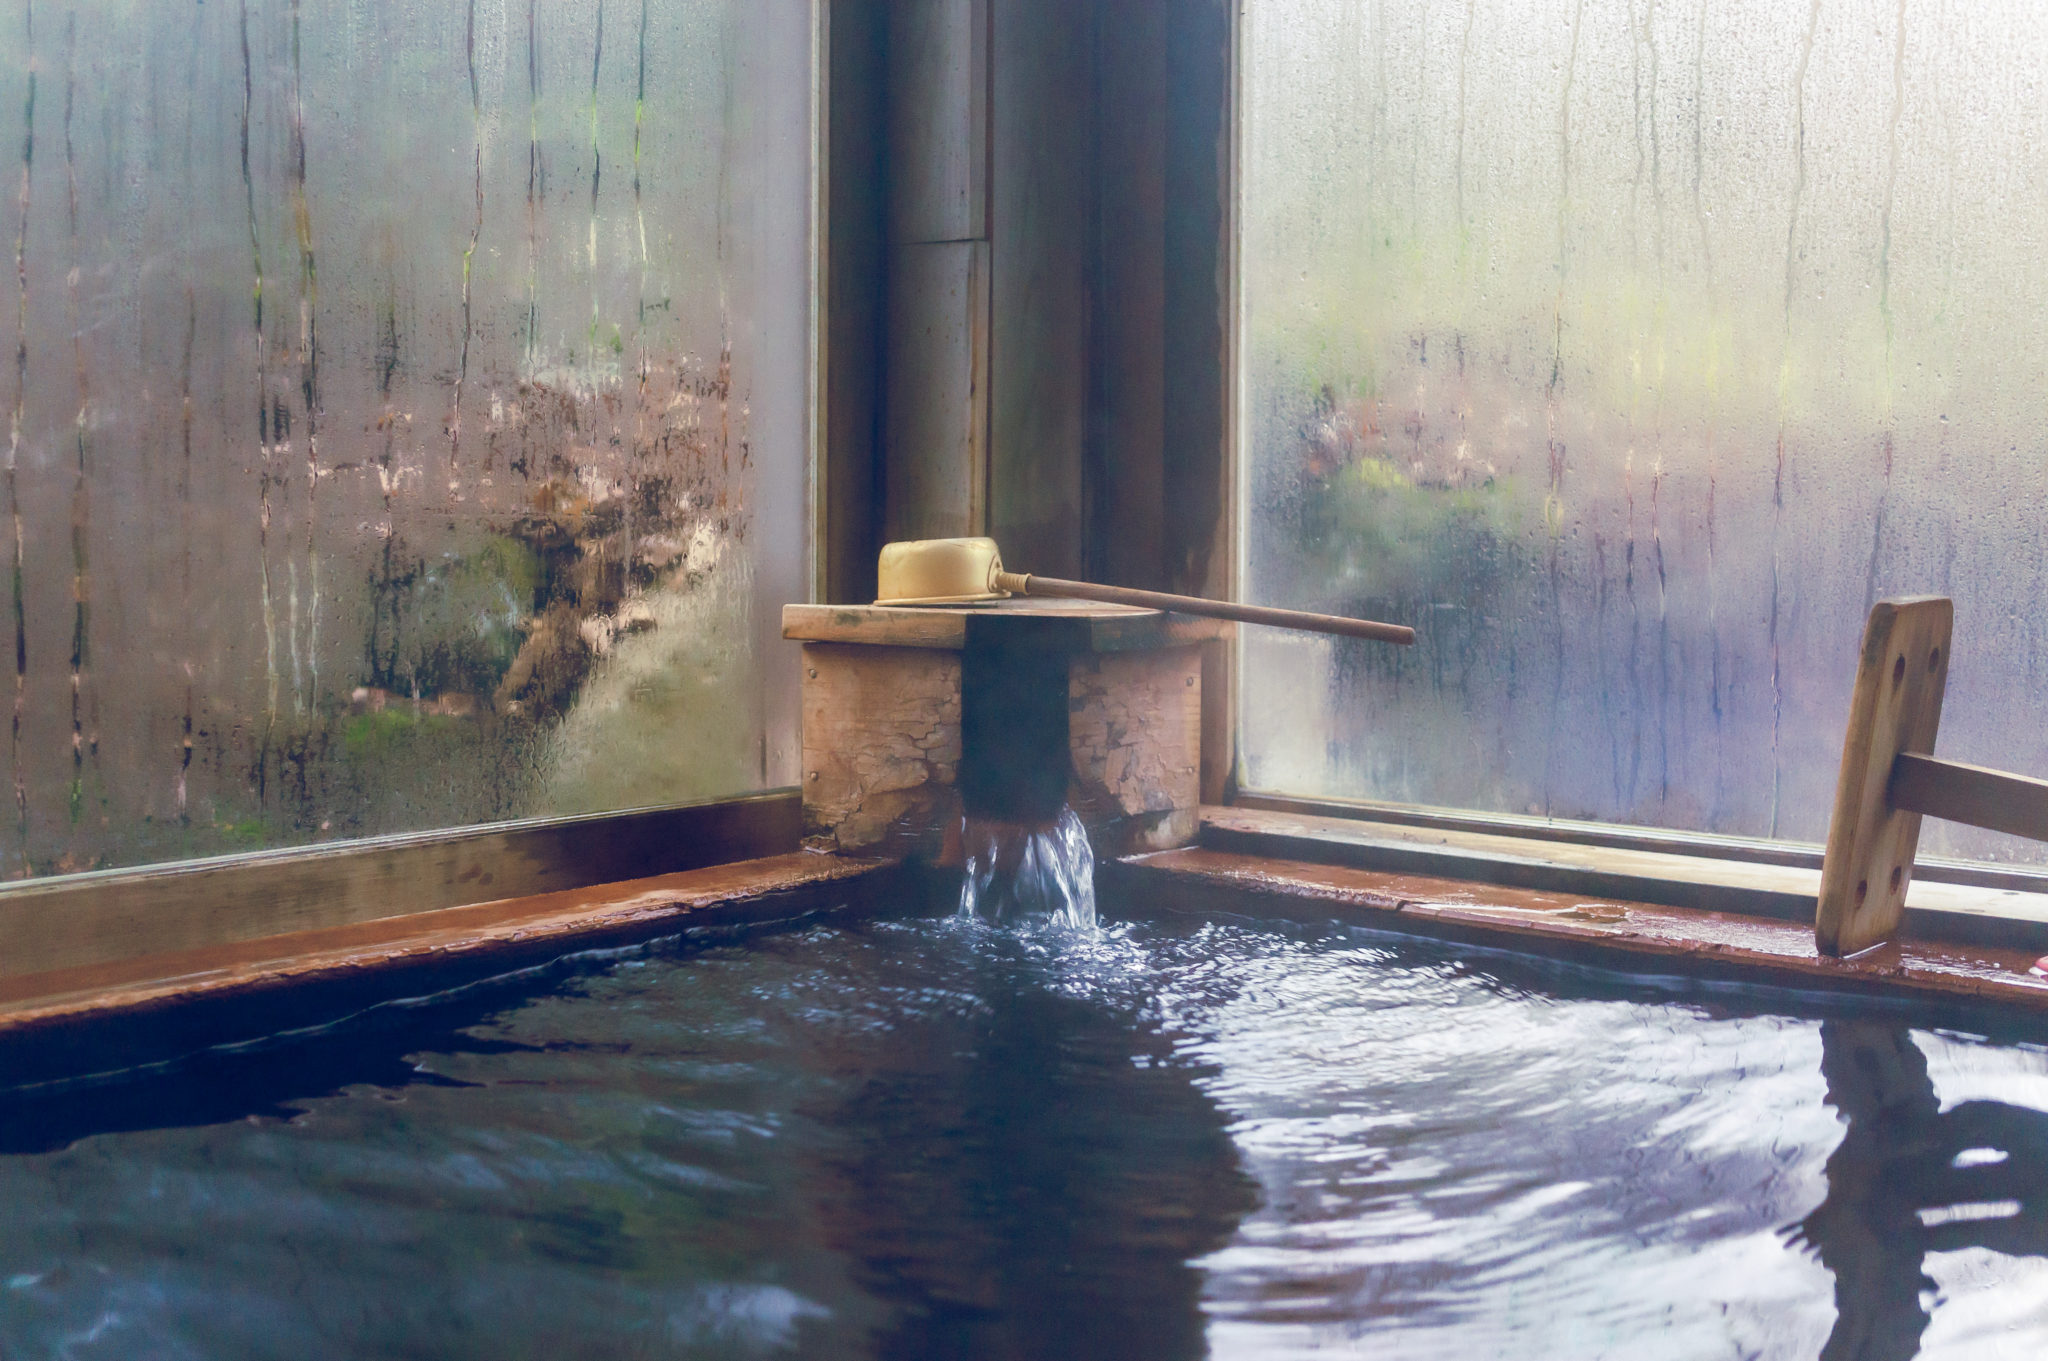
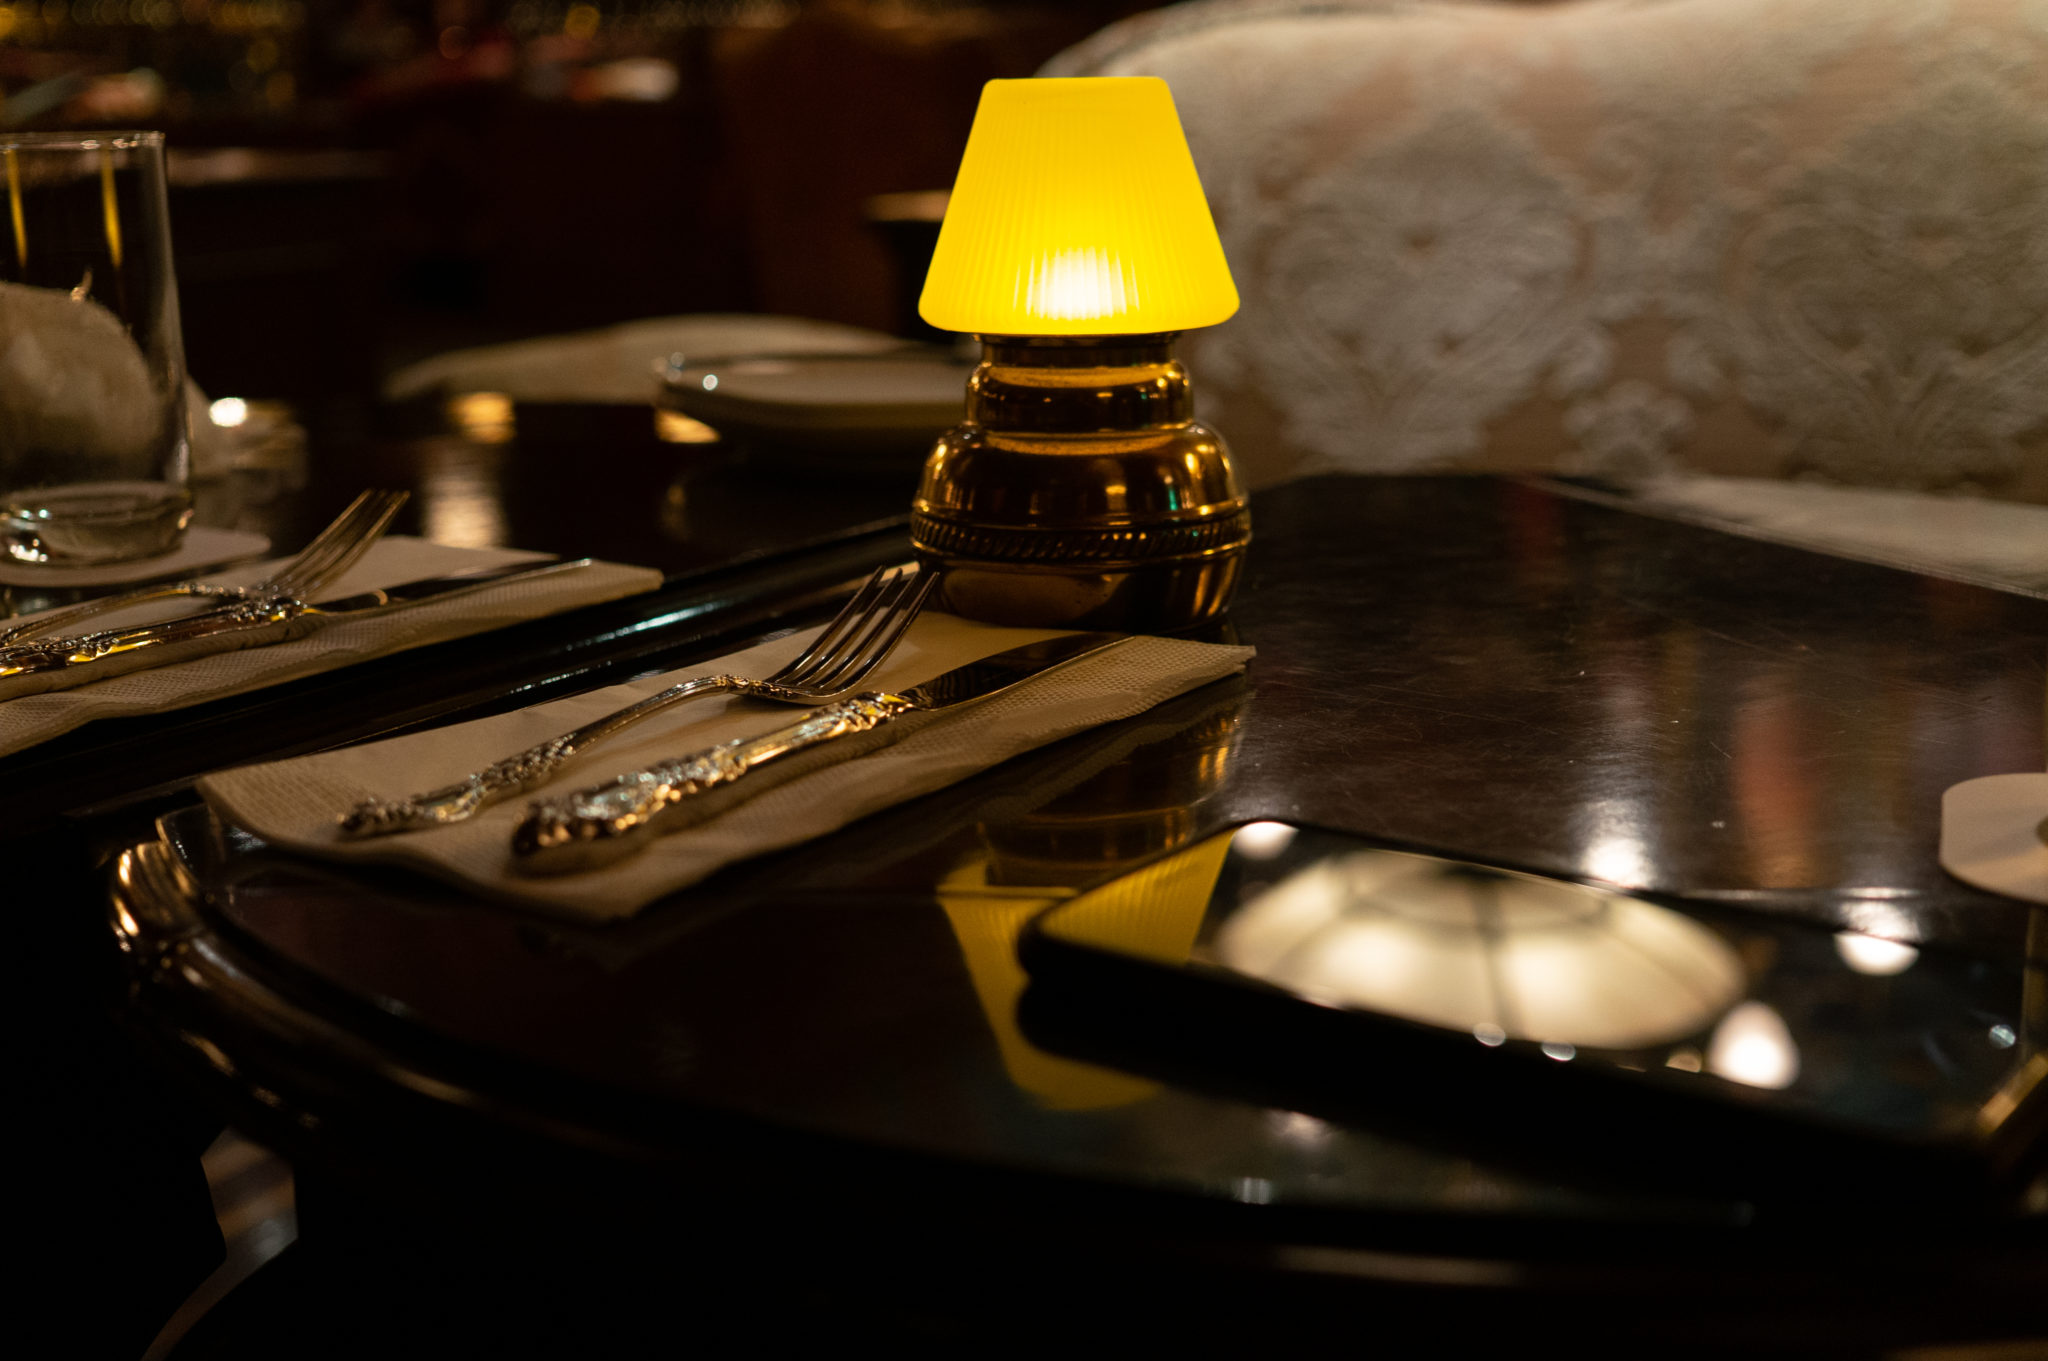
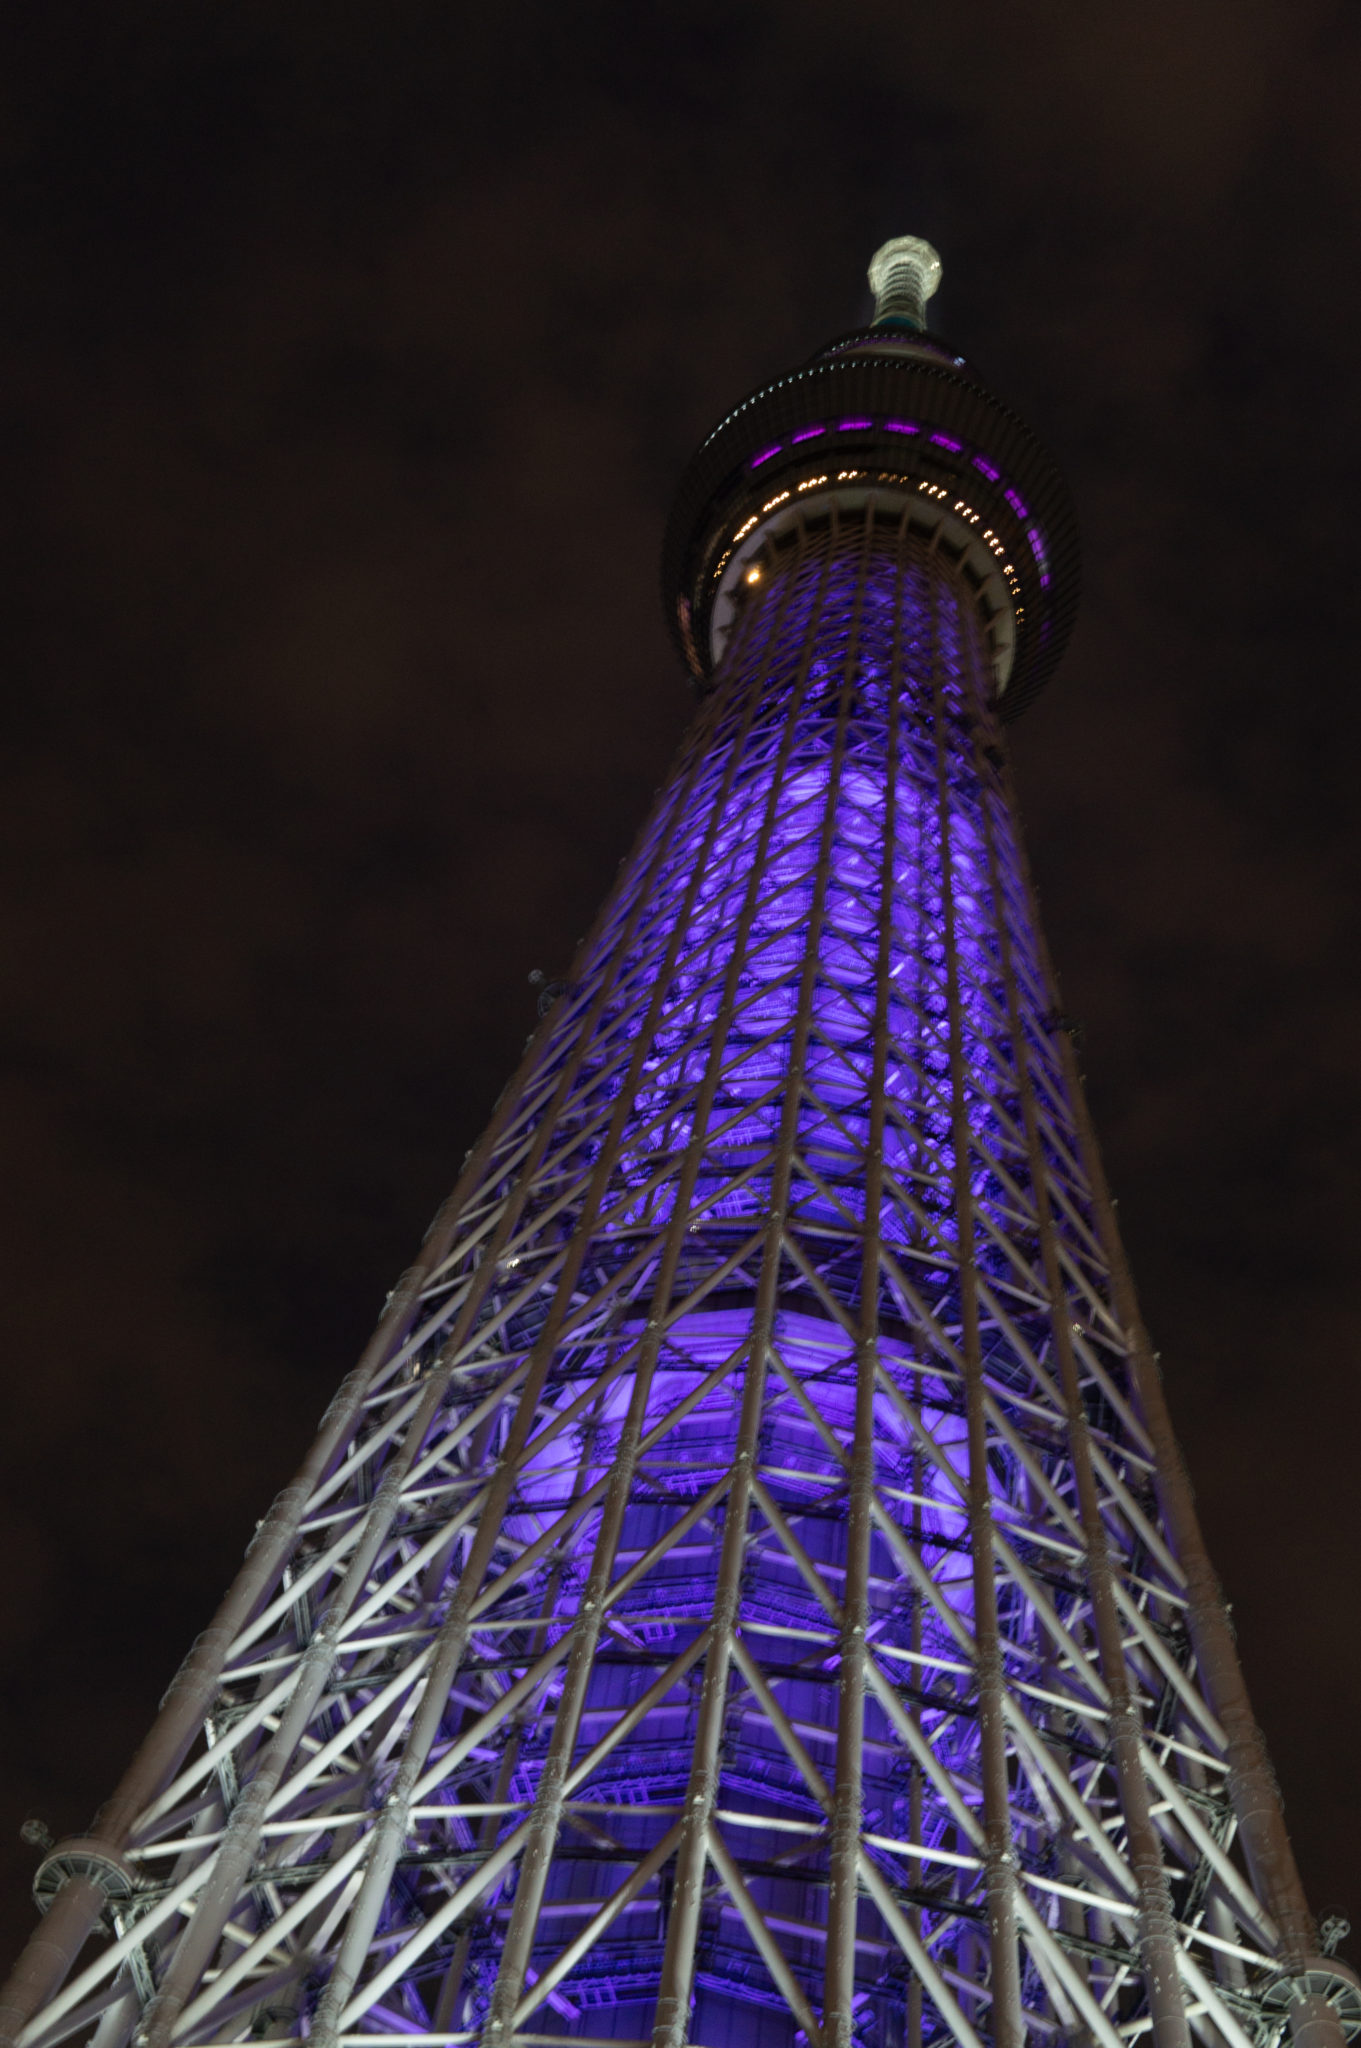
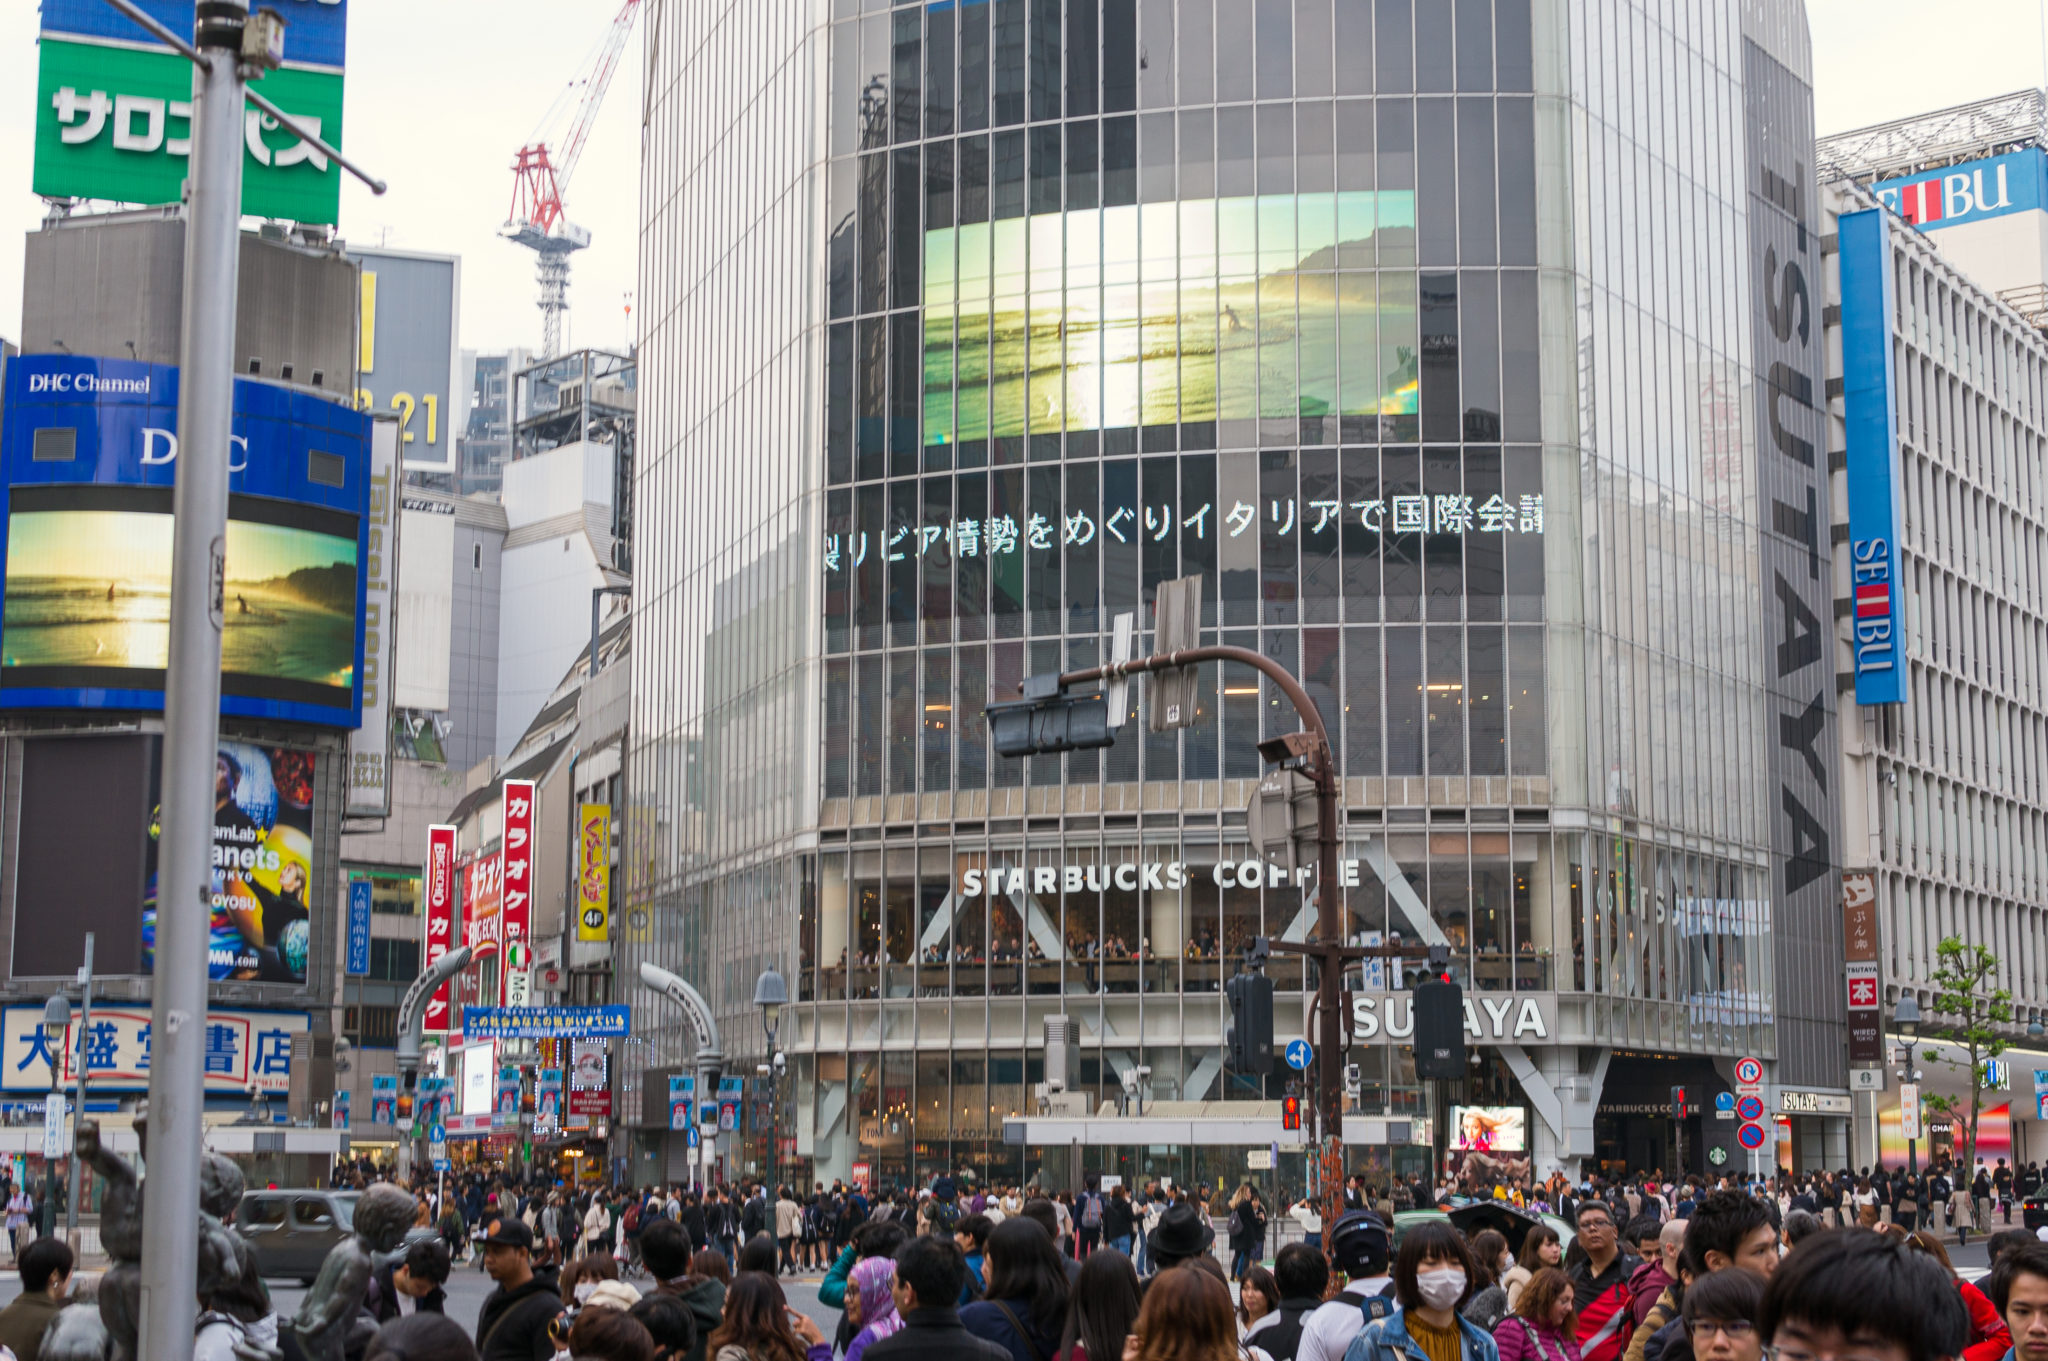
We went to Japan this past November for two weeks. Our itinerary was: Tokyo, Takayama, Kyoto, Hiroshima, Takayama, Tokyo. I kept a daily travel journal while we were in Japan, and had planned on digitizing it here at some point. But….you know.
Here are a couple of images exported from Lightroom. I have about 2,000 images from our phones, but I really don’t feel like picking through those and uploading them here.
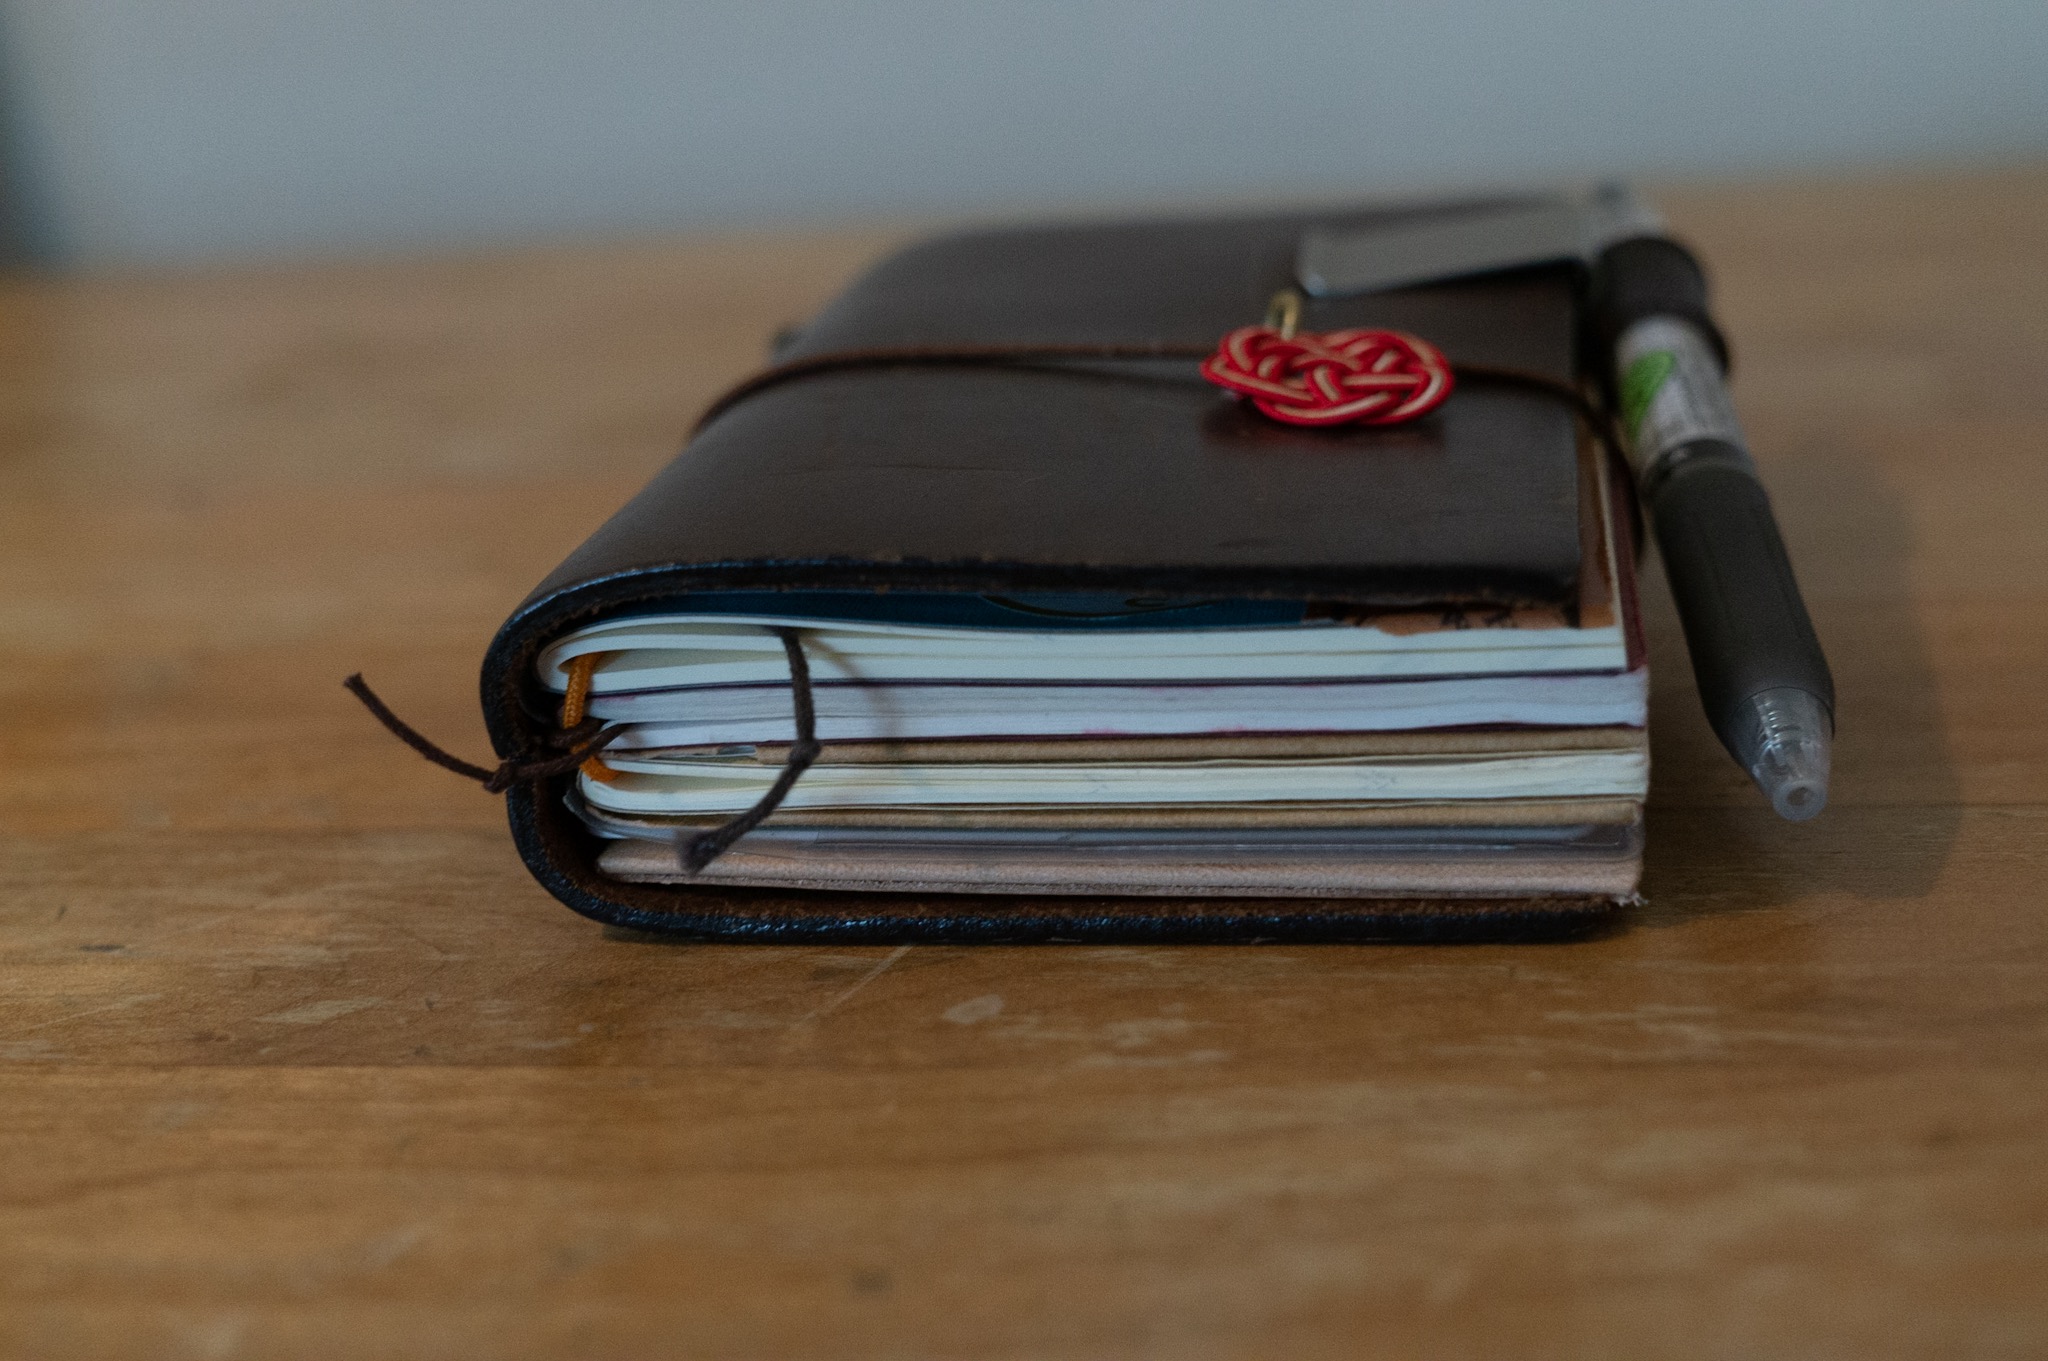
I guess some folks find it odd for someone so digitally oriented as myself to use an analog planner system instead of well, my phone. I have used both methods for general planning as well as note taking, and physically writing stuff down just works the best for me and well, ❤️ analogue/journaling things.
I have three notebook inserts, two folders, and the plastic sleeve insert in my TN. These are the three notebooks that I use: the Weekly Diary, Blank Notebook, and the Monthly Diary. I find that having three inserts is the most that I can include in my current setup without making the notebook too chunky.
The plastic sleeve has a clear zipper pouch in the front and card slots in the back. I keep memory cards, checks to deposit, and stuff like that in the zipper pouch (as well as a whisker from each cat). The card slots in the back have cards that I don’t need to carry around in my wallet (club cards, stamp cards)
I have two folders: The first folder is the TN Kraft folder, which is inserted around the monthly planner notebook. I just keep blotter paper, post-it notes, shitajiki (writing bird), and stuff like that. The second notebook is a thin leather folder that I purchased at the Tokyo Station Travelers Factory store when we we visiting Japan. This folder is loosely inserted in the back.
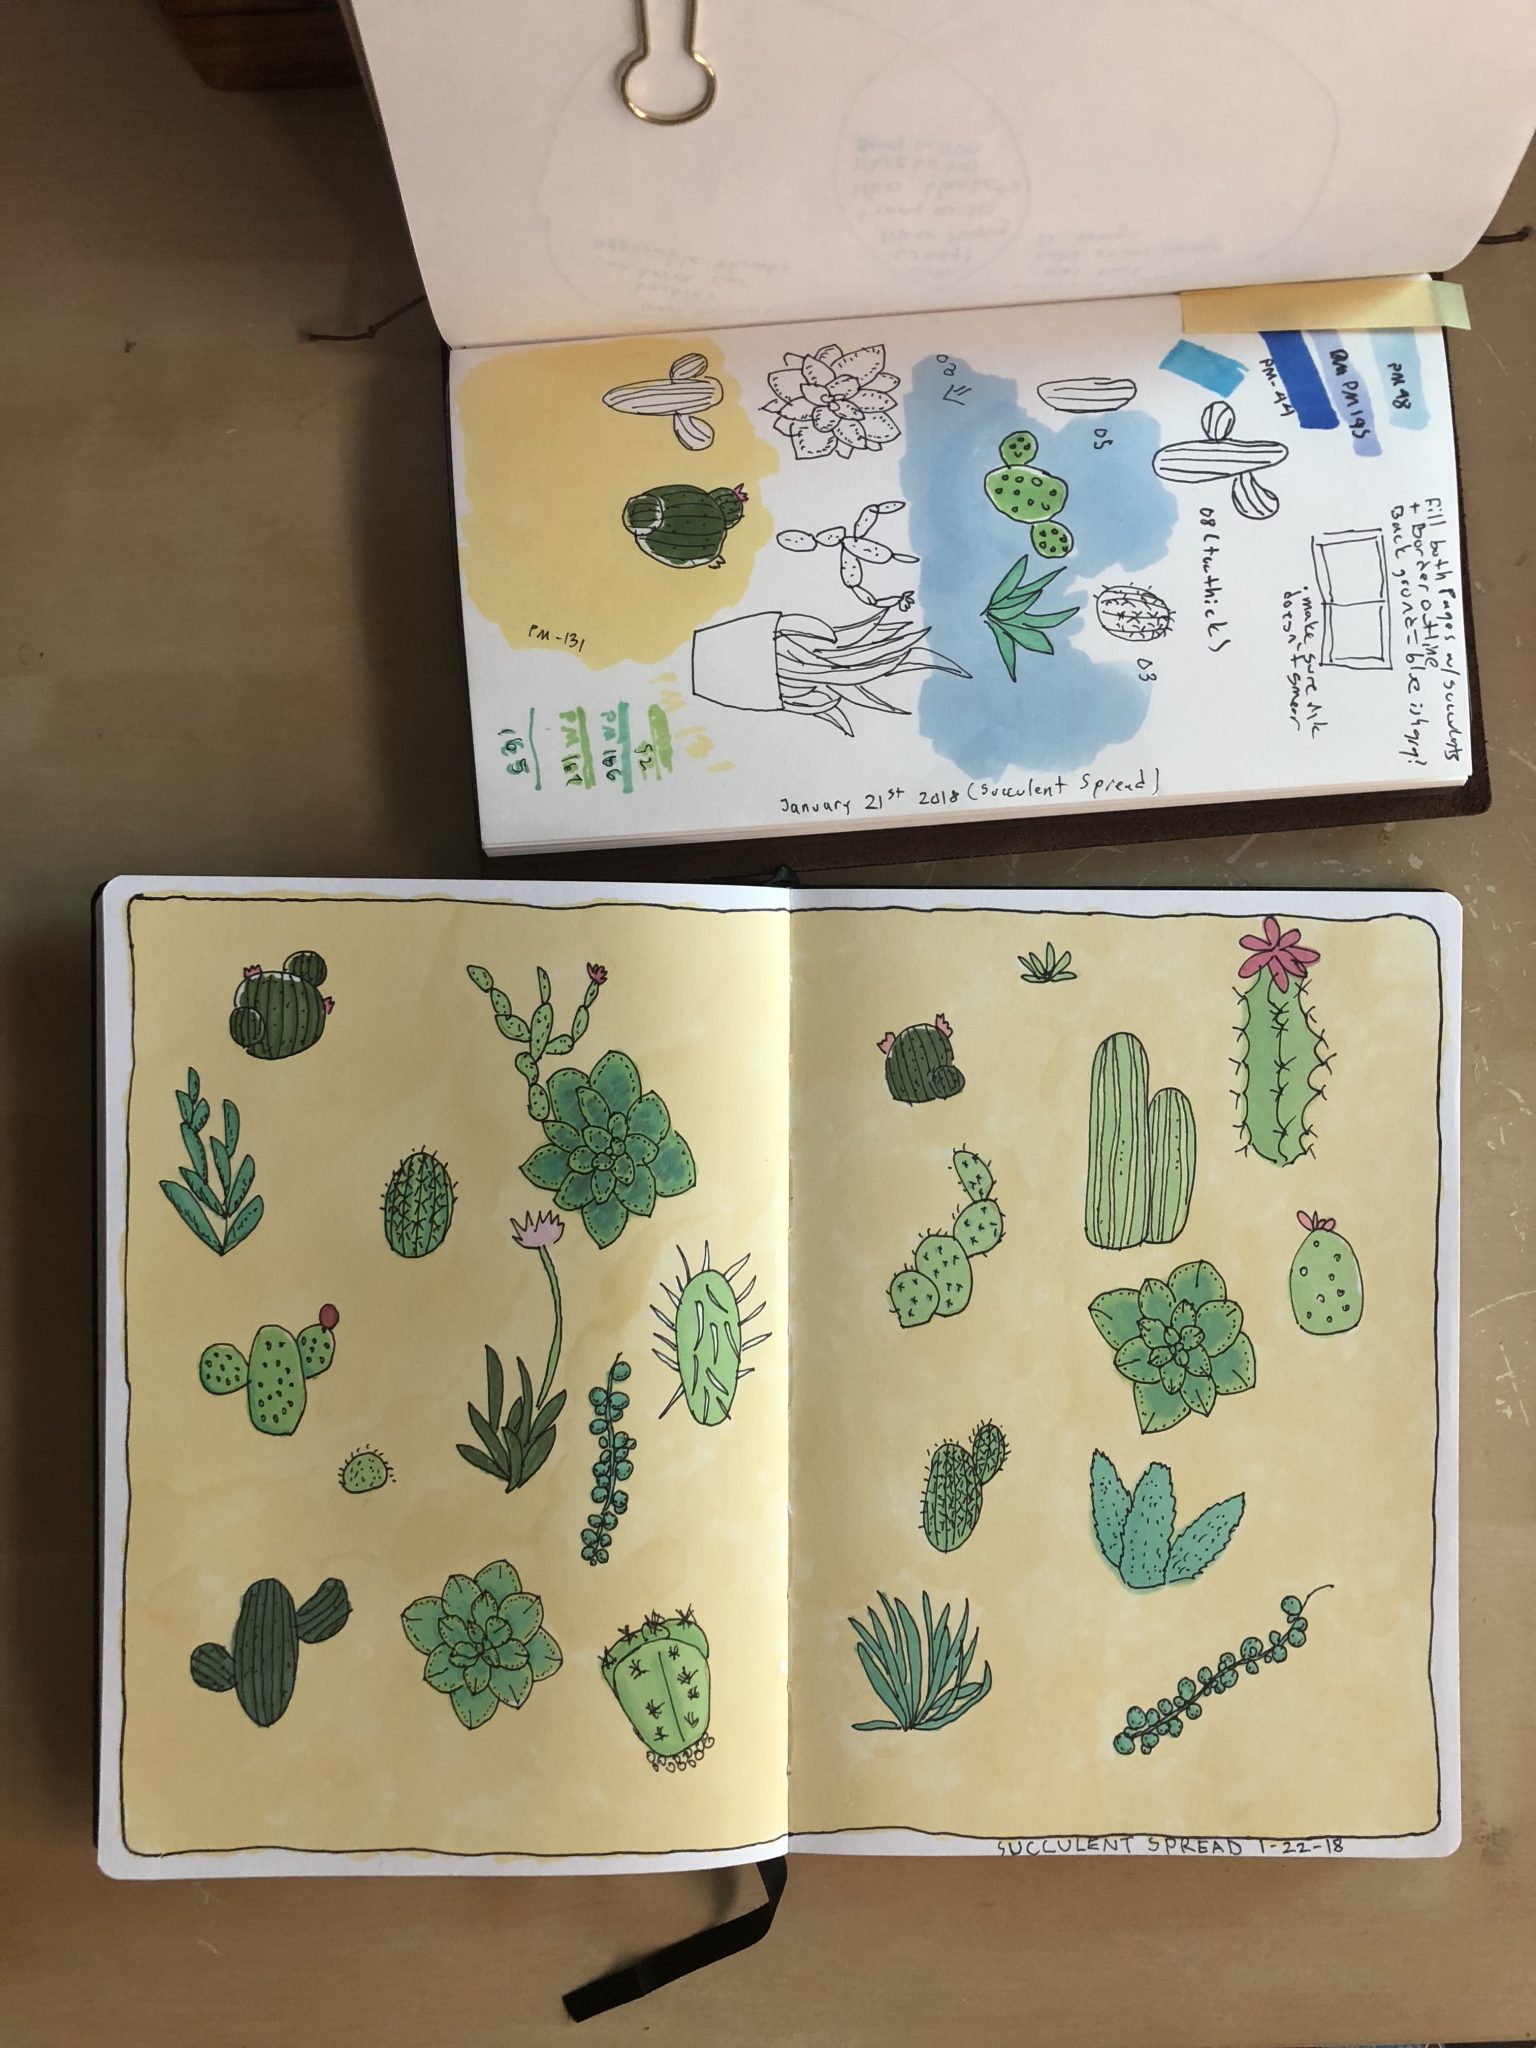
I had inked out a few succulent designs and tested some of the marker colors in my Traveler’s Notebook before starting the actual project in my other notebook. Two goals: First off, to do more ink drawings without outlining in pencil first; Second, the color the background without it being super streaky (compare to the rooster picture posted a while back). The yellow marker unfortunately started to run out of steam on the second half of the spread. I should have given it a break between pages to “recharge.”
It doesn’t seem to matter how thick the paper is, alcohol based markers bleed through absolutely everything I guess (Leuchtturm = 180gsm). Tools used: Pens and markers.
A compilation of random short videos that I have recorded on my phone in 2017. All videos filmed, edited, and uploaded from my phone. I had forgotten about this project until about May, thus the lack of videos during January and February.